BIRD SignalHawk SH-36S-PC General Start-Up Instructions
Pc based spectrum analyzer, rack mount spectrum analyzer, 100 khz to 3.6 ghz
Hide thumbs
Also See for SignalHawk SH-36S-PC:
- Operation manual (137 pages) ,
- Instruction book (130 pages)
Advertisement
General Start-Up Instructions
To turn SignalHawk on, press Power switch.
1.
2.
Launch the SignalHawk program on the PC.
3.
Select the unit from the device list if more than one unit is in operation.
4.
Select the desired measurement and press Enter or double click it.
Press Setup then Recall Default Setup.
5.
Avoid installing the SignalHawk near equipment that exhausts or radiates excessive
heat (such as power amplifiers or DC power supplies). Proper ventilation should always
Connecting a PC SignalHawk
Note:
PC SignalHawk can be used in any orientation.
1.
Connect PC SignalHawk to a PC using the supplied USB cable.
Note:
The 'USB Host Power' LED will illuminate when host port is active
and has power. It is not an indication of proper USB connectivity to the
host. Refer to software installation instructions for how to address the PC
SignalHawk from the host.
Turn Power on.
2.
3.
Select the unit from the DSP Device List, if necessary.
4.
Connect RF signal.
5.
Connect a TTL trigger source to the BNC connector, if necessary.
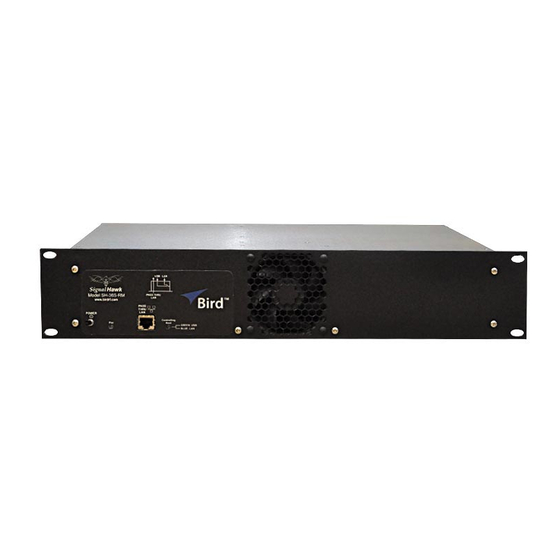
Connecting to a Rack Mount SignalHawk Locally via USB
Connection
1.
Connect the Rack Mount SignalHawk unit to the computer USB port using the sup-
plied USB cable.
Turn Power on.
2.
3.
Launch the SignalHawk program.
4.
Select the unit from the DSP Device List, if necessary.
Connecting a Rack Mount SignalHawk Remotely via LAN/WAN
1.
Connect the SignalHawk to a local area network.
Note:
The Rack-Mount SignalHawk provides the following
connections to a network:
• 10/100 auto sensing RJ45 Ethernet connector
• Half and full duplex support
• IP address: 192.168.1.10
• Subnet Mask: 255.255.255.0
2.
Launch Remote Desktop on a client PC running TCP/IP protocol.
920-SHPC-REF Rev A
SignalHawk
PC Based Spectrum Analyzer
Rack Mount Spectrum Analyzer
Models SH-36S-PC & SH-36S-RM
100 kHz to 3.6 GHz
be considered as part of the installation location.
www.birdrf.com
I
CAUTION
(866) 695-4569
Advertisement
Table of Contents

Related Manuals for BIRD SignalHawk SH-36S-PC


Summary of Contents for BIRD SignalHawk SH-36S-PC
- Page 1 SignalHawk PC Based Spectrum Analyzer Rack Mount Spectrum Analyzer Models SH-36S-PC & SH-36S-RM 100 kHz to 3.6 GHz General Start-Up Instructions To turn SignalHawk on, press Power switch. Launch the SignalHawk program on the PC. Select the unit from the device list if more than one unit is in operation. Select the desired measurement and press Enter or double click it.
- Page 2 Rack Mount SignalHawk Connection Diagram Remote PC WAN/LAN ROUTER ETHERNET Local Broadcast Site ETHERNET Pass-thru connection: allows convenient RF MODULE access to hub through Mini ITX PC front panel Rack-Mount Signal Hawk ETHERNET Local PC Laptop Spectrum Analyzer Start-Up Instructions Connect the input signal or antenna to the RF in test port.
Need help?
Do you have a question about the SignalHawk SH-36S-PC and is the answer not in the manual?
Questions and answers