
Subscribe to Our Youtube Channel
Related Manuals for Danfoss PAH Series


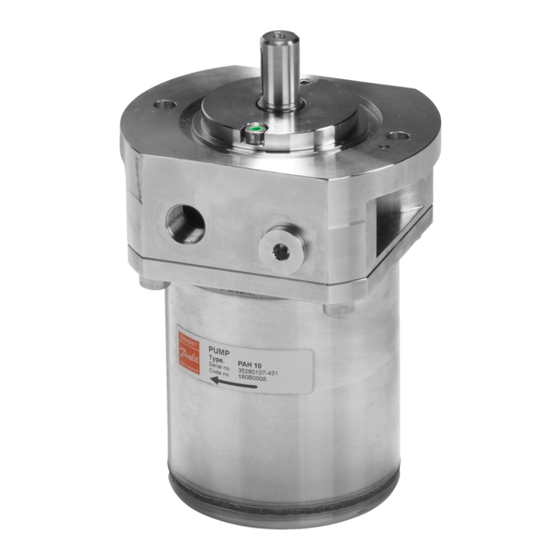
Summary of Contents for Danfoss PAH Series
- Page 1 Servie guide PAH, PAHT, PAHT G pumps PAH 10-12.5, PAHT 10-12.5 and PAHT G 10-12.5 Disassembling and assembling hpp.danfoss.com...
-
Page 2: Table Of Contents
Service guide | Disassembling and assembling PAH 10-12.5, PAHT 10-12.5 and PAHT G 10-12.5 Table of Contents Disassembling the pump ........................3 Inspection ............................7 2.1. Port plate and valve plate .........................7 2.2. Pistons ..............................7 2.3. Cylinder barrel .............................8 2.4. Housing ..............................8 2.5. -
Page 3: Table Of Contents 1. Disassembling The Pump
Service guide | Disassembling and assembling PAH 10-12.5, PAHT 10-12.5 and PAHT G 10-12.5 Disassembling the pump 2. Remove the parallel key and unscrew the 1. Tools required for dismantling. front cover. 4. Remove the shaft seal using two screw drivers. Caution: Avoid scratching the sealing 3. - Page 4 Service guide | Disassembling and assembling PAH 10-12.5, PAHT 10-12.5 and PAHT G 10-12.5 7. Remove the housing. 8. Remove the cylinder barrel. 9. Remove the pistons and the retainer plate from the cylinder barrel. 10. Remove the retainer guide. 11.
- Page 5 Service guide | Disassembling and assembling PAH 10-12.5, PAHT 10-12.5 and PAHT G 10-12.5 13. Loosen the valve plate using two screwdrivers. Place one of the screwdrivers in the slot of the valve plate. 14. Remove the valve plate. 15. Remove the five O-rings and the five back-up O-rings.
- Page 6 Service guide | Disassembling and assembling PAH 10-12.5, PAHT 10-12.5 and PAHT G 10-12.5 Housing with swash plate and bearing Retainer plate Flange Pistons Spring Plugs Spring guide Retainer guide Front cover Cylinder barrel Front cover crews Shaft seal Valve plate with Port plate sealing 180R9095 | 521B0986 0 | DKCFN.PI.010.NA4.02| 06.2017...
-
Page 7: Inspection
Service guide | Disassembling and assembling PAH 10-12.5, PAHT 10-12.5 and PAHT G 10-12.5 Inspection 2.1. Port plate and valve plate 2. Hold a ruler against the surface of the 1. Neither port plate nor valve plate must plates and check the tightness against a show any sign of wear. -
Page 8: Cylinder Barrel
Service guide | Disassembling and assembling PAH 10-12.5, PAHT 10-12.5 and PAHT G 10-12.5 2.3. Cylinder barrel 2. Check that the bushings are free from seizure and large scratches. 3. Ensure that the pistons can move freely in the bushings. 1. -
Page 9: Assembling
Service guide | Disassembling and assembling PAH 10-12.5, PAHT 10-12.5 and PAHT G 10-12.5 1. Remove swash plate and guide pin. Guide pin Assembling WARNING: Important: Do not use silicone when assembling the It is essential that the pump is serviced in pump. - Page 10 Service guide | Disassembling and assembling PAH 10-12.5, PAHT 10-12.5 and PAHT G 10-12.5 Guide pin 4. Mount the port plate in its right position 3. Mount the O-ring on the flange. using the pin as guide. 5. Mount the valve plate with seals on the 6.
- Page 11 Service guide | Disassembling and assembling PAH 10-12.5, PAHT 10-12.5 and PAHT G 10-12.5 9. Mount the spring in the centre hole. 10. Mount the spring guide. 12. Mount the retainer plate on the retainer 11. Mount the retainer guide on the spring guide.
- Page 12 Service guide | Disassembling and assembling PAH 10-12.5, PAHT 10-12.5 and PAHT G 10-12.5 15. Place pin and place swash plate fittet on guide pin and center hole. 16. Place the screw in the center hole. 17. Tighten to a torque of 10 ±1 Nm. Alignment hole Guide pin...
- Page 13 Service guide | Disassembling and assembling PAH 10-12.5, PAHT 10-12.5 and PAHT G 10-12.5 21. Mount the two O-rings in the flange and 20. Tighten the screws to a torque of 22 Nm. the O -ring on the front cover. 22.
- Page 14 Service guide | Disassembling and assembling PAH 10-12.5, PAHT 10-12.5 and PAHT G 10-12.5 26. Wet the shaft seal and slide it over the 27. Use the shaft seal tool when pressing the bush. shaft seal downwards. 28. Press the shaft seal in position. 29.
-
Page 15: Spare Parts List For Pah 10-12.5 / Paht 10-12.5
Service guide | Disassembling and assembling PAH 10-12.5, PAHT 10-12.5 and PAHT G 10-12.5 Spare parts list for PAH 10-12.5 / PAHT 10-12.5 Pos. Qty. Designation Material 1 Shaft bush, torpedo 1 Press bush 1 Housing AISI 304 / PEEK 1 Pin AISI 316 4 Screw... -
Page 16: Exploded View Pah 10-12.5 / Paht 10-12.5
Service guide | Disassembling and assembling PAH 10-12.5, PAHT 10-12.5 and PAHT G 10-12.5 4.1. Exploded view PAH 10-12.5 / PAHT 10-12.5 180R9095 | 521B0986 0 | DKCFN.PI.010.NA4.02| 06.2017... -
Page 17: Spare Parts List For Paht G 10-12.5
Service guide | Disassembling and assembling PAH 10-12.5, PAHT 10-12.5 and PAHT G 10-12.5 Spare parts list for PAHT G 10-12.5 Pos. Qty. Designation Material 1 Shaft bush, torpedo 1 Press bush 1 Housing AISI 304 / PEEK 1 Pin AISI 316 4 Screw AISI 304... -
Page 18: Exploded View Paht G 10-12.5
Service guide | Disassembling and assembling PAH 10-12.5, PAHT 10-12.5 and PAHT G 10-12.5 5.1. Exploded view PAHT G 10-12.5 180R9095 | 521B0986 0 | DKCFN.PI.010.NA4.02| 06.2017... - Page 19 Service guide | Disassembling and assembling PAH 10-12.5, PAHT 10-12.5 and PAHT G 10-12.5 180R9095 | 521B0986 0 | DKCFN.PI.010.NA4.02| 06.2017...
- Page 20 Danfoss A/S High Pressure Pumps Nordborgvej 81 DK-6430 Nordborg Denmark | 20 © Danfoss | DCS (im) | 2017.06 180R9095 | 521B0986 | DKCFN.PI.010.NA4.02...
Need help?
Do you have a question about the PAH Series and is the answer not in the manual?
Questions and answers