
Subscribe to Our Youtube Channel
Related Manuals for Atlas fan company Laura


Summary of Contents for Atlas fan company Laura
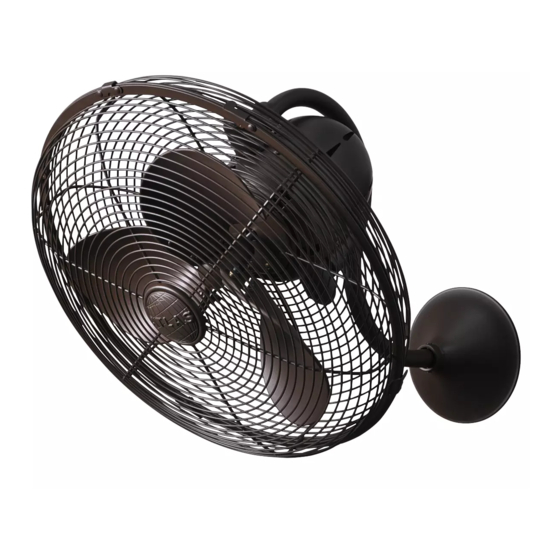
- Page 1 Laura Wall Mounted Oscillating Fan READ AND SAVE THESE INSTRUCTIONS FAN RATING AC 120V. 60Hz Please do not use any electric or battery powered tools in the assembly and installation of this or any Matthews Fan Company product.
-
Page 2: Tools And Materials Required
TOOLS AND MATERIALS REQUIRED Philips screw driver Standard, flat-head screw driver 11 mm wrench Step ladder Wire cutters PACKAGE CONTENTS Unpack your fan and check the contents. You should have the following items: a. Fan motor assembly b. Canopy c. Hanger bracket d. - Page 3 READ AND SAVE THESE SAFETY AND INSTALLATION INSTRUCTIONS. Consult a licensed electrician if unsure of any point below mentioned. DANGER/WARNING/CAUTION 1. WARNING: TO REDUCE THE RISKS OF FIRE, ELECTRIC SHOCK OR INJURY TO PERSONS, OBSERVE THE FOLLOWING: A. Use this unit only in the manner intended by the manufacturer. If you have any questions, contact the manufacturer.
- Page 4 9. CAUTION: to reduce the risk of injury to persons, install fan so that bottom edges of fan blades are to be: In Canada, to satisfy CSA requirements: at least 8.3 Ft/2.5 M above the floor and all objects in room. In the US, to satisfy UL requirements: at least 7.0 Ft above the floor and all objects in room.
- Page 5 MOUNTING/INSTALLLATION OF THE FAN AND MAKING THE ELECTRICAL Screws CONNECTIONS Side mount Before touching a screw driver thoroughly wall junction box read these installation instructions. Your new wall fan will require a grounded electrical supply line of 120 volts AC, 60 Hz circuit.
- Page 6 4. Connect the neutral fan wire to the household neutral wire. (Fig. 3) SUPPLY CIRCUIT 5. Connect the black, fan blade motor wire to a hot, household supply wire. (Fig. 3) 6. Connect the green, fan ground wire to the household ground wire.
-
Page 7: Operating The Transmitter
OPERATING THE TRANSMITTER ON DIP Your DC brushless motor is equipped with an Code switch automatically learned type remote control. There are no frequency switches on the receiver; the receiver unit will automatically scan the frequency from the remote control if any changes are made. - Page 8 b) From the front of the transmitter, press and hold the “ OFF” button for over 5 seconds, and then press and hold the “ACCESSORY- OFF” button for 1 second. c) Press and hold the “ACCESSORY- ON” button for 1 second, and then press the “ACCESSORY- OFF”...
- Page 9 CARE OF AND TROUBLESHOOTING YOUR FAN 1. Check hardware bi-yearly. Because of the fan's natural movement some connections may become loose over time. Check the support connections, brackets and blade attachments twice a year. Make sure they are secure. It is not necessary to remove fan from the wall. 2.
Need help?
Do you have a question about the Laura and is the answer not in the manual?
Questions and answers