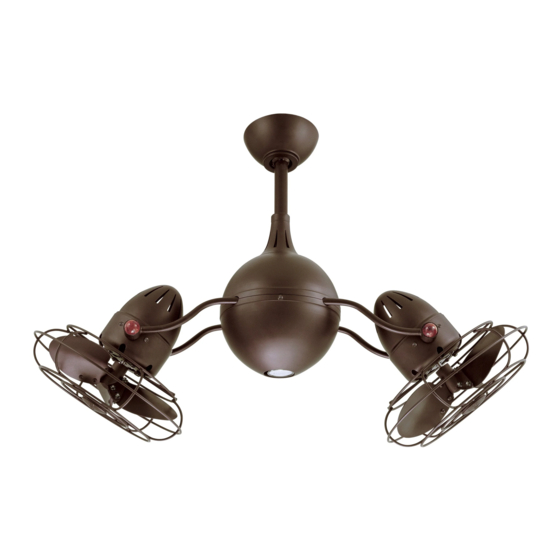
Summary of Contents for Atlas fan company Acqua
- Page 1 Acqua Ceiling Mounted Rotational Fan READ AND SAVE THESE INSTRUCTIONS FAN RATING AC 220V. 50Hz Please do not use any electric or battery powered tools in the assembly and installation of this or any Matthews Fan Company product.
-
Page 2: Tools And Materials Required
TOOLS AND MATERIALS REQUIRED Philips screw driver Standard, flat-head screw driver 11 mm wrench Step ladder Wire cutters PACKAGE CONTENTS Unpack your fan and check the contents. You should have the following items: e-ii Hanger bracket assembly Ball / down rod assembly Coupling cover e-iii Fan motor assembly... - Page 3 READ AND SAVE THESE SAFETY AND INSTALLATION INSTRUCTIONS. Consult a licensed electrician if unsure of any point below mentioned. DANGER/WARNING/CAUTION 1. High voltage and moving parts around motors and motor driven equipment can cause serious or fatal injuries. Always disconnect power source at main switch before wiring, servicing or cleaning unit.
- Page 4 11. To reduce the risk of personal injury, install the supplementary mounting means and use only the hardware provided with the fan. 12. Warning: TO REDUCE THE RISKS OF FIRE, ELECTRIC SHOCK OR INJURY TO PERSONS, OBSERVE THE FOLLOWING: A. Use this unit only in the manner intended by the manufacturer. If you have any questions, contact the manufacturer.
- Page 5 MOUNTING/INSTALLATION Ceiling OF THE FAN hanger bracket Ceiling Before touching a screw driver thoroughly canopy read these instructions. Warning/Caution: Before installing fan, turn off Canopy power at service panel and check all visible cover Figure 5 screws and bolts for tightness. 1.
- Page 6 10 A. Metal Blades and Decorative Cages: If your fan is one with metal blades and decorative cages, remove protective plastic sleeve from the motor shafts, and then attach the metal blades and cages. Bolts to attach Screw cages are in the hardware pack, 'i'. The Atlas medallion should be oriented correctly.
-
Page 7: Making The Electrical Connections
MAKING THE ELECTRICAL CONNECTIONS Warning: The power should have already been disconnected. Follow the steps below to connect the fan to your household wiring. Use the wire nuts supplied with your fan. Secure the wire nuts with electrical tape. Make sure there are no loose strands or connections. - Page 8 4. If your outlet box has a GROUND wire (Green or Bare Copper) connect this wire to the Hanger Ball and Hanger Bracket Ground wires. If your outlet box does not have a Outlet box Ground Wire, then connect the Hanger Ball and Hanger Bracket Ground Wires together.
-
Page 9: Operating The Remote Control
OPERATING THE REMOTE CONTROL Install 12V MN21/A23 battery (included). To prevent damage to transmitter, remove the battery if not used for long periods. (Fig. 13) Restore Power to Ceiling Fan. A. H, M, L Buttons: These buttons are used to set the fan speeds as follows;... - Page 10 REGULATION OF ROTATION OF FAN UNIT 1. Regulate speed of fan. The rotation of the fan can be sped up or slowed down by increasing or decreasing the power at the remote control, regulating the speed of fan heads and varying the position of the motor heads. See number 2 below 2.


Need help?
Do you have a question about the Acqua and is the answer not in the manual?
Questions and answers