Advertisement
Quick Links
S E C T I O N
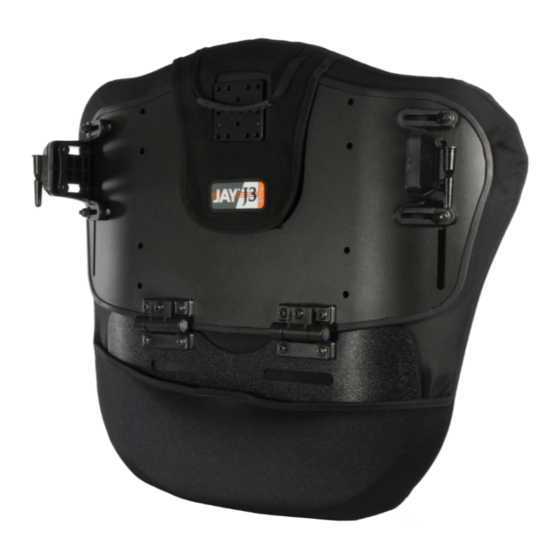
J3 PLUS Back
JAY
®
IMPORTANT CONSUMER INFORMATION
NOTICE:This manual contains important instructions that must be passed on to the user of this prod-
uct. Please do not remove this manual before delivery to the end user.
SUPPLIER: This manual must be given to the user of this product.
USER:
Before using this product, read this entire manual and save for future reference.
WARRANTY REGISTRATION: Visit www.SunriseMedical.com to register this product.
J 3 P L U S B A C K
O w n e r ' s M a n u a l
Advertisement

Related Manuals for Jay J3 PLUS Back


Summary of Contents for Jay J3 PLUS Back
- Page 1 S E C T I O N J 3 P L U S B A C K J3 PLUS Back ® IMPORTANT CONSUMER INFORMATION NOTICE:This manual contains important instructions that must be passed on to the user of this prod- uct.
- Page 2 J3 PLUS BACK JAY ® CONSUMER INFORMATION IMPORTANT CONSUMER INFORMATION NOTICE: This manual contains important instructions that must be passed on to the user of this product. Please do not remove this manual before delivery to the end user. SUPPLIER: This manual must be given to the user of this product.
-
Page 3: Table Of Contents
JAY ® I. TABLE OF CONTENTS SUNRISE MEDICAL LISTENS Thank you for choosing the J3 Plus Back Support System. We want Introduction..........4 to hear your questions or comments about this manual, the safety and reliability of your product, and the service you receive General Warnings........5... -
Page 4: Introduction
II. INTRODUCTION Sunrise Medical recommends that a clinician such as a doctor or therapist experienced in seating and positioning be consulted to determine if a J3 Plus Back is appropriate. Backs should only be installed by an Authorized Sunrise Medical Dealer. -
Page 5: General Warnings
WARNING with the performance requirements of ISO Standard 10542. Do not use the J3 Plus Back to move or push the wheelchair. The wheelchair must be forward facing during transport. Do not use the J3 Plus Back handle to lift the In order to reduce the potential of injury to vehicle wheelchair. - Page 6 JAY ® J3 PLUS BACK III. GENERAL WARNINGS Alterations or substitutions should not be made to the structure of the chair or seating system, parts, and/or components without consulting the manufacturer. Back mounting bracket must be attached in the "leg up" position for transit use (see below). Refer to the appropriate section for correct back hardware mounting instructions.
-
Page 7: Use And Maintenance
You will need a mild detergent solution and cleaning rags. 3. If discovered, have loose, worn, bent, or damaged parts replaced before using the J3 Plus Back. (Back Cover) Laundry Care Symbols B. CRITICAL SAFETY CHECKS 1. - Page 8 JAY ® J3 PLUS BACK D. REMOVAL AND REPLACEMENT After installation/adjustment, the back can be easily removed from the wheelchair if necessary. Removal: a. Push both release levers forward to unlock the hardware. (Fig. 4) b. Once both levers are in the forward...
-
Page 9: Fitting The Back To The Chair
Wheelchairs that are angle adjustable with recline or tilt that result in a back angle greater than 60 from the vertical should not be used with the J3 Plus Back system. A. WHEELCHAIR DIMENSIONS 1. -
Page 10: Installation & Adjustment
A. J3 TH HARDWARE Please read the following instructions before beginning the installation. To install the J3 Plus Back with TH hardware, it is best to begin without a user in the wheelchair. Once the back has been installed, the user can be seated back in the wheelchair for minor adjustments. - Page 11 J3 PLUS BACK JAY ® b. Attach the J3 Plus Back to the hardware receivers by inserting left and right mounting pins (F) in the left and right receivers (G). c. Locate the back to the approximate location, relative to both the chair and the user.
- Page 12 C. J3 PLUS FS HARDWARE Please read the following instructions before beginning the installation. To install the J3 Plus Back with 4-point hardware, it is best to begin without a user in the wheelchair. Once the back has been installed and minor adjustments are needed, the user can be seated back in the wheelchair.
- Page 13 J3 PLUS BACK 5. Attaching and aligning with the upper hardware receivers a. Attach the J3 Plus Back to the hardware receivers by inserting left and right mounting pins (F) in the left and right receivers (H). b. Locate the back to the approximate location relative to both the chair and the user.
- Page 14 Using a 5/32 Allen Wrench, loosen the button head cap screw (A) on both hinges to allow rotation of a. Attach the J3 Plus Back to the top and bottom mounting the vanity flap. hardware receivers and push down until the assembly is b.
-
Page 15: Accessories
1. Upper and lower attachment flaps a. Lift upper flap (A) of J3 Plus Back Cover b. Attach the lower Flap (B) to the Backshell (hook and loop) c. Match hook to loop and attach Vanity Flap (C) to the back of the Lower flap of the J3 Plus Back Cover. -
Page 16: Warranty
24 MONTH LIMITED WARRANTY Each Jay J3 Plus Back is carefully inspected and tested to provide peak performance. Every Jay J3 Plus Back is guaranteed to be free from defects in materials and workmanship for a period of 24 months form the date of purchase, provided normal use. Should a defect in materials or workmanship occur within 24 months from the original date of purchase, Sunrise Medical will, at its option, repair or replace it without charge. - Page 17 J3 PLUS BACK JAY ® 252148 Rev. A...
- Page 18 J3 PLUS BACK JAY ® 252148 Rev. A...
- Page 19 J3 PLUS BACK JAY ® 252148 Rev. A...
- Page 20 J3 PLUS BACK JAY ® Sunrise Medical Inc. • 2842 Business Park Ave. • Fresno, CA 93727 • USA In Canada (800) 263-3390 Customer Service: 800.333.4000 ©2019 Sunrise Medical (US)LLC www.SunriseMedical.com 12.19 252148 Rev. A...
Need help?
Do you have a question about the J3 PLUS Back and is the answer not in the manual?
Questions and answers