Jay J3 Quick Reference Manual
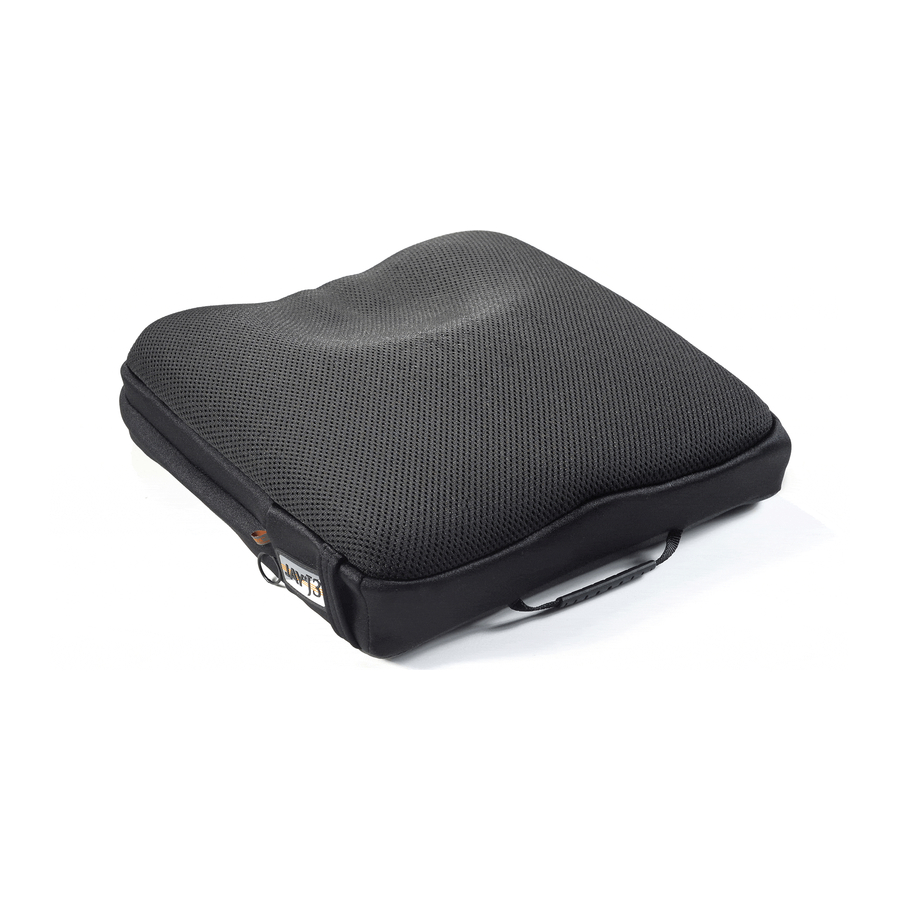
Cushion
Hide thumbs
Also See for J3:
- Instructions manual (148 pages) ,
- Owner's manual (64 pages) ,
- Quick reference manual (12 pages)

Related Manuals for Jay J3


Summary of Contents for Jay J3
- Page 2 OVERVIEW STEP 1 Cushion Height STEP 2 Cushion Width & Depth STEP 3 PLA (Pelvic Loading Area) Size STEP 4 PLA Insert STEP 5 Cover Options STEP 6 Positioning Cushion...
- Page 3 For a custom-fit J3 Cushion, follow this 6-step guide to determine your J3 Cushion Smart Part Number. The part number that is generated over the next several pages is for illustrative purposes. Actual part numbers may vary. J3 Cushion STEP 1...
- Page 4 S = Standard STEP 1 Cushion Height 3.6" 3.0" Loaded Femoral Height Un-Loaded Femoral Height D = Deep 4.1" 3.5" Un-Loaded Femoral Height Loaded Femoral Height Note: Measurements above can vary depending upon cover selection.
- Page 5 Step 1 determines Cushion Height. How much immersion and envelopment does the user require? Standard or Deep height? J3 Cushion STEP 1 STEP 2 STEP 3 STEP 4 STEP 5 STEP 6 Part Numbers begin with “J3C”...
- Page 6 STEP 2 Cushion Width Cushion Width and Depth Size Matrix 12" 14" 15" 16" 17" 18" 19" 20" 21" 22" 23" 24" 12" 14" 15" 16" 17" 18" 19" 20" 21" 22" 24" Std PLA Depth (A available) (A&B available) Width Standard Size Available in Std.
- Page 7 Cushion Width and Cushion Depth. Available sizes range from 12" x 12" to 24" x 24". Write in the actual inch measurements starting with the width. 1816 J3 Cushion STEP 1 STEP 2 STEP 3 STEP 4 STEP 5 STEP 6...
- Page 8 STEP 3 Based upon human anatomy, PLA size has been designed to optimize trochanteric loading and stability. Standard PLA sizes shown below, alternate sizes available on the order form. PLA (Pelvic Loading Area) Size Standard on 12" – 15" Standard on 16" – 19" Standard on 20"...
- Page 9 Step 3 determines PLA size. Reference page 6 for size and width guidelines. 1816 J3 Cushion STEP 1 STEP 2 STEP 3 STEP 4 STEP 5 STEP 6 Part Numbers begin with “J3C”...
- Page 10 STEP 4 Factory Filled PLA Insert Three fluid chambers to reduce fluid migration. PLA Insert Field Variable PLA Insert Adjusts to changing user needs and skeletal deformities. Air Single PLA Insert Adjustable immersion with stability. Air Dual PLA Insert Adjustable immersion with stability and obliquity solution.
- Page 11 Step 4 determines which PLA Insert to choose: Factory Filled JAY Flow™ fluid, Field Variable JAY Flow™ fluid, Air Single valve and Air Dual valve. All four options are developed for optimal pressure reduction and stability. 1816 J3 Cushion STEP 1...
- Page 12 STEP 5 Three Cover Options to Choose From Cover Options The standard Stretch cover reduces cover tension. The Incontinent cover features moisture-resistant material that resists fluid absorption. The Microclimatic cover is made from 3DX spacer fabric that ™ helps to transfer heat and moisture away from the body.
- Page 13 Step 5 determines the cover option. All three covers feature patent-pending oversized cover technology that creates optimal immersion and envelopment. 1816 J3 Cushion STEP 1 STEP 2 STEP 3 STEP 4 STEP 5 STEP 6 Part Numbers begin with “J3C”...
- Page 14 STEP 6 When positioning components are required, it is necessary to add a “P” at the end of the Positioning part number. Cushion Without positioning components J3CS1816BFFS With positioning components J3CS1816BFFSP Note: Ships standard with two lateral thigh supports. See page 15 for additional available positioning components.
- Page 15 “P” in the part number for lateral thigh supports, or use the order form to choose components. 1816 STEP 6 J3 Cushion STEP 1 STEP 2 STEP 3 STEP 4 STEP 5...
-
Page 16: Positioning Components
Positioning The following components are available as separate line items. Components There are three available PLA Supplemental Fluid Pads: Modify the fluid volume levels of the Reducer rings Field Variable PLA Insert. PLA Reducer C to A Small PLA Reducer C to B PLA Reducer B to A. - Page 17 The following positioning components available as separate line items and require ordering a positioning cushion. Lateral Thigh Lateral Pelvic Support (pr) Support (pr) Seat Rigidizer Medial Thigh (Does not require a Support positioning cushion.)
- Page 18 RECAP Smart Part Number Example: Smart Part J3CS1816BFFSP Number Example J3 Cushion Standard Height STEP 1 1816 Cushion Width 18", Cushion Depth 16" STEP 2 PLA Size B STEP 3 Factory Filled Standard PLA Insert STEP 4 Stretch Cover STEP 5...
- Page 19 Let’s Recap how we obtained our J3 Cushion Smart Number This part number is for illustrative purposes. Actual part numbers may vary. 1816 J3 Cushion STEP 1 STEP 2 STEP 3 STEP 4 STEP 5 STEP 6 Part Numbers begin with...
- Page 20 For more information, please visit the J3 Cushion product page at www.sunrisemedical.com or call 1-800-333-4000. © 2009 Sunrise Medical. Sunrise Medical and JAY are trademarks of Sunrise Medical. ® 303-218-4600 800-333-4000 In Canada 800-263-3390...
Need help?
Do you have a question about the J3 and is the answer not in the manual?
Questions and answers
How to unlock whiile; i am in chair
To unlock the Jay J3 backrest while in a chair, use the release levers connected to the tapered latching pins. These levers are designed to click when engaged and allow for effortless backrest removal. Pull the release levers to disengage the latching pins and unlock the backrest.
This answer is automatically generated
Unlocking wheel chair jay j3