Advertisement
Quick Links
BATTERY
REPLACEMENT
GUIDE
Uninterruptible Power Supply Models:
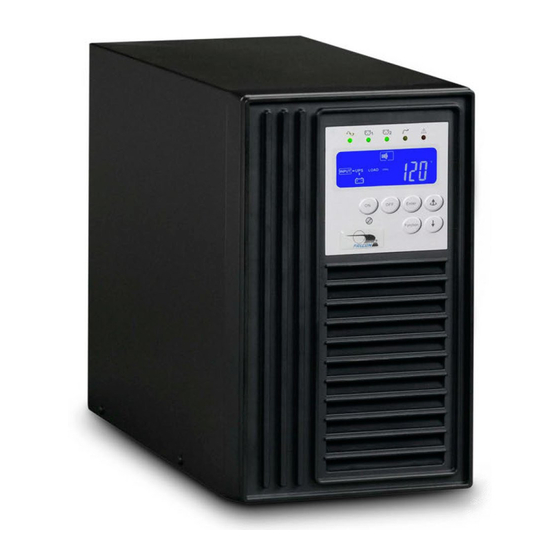
SG2K-1T, SG2K-2T
FALCONElectric Inc., 5116 Azusa Canyon Rd., Irwindale, California 91706, (626) 962-7770, Fax 626-962-7720, Email: sales@falconups.com
®
2005 Falcon
®
Electric Inc. All rights reserved.
All other brand names and trademarks are the property of their respective owners.
The information stated in this document is subject to change without notice. 2005-05-05
Falcon
®
, Falcon® Electric and UPS Plus logos are registered trademarks of Falcon Electric Inc
Advertisement

Related Manuals for Falcon SG2K-1T


Summary of Contents for Falcon SG2K-1T
- Page 1 All other brand names and trademarks are the property of their respective owners. The information stated in this document is subject to change without notice. 2005-05-05 Falcon ® , Falcon® Electric and UPS Plus logos are registered trademarks of Falcon Electric Inc...
-
Page 2: Important Safety Instructions
CAUTION When replacing the UPS batteries, use the same number and type of batteries. The batteries approved for the Falcon SG1K-1T & SG1K-2T models are as follows: 6 pieces of Yuasa/Enersys NP7-12, 7Amp Hour, 12Vdc VRLA Type Battery 6 pieces of CSB GP 1272 F2, 7.2 Amp Hour, 12Vdc VRLA Type Battery CAUTION NEVER dispose of batteries in a fire, as batteries will explode. - Page 3 COMMERCIAL LOSS, OR BREACH OF IMPLIED OR EXPRESSED WARRANTIES. ANY AND ALL SUCH LIABILITY IS EXPRESSLY EXCLUDED. IN NO EVENT SHALL FALCON ELECTRIC INC. BE RESPONSIBLE FOR ANY AMOUNT. IF FALCON ELECTRIC INC. DETERMINES THAT ANY THIRD PARTY SERVICE WORK HAS BEEN PERFORMED IMPROPERLY OR IN A MANNER INCONSISTENT WITH FALCON ELECTRIC INC.
- Page 4 Battery Replacement Guideline Per the picture below detailing the SG2K-1T rear panel, remove the battery fuse. Per the picture below remove the four screws securing the UPS top cover to the rear panel. Screw # 2 securing the Screw # 1 securing the...
- Page 5 Remove the four screws securing the left side of the upper and lower battery hold- down brackets to the lower chassis. Gently lift the battery hold down bracket and rotate it off of the batteries. Use care not to pull the remaining wiring connected to the battery hold down bracket. BATT 1 BATT 2 BATT 3...
- Page 6 Battery Connection Diagram Move this jumper wire to under the sheet metal lip to prevent the top cover from shorting the jumper when reinstalled. BATT 1 BATT 2 BATT 3 BATT 4 BATT 5 BATT 6 Verify the UPS chassis orientation has not moved since reinstalling the batteries. Reconnect the Red (+15) wire to the + (red) terminal on BATT 1 as shown.
- Page 7 Reinstall the battery fuse and cap. Next temporally connect one end of a 100 ohm, 10 watt resistor to the - (black) terminal of BATT 6. Next, touch the metal fast-on terminal connected to the black (-15) the other end of the resistor for 30 seconds. Next, remove the resistor and reconnect the Black 15- wire to the - (black) terminal of BATT 1 as shown on the previous page.
Need help?
Do you have a question about the SG2K-1T and is the answer not in the manual?
Questions and answers