Advertisement
Advertisement

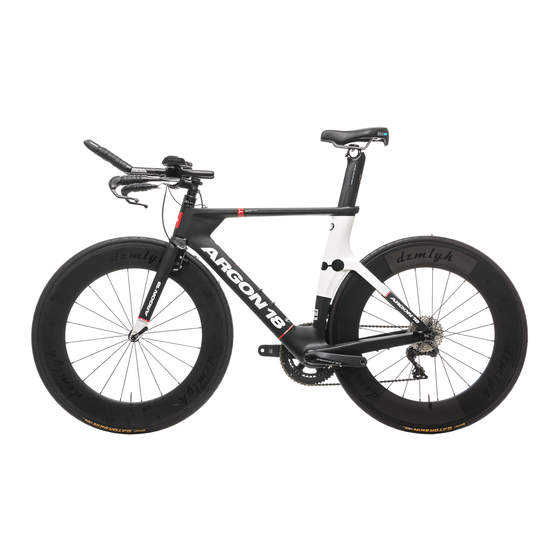
Summary of Contents for Argon 18 E-116
- Page 1 E-116 Assembly Guide...
-
Page 2: Table Of Contents
5 . Saddle adjustment . . . . . . . . . . . . . . . . . . . . . . . . . . . . . . . . . . . . . . . . . . . . . . . . . . . . . . . . . . . . . . . 8 For the warranty to be valid, the bicycle must be fully assembled by an authorized Argon 18 dealer. -
Page 3: Overview Of The Assembly
Overview of the assembly 1 . Cable housing installation 2 . Front brake installation 3 . Rear brake installation IMPORTANT NOTICE: DON’T INSTALL THE BB BEFORE THE CABLE HOUS- ING INSTALLATION) 4 . Seatpost installation 5 . Saddle adjustment... -
Page 4: Cable Housing Installation
1. Cable housing installation 1 . Install the rear derailleur cable housing starting at the drive side’s drop-out 2 . Install the front derailleur cable housing starting under the bottom bracket shell 3 . Install the rear brake cable housing starting under the bottom bracket shell See the table below for the cable housing... -
Page 5: Front Brake Installation
2. Front brake installation 1 . Install the brake as shown in the diagram - Install the spring in the middle hole of the fork insert the short end of the spring should be positioned in - It is important not to mix the springs the notch of the spring of the front and rear brakes tensioner... -
Page 6: Rear Brake Installation
3. Rear brake installation 1 . Remove the brake arm stopper GREASE 2 . Install the brake as shown in the diagram - Install the spring in the middle hole of the fork insert 3 . Install the brake arm stopper adjust the set screw on the brake to avoid any contact between... - Page 7 3. Rear brake installation 1 . Finalize the installation of the brake by placing the cover of the bottom bracket as shown in diagram...
-
Page 8: Seatpost Installation
4. Seatpost installation CARBON FIBER ASSEMBLY GEL 1. Peel off the plastic of the double- sided tape located at the back of the seat clamp thread 2 . Place the seat clamp thread inside the frame 3 . Insert the seatpost on which some carbon fiber assembly gel has been applied... -
Page 9: Saddle Adjustment
5. Saddle adjustment 1 . Install the saddle on the rocker and lightly tighten the rail clamp using a ball end hex key 2 . Tighten the upper screw of the rocker clamp by keeping a space of 2 to 3 mm between the aluminum and carbon parts 2-3 mm gap 3 . - Page 10 Frameset parts Supplier Description Also included with the frameset shipped separately E-116 frame AR-TT04-12K E-116 fork AR-TT04-FK-12K 12 TKB-77 Rear brake Quantity Parts installed on the frame Quantity including the following parts Rear Derailleur Hanger and screws 12a Brake arms...


Need help?
Do you have a question about the E-116 and is the answer not in the manual?
Questions and answers