Advertisement
Advertisement
Table of Contents

Related Manuals for BROSA Junior Kids Desk


Summary of Contents for BROSA Junior Kids Desk
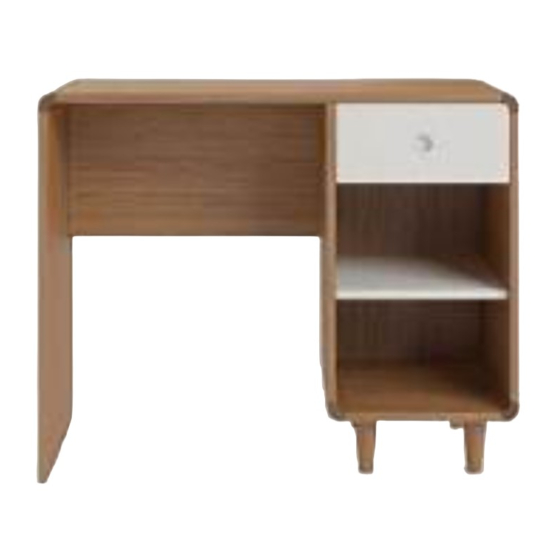
- Page 1 ASSEMBLY GUIDE Junior Kids Desk...
- Page 2 Components Before you get started, check you have all of the pieces below. If anything’s missing, please visit www.brosa.com.au/pages/product-return-and-parts-request and we’ll sort it out right away. Leg x 4 Body x 1 Hardware A x 20 (Screw) What you need...
- Page 3 Align a leg with the underside of the body Step 1 that the screw holes are overlapping. Insert a screw into a hole and tighten it with a Phillips screw- driver. Repeat this for all four legs. With the help of a partner lift the piece of furniture o the ground, turn it upright and place it on a at surface.
- Page 4 Enjoy your new desk! Step 2...
- Page 5 Standard Tip Kit Installation Hardware aa x 2 bb x 1 cc x 2 (Mounting Plate) (Nylon Strap) (Screw) What you need Pencil Drill Wall Fixings Because of the variety of wall compositions, we can’t provide you with appro- priate wall xings. Please identify your wall composition and contact your local hardware store to get the appropriate xings.
- Page 6 Screw one of the brackets (aa) onto the top of the piece of furniture in the middle at the back, using the short screws (cc) provided. aa x 1 cc x 2 Position the piece against the wall where you want it to go, place the second bracket (aa) onto the wall below the one xed to the piece and mark...
- Page 7 Attach the wall bracket using wall xings suitable for your type of wall. Place the piece of furniture back against the wall so the two brackets match up and tie them together with the plastic strap provided. e plates need NOT match exactly, but the plastic tie must go through each plate.
Need help?
Do you have a question about the Junior Kids Desk and is the answer not in the manual?
Questions and answers