Advertisement
Quick Links
Advertisement

Related Manuals for BROSA Smeaton Small Outdoor Dining Table


Summary of Contents for BROSA Smeaton Small Outdoor Dining Table
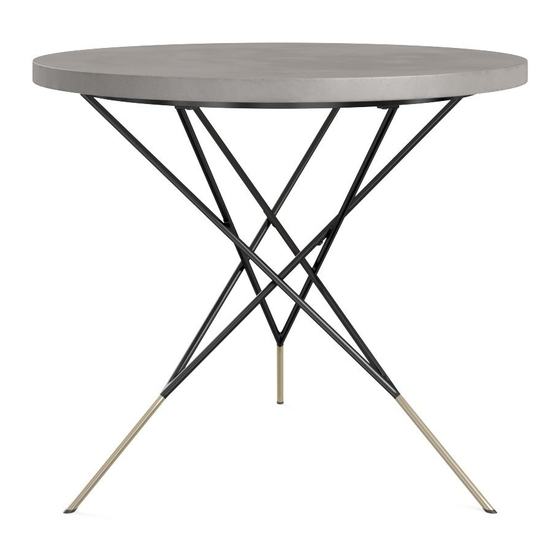
- Page 1 ASSEMBLY GUIDE Smeaton Small Outdoor Dining Table...
-
Page 2: What You Need
Components Before you get started, check you have all of the pieces below. If anything’s missing, please visit www.brosa.com.au/pages/product-return-and-parts-request and we’ll sort it out right away. Supporting Frame x 1 Table Top x 1 Leg x 3 Hardware A x 13... - Page 3 Position a leg upon the supporting frame Step 1 shown in below diagram. Make sure the bolt holes overlap. Fit a washer into a bolt and then insert the bolt into a hole. Secure the bolt with the Allen key but do not tighten it yet.
- Page 4 Position another leg upon the supporting frame. Step 2 Make it crossed with the rst leg as shown in below diagram so that the bracket attached to the second leg overlaps the hole on the rst leg. Fit a washer into a bolt and then insert the bolt into a hole on the supporting frame.
- Page 5 Position the third leg upon the supporting frame. Step 3 Make it crossed with the other two legs as shown in below diagram so that bracket attached to one leg overlaps hole on the other leg. Fit a washer into a bolt and then insert the bolt into a hole on the supporting frame.
- Page 6 Align the formed structure with the table top (1). Step 4 Make sure the bolt holes overlap. Fit a washer into a bolt and then insert the bolt into a hole. Secure the bolt with the Allen key but do not tighten it yet.
- Page 7 Tighten all bolts with the Allen key (C). Step 5 C x 1...
- Page 8 Place the dining table upright on a level surface and Step 6 then enjoy your new outdoor round dining table!
Need help?
Do you have a question about the Smeaton Small Outdoor Dining Table and is the answer not in the manual?
Questions and answers