Advertisement
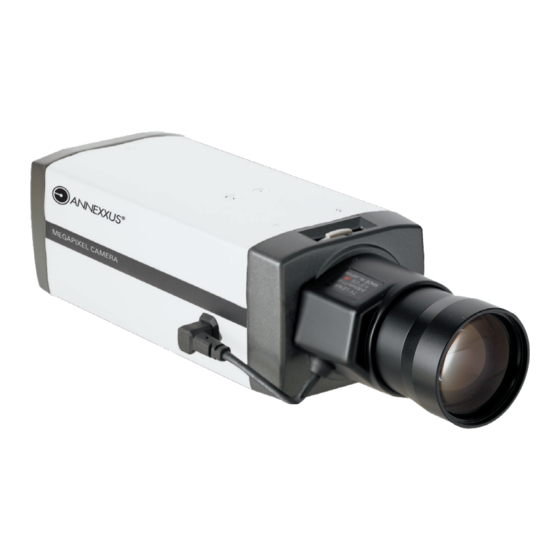
Ax41C1M 1MP Network Camera
•PARTS' LOCATIONS AND FUNCTIONS
SD card slot
Power(White:-/Red:+)
RJ-45 Network Connection
Connector
24V AC
12V DC
Red
24V AC
Positive
White
24V AC
Negative
Reset Button
Audio Out(Port 6)
Audio In(Port 4)
Quick Start Guide
Please read this manual thoroughly before using, and keep it handy for future reference.
Assigning an IP address
1. The network camera is designed to be used on an Ethernet network. The
camera is set to use the default IP address of 192.0.0.16. If your
network supports DHCP, you will need to enable this feature from the
camera network settings.
2. To connect to the camera, the PC needs to be on the same IP address
range as the camera (ie. if the camera is 192.0.0.16 then the PC must
be 192.0.0.10) the last digits on the PC IP address needs to be different
from the last digits on the cameras IP address.
3. To make sure you can connect to the camera with your PC, ping the IP
address you set. Open command prompt and type the IP address you
set. If the message of "Reply from..." appears, it means communication
is established.
4. Start a browser and enter the IP address: http://192.0.0.16, a pop-up
window will appear and will require you to login. Enter the default user
name: admin and password: 1234 to login.
5. Please install the ActiveX viewer that is required to monitor H.264,
MPEG4 and M-JPEG video modes.
6. Images of the camera can be viewed through your web browser IE V.6.0
& up. Before viewing, you have to follow the steps below.
Security level settings
How to Change Security options in your browser
1. From the Tool menu, select Internet options.
2. Click on the Security tab.
3. If the camera is on the INTRAnet Click the Local intranet icon,
If the camera is on the INTERnet click the Internet icon.
4. Click on Custom level.
5. Check the following radio buttons in the display list:
Under ActiveX controls and plug-ins
* Enable "Download signed ActiveX controls"
* Enable "Run ActiveX control and plug-ins"
* Enable "Script ActiveX controls marked safe for scripting*"
6. Click OK.
Update Fireware Before Use
CAUTION
-Ensure the network connection and power
supply are all connected while updating
fi rmware.
-Ensure to udpate the kernal fi rmware fi le
fi rst and then the application fi rmware fi le.
-Ensure that the power supply correctly
connects to the +/- terminal.
Advertisement
Table of Contents

Related Manuals for i3 International Ax41C1M


Summary of Contents for i3 International Ax41C1M
-
Page 1: Quick Start Guide
Quick Start Guide Please read this manual thoroughly before using, and keep it handy for future reference. Ax41C1M 1MP Network Camera •PARTS' LOCATIONS AND FUNCTIONS Assigning an IP address 1. The network camera is designed to be used on an Ethernet network. The camera is set to use the default IP address of 192.0.0.16. - Page 2 QUICK START GUIDE Ax41C1M 1MP Network Camera This function is designed to update firmware. Stop all camera operations when you update firmware. Do not turn off power or disconnect the internet connection during the firmware update process. Click “Restart Camera” after you have updated firmware suc- cessfully.
Need help?
Do you have a question about the Ax41C1M and is the answer not in the manual?
Questions and answers