Table of Contents

Related Manuals for Simons Voss Technologies 3061


Summary of Contents for Simons Voss Technologies 3061
- Page 1 Digital Half Cylinder 3061 State of: June 2006...
- Page 2 Digital Half Cylinder 3061 Content Method of Operation __________________________________4 General Information ______________________________________ 4 Opening and Locking _____________________________________ 4 Special Models _______________________________________4 PLUS Version ___________________________________________ 4 Additional Functions __________________________________5 OMRON ________________________________________________ 5 Extending the Coupling Time ______________________________ 5 Logging Unauthorized Access Attempts _____________________ 5...
-
Page 3: Table Of Contents
Digital Half Cylinder 3061 Content Installation Instructions________________________________7 General Information ______________________________________ 7 Programming a Half Cylinder ______________________________ 7 Installing in Doors _______________________________________ 7 Installation Behind Blanks for Half Cylinders With 3 Setscrews __ 8 (New Flange Mounting) _________________________________________ 8 6.4.1 Removal of the Knob and Flange of the Half Cylinder __________ 8 6.4.2 Installing the Knob and Flange of the Half Cylinder ____________ 9... -
Page 4: Method Of Operation
The cylinder does not couple, how- ever, and you cannot open the door. Special Models The Digital Half Cylinder 3061 is also available in the following optional versions: PLUS Version Design is similar to the standard version but with access logging and time zone control. -
Page 5: Additional Functions
Digital Half Cylinder Page 5 Additional Functions OMRON All product versions can be operated in OMRON mode. You will find a detailed description in the Smart Relay manual. Extending the Coupling Time The default time for the coupling of the cylinder is approximately 5 seconds. You can use the software to extend this time to approximately 10 seconds. -
Page 6: Transponder
Digital Half Cylinder Page 6 Warning Level 3 (SW version 10.3 and later) If you continue to ignore the backup battery warning, either the door can be used 50 more times or the cylinder switches off after 4 - 5 weeks if there is no further op- eration. -
Page 7: Installation Instructions
Digital Half Cylinder Page 7 For PLUS versions, you must reset the time of day after the battery change because the clock does not work without current (Software Operating Instruc- tions: Programming Setting the clock on the locking). Installation Instructions General Information Only trained and authorised personnel are permitted to perform the installation. -
Page 8: Installation Behind Blanks For Half Cylinders With 3 Setscrews
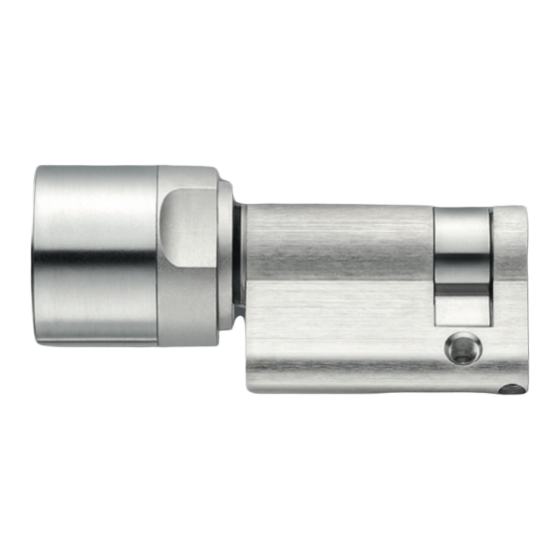
Digital Half Cylinder Page 8 Installation Behind Blanks for Half Cylinders With 3 Setscrews (New Flange Mounting) pipe locknut setscrews pipe main backuo battery battery knob slot cable flange allen screw electronics module 6.4.1 Removal of the Knob and Flange of the Half Cylinder 1. -
Page 9: Installing The Knob And Flange Of The Half Cylinder
Digital Half Cylinder Page 9 6.4.2 Installing the Knob and Flange of the Half Cylinder 1. Put on the locknut. The flat surface with the bore holes faces away from the cylinder. Note: If you cannot see any screw thread on the end of the pipe, this cylinder has a new flange mounting (in this case, refer to Point 6.4). -
Page 10: Removal Of The Knob And Flange Of The Half Cylinder
Digital Half Cylinder Page 10 6.5.1 Removal of the Knob and Flange of the Half Cylinder 1. Firmly hold the knob and remove the locknut on the back of the knob from the knob with the special tool for half cylinders. 2. -
Page 11: Perform Function Test
Digital Half Cylinder Page 11 5. Fix the electronics module to the flange with the Allen screws that are parallel to the battery (same Allen key). Make sure that the cable is not pinched. 6. Connect the cable to the electronics socket and lay it so that it is flat on the electronics covering and not in the way when screwing on the knob (danger of pinching). -
Page 12: Data Sheet
Digital Half Cylinder Page 12 Data Sheet Dimensions Standard length 30/10 mm Max. profile length 100 mm (in 5mm intervals) Knob diameter 32 mm Knob length 51.5 mm (distance from knob end to profile fore-part) Standard for profile DIN 18252 dimensions Battery Batteries...
Need help?
Do you have a question about the 3061 and is the answer not in the manual?
Questions and answers