Advertisement
Quick Links
INSTALLATION INSTRUCTIONS
VOLT
Low Voltage Landscape Lighting
®
VOLT
All-Star
®
VPL-3026 Series
Help Hotline:
1-813-978-3700 • Mon-Fri 8am-8pm • Sat-Sun 10am - 6pm (EST)
Specifications and product details subject to change without notice.
© Copyright 2018, VOLT
reserved. customersupport@voltlighting.com • 813.978.3700
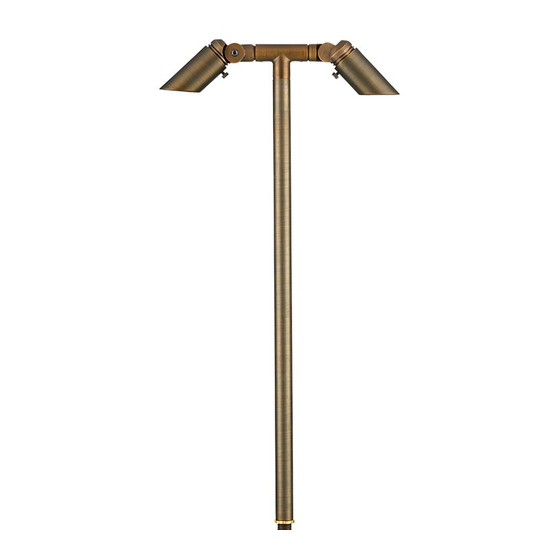
Mini Twinnovator Path & Area Light
TM
Lighting, Lutz FL USA 33549 • All rights
®
- 1 -
Advertisement

Subscribe to Our Youtube Channel
Summary of Contents for Volt All Star Mini Twinnovator
- Page 1 VPL-3026 Series Help Hotline: 1-813-978-3700 • Mon-Fri 8am-8pm • Sat-Sun 10am - 6pm (EST) Specifications and product details subject to change without notice. © Copyright 2018, VOLT Lighting, Lutz FL USA 33549 • All rights ® reserved. customersupport@voltlighting.com • 813.978.3700...
-
Page 2: Important Safety Instructions
INSTALLATION INSTRUCTIONS VOLT All Star Mini Twinnovator ® VPL-3026 Series Important: Please Read Before Installation This luminaire is intended for installation in accordance with local codes and the National Electric Code (NEC). Failure to adhere to these codes and instructions may result in serious injury, property damage and void the warranty. - Page 3 Package Contents A. (1) Fixture Body B. (2) Stake Parts Required A. (2) MR11 Lamps B. (1) Stake Cover (optional) Product Dimensions 14.65” 6” 4.5” 3.2” 2.7” 26.2” customersupport@voltlighting.com • 813.978.3700 - 3 -...
- Page 4 INSTALLATION INSTRUCTIONS VOLT All Star Mini Twinnovator ® VPL-3026 Series Install Stake Determine the desired location for Board mounting the fixture. Hammer the stake into the ground until flange of stake is flush to grade. To avoid damage to the...
- Page 5 Install Shield and Glare Guard Fixture Body Place the shield over the lamp and thread onto the fixture. Attach the Shield glare guard back onto the shield and secure with the set screw. Tighten until snug. Set Screw Glare Guard Install Fixture to Stake Clear away an area in the ground at the wireway slot on top of the...
- Page 6 INSTALLATION INSTRUCTIONS VOLT All Star Mini Twinnovator ® VPL-3026 Series Wire Connections Pigtail Wire Connectors Main Supply Cable Strip both leads from the luminaire pigtail. Using two wire connectors (sold separately), connect the leads from the luminaire to the main supply cable leads.
- Page 7 Install/Replace Lamp Loosen the set screw on glare guard, remove the glare guard and the shield to expose the lamp. Replace it with the correct wattage and type marked on the fixture label. Then reinstall the shield and glare guard and tighten with the set screw. IMPORTANT: Halogen lamps must be protected from moisture and dust at all times.
- Page 8 . v o l t l i g h t i n g . c o m Specifications and product details subject to change without notice. © Copyright 2018, VOLT Lighting, Lutz FL USA 33549 • All rights ®...


Need help?
Do you have a question about the All Star Mini Twinnovator and is the answer not in the manual?
Questions and answers