Advertisement
IMPORTANT SAFEGUARDS
When using electrical equipment, basic safety precautions should always be followed including the
following:
READ AND FOLLOW ALL SAFETY INSTRUCTIONS
1.
DANGER- Risk of shock- Disconnect power before installation.
DANGER – Risque de choc – Couper l'alimentation avant l'installation.
2.
This luminaire must be installed in accordance with the NEC or your local electrical code. If you
are not familiar with these codes and requirements, consult a qualified electrician.
Ce produit doit être installé conformément à NEC ou votre code électrique local. Si vous n'êtes
pas familier avec ces codes et ces exigences, veuillez contacter un électricien qualifié.
3.
DO NOT lift luminaire by the power leads or cord.
SAVE THESE INSTRUCTIONS FOR FUTURE
TO INSTALL:
1
2
Canopy
3
2.00"
Stem Hole
1 of 2
REFERENCE
Insert
Mounting
Screws
3/4" NPT Stem
(Provided by customer)
Luminaire Hub
4.00"
0.325"
Alignment Hole
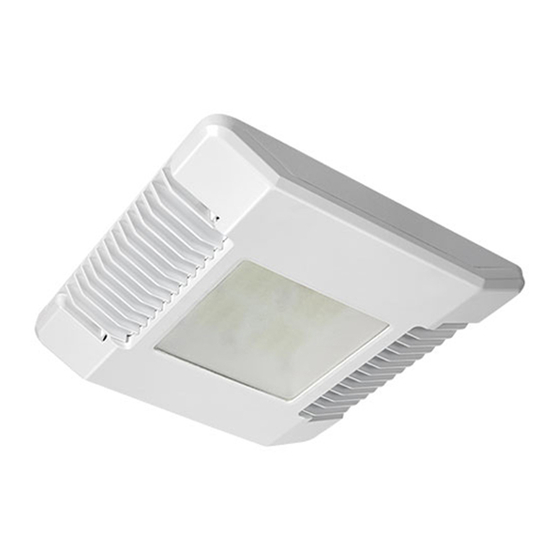
LED Canopy Luminaire
Includes: CPY250
INSTALLATION INSTRUCTIONS
INSTRUCTIONS D'INSTALLATION
NOTE:
No user maintenance is required. Do not
remove the enclosure cover after installation.
DIRECT MOUNT - CANOPY APPLICATIONS
NOTE: For use with XA-BXCCJBOX accessory or customer
supplied junction box and stem.
STEP 1:
Remove bushing from threaded hub.
STEP 2:
Cut a 2.0" hole for stem into canopy. For installation using
alignment template instructions refer to "Alignment
Template (Optional)" section.
NOTE: Luminaire can be mounted to an existing hole in
canopy up to 4" diameter.
STEP 3:
To mount luminaire to canopy, insert and tighten (4)
supplied Phillips hex head self-drilling sheet metal
screws as shown in
Figure 1.
STEP 4:
From above canopy feed leads from luminaire through
customer supplied 3/4" NPT Stem. Screw customer
supplied NPT Stem into luminaire hub. See
STEP 5:
Attach customer supplied junction box to the other end of
the customer supplied 3/4" NPT Stem and make wiring
connections into customer supplied junction box per
"Electrical Connections" section.
STEP 6:
Apply sealant around stem, hub and alignment screw for a
complete seal.
ALIGNMENT TEMPLATE (OPTIONAL)
STEP 1:
Reference Figure 3 for alignment. Insert supplied #8
screw into alignment hole on luminaire. See Figure 4 (on
back page).
STEP 2:
Cut a 2.0" hole into the desired location of the canopy to
mount the threaded hub of the luminaire. See Figure 3.
STEP 3:
4" away from the Stem Hole, drill a 0.325" hole, Alignment
Hole, using a 11/32" drill bit for the alignment screw. See
Figure 3.
CPY Series
Luminaires
TM
Figure 2.
CI391X01R2
Advertisement
Table of Contents

Related Manuals for Cree CPY Series


Summary of Contents for Cree CPY Series
- Page 1 CPY Series LED Canopy Luminaire Includes: CPY250 Luminaires IMPORTANT SAFEGUARDS INSTALLATION INSTRUCTIONS INSTRUCTIONS D’INSTALLATION When using electrical equipment, basic safety precautions should always be followed including the following: READ AND FOLLOW ALL SAFETY INSTRUCTIONS DANGER- Risk of shock- Disconnect power before installation.
- Page 2 GREY DIM (-) GREY © 2015 Cree, Inc. All rights reserved. For informational purposes only. Content is subject to change. See www.cree.com/lighting/products/warranty for warranty and specifications. Cree® is a registered trademark, and the Cree logo is a trademark of Cree, Inc.
Need help?
Do you have a question about the CPY Series and is the answer not in the manual?
Questions and answers