Advertisement
Quick Links
Advertisement

Related Manuals for Gorenje Classico K57CLI1


Summary of Contents for Gorenje Classico K57CLI1
-
Page 2: Important Precautions
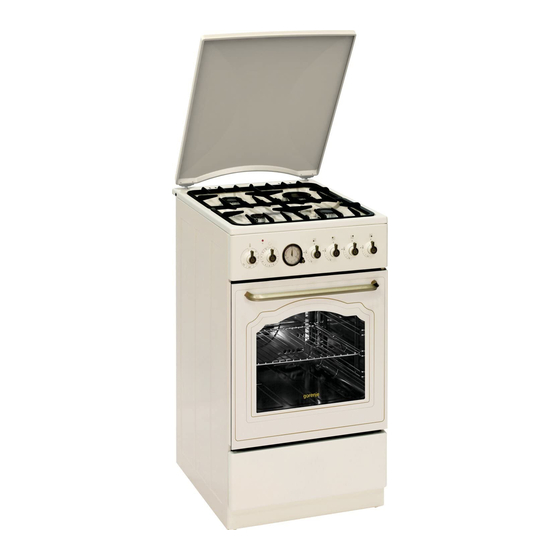
Dear customer! discovered removed by qualified Thank you for purchasing a new combined personnel room thoroughly electric and gas cooker. The following ventilated. When using gas for cooking, heat and information will help you understand the features of the appliance and use it safely. moisture are generated into the room, so We hope the appliance will serve you make sure it gets sufficient air supply: keep... - Page 3 instructions recommendations BEFORE FIRST USE herewith. Do not use pressure vapor cleaner for Prior to usage it is necessary to remove any packing cleaning the appliance. material from the range. Cooker may only be installed against non Various parts and components of the range and package are recyclable.
- Page 4 knob towards the panel to a limit position. High Forcible overturning of the zero position will lead to the thermostat damage! voltage ignition device starts firing the burner. After firing the burner hold the knob pressed to a WARNING! limit position to the panel for about 3 seconds till the flame sensor heats up.
- Page 5 Tip: This function is also used for grilling or baking bulky meat chunks at high temperature. Oven door is closed. Applying lower heater/ Aqua Clean Heat is applied only by the bottom side of the oven. Use this option for browning the bottom side of the food (baking heavy, moist pastry with fruit dressing).
- Page 6 Setting the stop time - the oven will stop ELECTRONIC PROGRAM TIMER operating at the preset time. Setting delayed start oven will automatically start and stop operating at a preset time. SETTING THE STOP TIME This mode allows you to set the time at which you wish the oven to stop operating.
- Page 7 hold it for 2 seconds, and set a new cooking time if necessary. SETTING THE MINUTE MINDER The clock can also be used as a minute minder which will sound an alarm upon expiry of a set amount of time. The minute minder can only be selected when the program timer is not programmed or in use.
- Page 8 CHANGE OF AN OVEN LAMP Set all the control knobs to "off" and disconnect the cooker from the mains. Unscrew the lamp glass cover in the oven by turning left. Unscrew the faulty bulb. Put and screw a new bulb in. ...
- Page 9 CLAIM LOCATION OF THE RANGE If there is any defect on the cooker within the period The appliance is designed for installation in the line of warranty, do not repair it by yourself. Make a of kitchen cabinets. The cooker can be located in the claim at a shop in which you bought the cooker or at standard kitchen with a minimum space of 20 service representatives.
- Page 10 IMPORTANT PRECAUTION CAUTION In case of left side connection (seen from the front) Make sure that the power cord is installed in such the hose must be connected by means of a clamp way to avoid touching hot parts of the cooker fixed in the back cover opening.
-
Page 11: Leveling The Appliance
LEVELING THE APPLIANCE Cooker hob must be leveled in horizontal position by means of 4 leveling screws supplied with the appliance. PROCEDURE Remove the range receptacle; Tilt the cooker on one side; Screw plastic screws into the bottom crossbar front and rear openings on one side;... -
Page 12: Information Table
ACCESSORIES K57CLI1 K57CLB1 Grid Backing tray Gril pan Adjustable feet Fixing clamp Grid for small vessels Nozzle - Natural gas G 20 – 13 mbar Nozzle - Propane-butane G30 – 30 mbar INFORMATION TABLE Model K57CLI1 K57CLB1 A – More efficient G –...