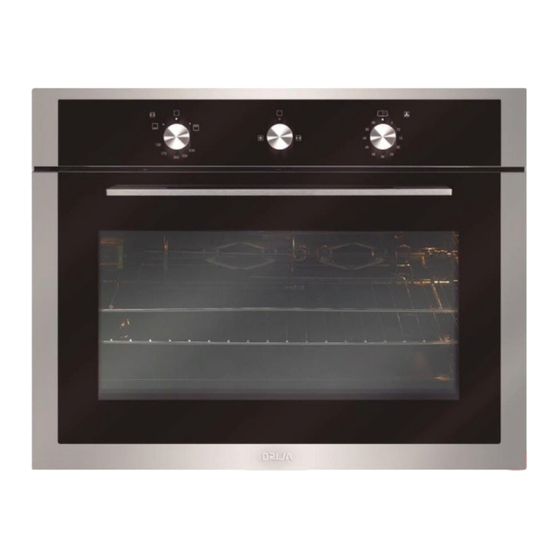
Summary of Contents for Drija Roma 76
- Page 2 User Manual HORNO A GAS | ROMA 76 1. PRECAUTIONS FOR USE ................3 2. USING THE OVEN………………………………………………………………….4 3. KITCHEN PRACTICAL TIPS ................9 4. INSTRUCTIONS FOR INSTALLATION ............10...
-
Page 3: Precautions For Use
User Manual HORNO A GAS | ROMA 76 PRECAUTIONS FOR USE Warning: a) The use of a gas cooking appliance results in the production of heat and moisture in the room in which it is installed. Ensure that the kitchen is well ventilated: keep... -
Page 4: Using The Oven
User Manual HORNO A GAS | ROMA 76 USING THE OVEN The various features of this oven are controlled via the knobs and buttons located on the control panels. Notices: The first time you use your appliance, we recommend that you set the thermostat to the highest setting and leave the oven on for about half an hour with nothing in it, with the oven door shut. - Page 5 User Manual HORNO A GAS | ROMA 76 Lighting the oven manually In the event of a brief power failure, the oven burner can be lit by hand: a) Open the oven door b) Hold a match or lighter near the burner hold as shown in the figure, press knob “B”, in fully and turn it anticlockwise, setting it to the Max position.
- Page 6 User Manual HORNO A GAS | ROMA 76 Important: when using the grill, the oven door must be kept shut; for further details on show to use the rotisserie, please read the corresponding paragraph. The rotisserie (only available on certain models)
- Page 7 User Manual HORNO A GAS | ROMA 76 The oven light button (C) This is the button indicated by symbol and allows you to turn the light on inside your oven to supervise cooking without having to open the oven door.
- Page 8 User Manual HORNO A GAS | ROMA 76 The minute minder can be used independently of an oven cooking function for a time period of up to 60 minutes. To set the timer, turn the knob fully clockwise until it stops and then turn it back anticlockwise to the required time.
- Page 9 User Manual HORNO A GAS | ROMA 76 3. CONSEJOS PRÁCTICOS DE COCINA The oven offers a wide range of alternahves which allow you to cook any type of food m the best possible way With time you will learn to make the best use of this...
- Page 10 User Manual HORNO A GAS | ROMA 76 Make sure that the grid is inserted so that it is in the centreof the oven. If you would like to increase the amount of lrom below, use the Iow rack heights For savoury sts (especially duck and wild game), dress the meath lard or bacon on the top.
- Page 11 User Manual HORNO A GAS | ROMA 76 b) The room must also have a system that allows for normally. The flow of air needed for combustion must not be less than 2 m3/h per KW of installed power. The air circulation system may take air directly form the outside by means of a pipe with an inner cross section of at least 100 cm2;...
- Page 12 User Manual HORNO A GAS | ROMA 76 In order to ensure adequate ventilation, the back panel of the cabinet unit must be removed. Installing the oven so that it rests on two strips of wood is preferable. If the oven rests on a continuous, flat surface, there must an aperture of at least 45*860mm.
- Page 13 User Manual HORNO A GAS | ROMA 76 Electrical Connection Those ovens equipped with a three-pole power supply cable are designed to operate with alternating current with the voltage and frequency indicated on the data plate (located on the appliance) and in the instruction manual. The wire for earthing the appliance is yellow-green in color.
- Page 14 User Manual HORNO A GAS | ROMA 76 Connecting the supply cable to the mains Install a standardized plug corresponding to the load indicated on the data plate. When connecting the cable directly to the mains, install an omnipolar circuit-breaker with a minimum contact opening of 3 mm between the appliance and the mains.
- Page 15 User Manual HORNO A GAS | ROMA 76 Connection to the gas system must be made in such a way as not tot cause any stress of any kind on the appliance. There is an adjustable L-shaped pipe fitting on the supply ramp to the appliance, whose watertightness is ensured by a seal.
- Page 16 User Manual HORNO A GAS | ROMA 76 Replace all the parts, following the steps described above in the reverse order Regulating the primary air for the oven Technical Specifications Inner dimensions of the oven: Width: 594 mm Depth: 334 mm...
- Page 17 User Manual HORNO A GAS | ROMA 76 Adjust the screw located outside the thermostat cock pin until the flame is small but steady ( the flame can be seen through the slots on the oven bottom) N.B.: In this case of liquid gas, the regulation screw must be screwed in all the way.


Need help?
Do you have a question about the Roma 76 and is the answer not in the manual?
Questions and answers