SCIFIT PRO1 Replacement Manual
Jackshaft assembly replacement
Hide thumbs
Also See for PRO1:
- Owner's operation manual (46 pages) ,
- User's operation manual (40 pages) ,
- Assembly manual (25 pages)
Table of Contents
Advertisement
Quick Links
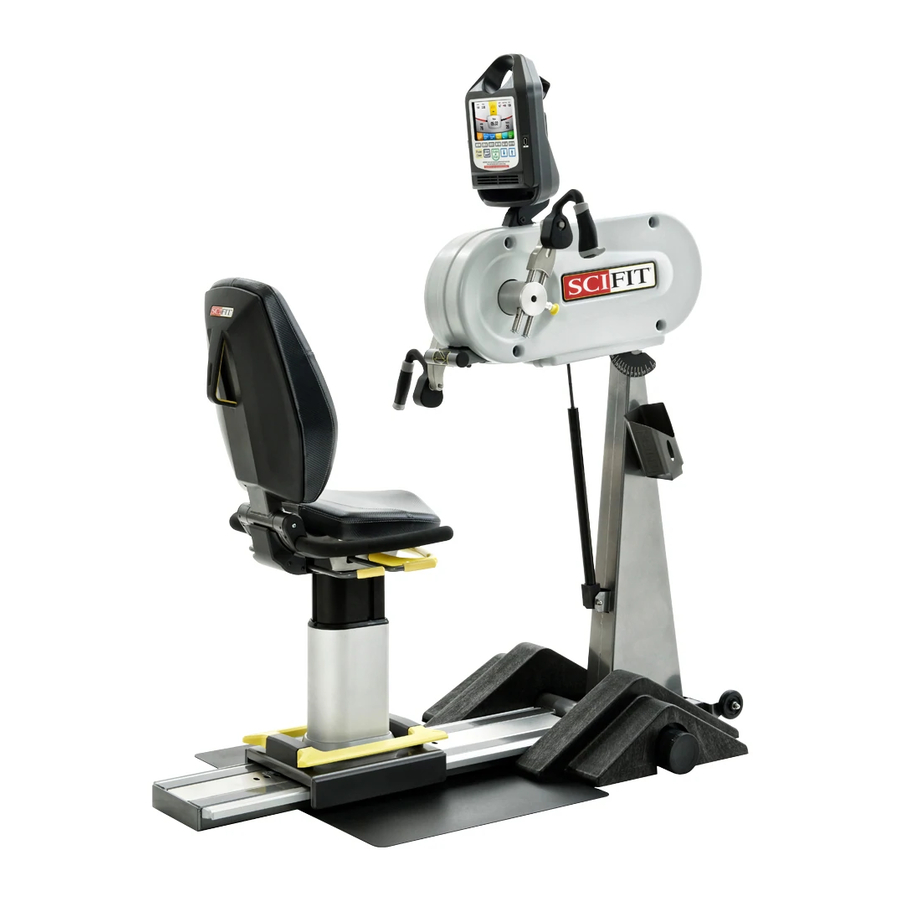
PRO1 Jackshaft Assembly Replacement
1. Remove covers using the "PRO1 Cover Removal and Replacement"
procedure.
2. Remove the jam nuts and beveled mall washers from the brake tension
bolt on the front of the display support (A2444). (Fig. 1)
3. Remove the front support bolts with lock washers on each side of the unit,
using a 1/2 "socket or wrench. (Fig. 1)
4. Loosen the rear support bolts with washers but do not remove. (Fig. 1)
5. Hinge the display support to the upright position. (Fig. 1)
6. Mark the position of the brake mounting bolts on the monocoque. (Fig.1)
7. Loosen the four (4) brake mounting bolts but do not remove. (Fig. 1)
8. Slide the brake (S1906) along the slots in the monocoque to relieve belt
tension. (Fig. 1)
Fig. 1
1
Advertisement
Table of Contents

Related Manuals for SCIFIT PRO1


Summary of Contents for SCIFIT PRO1
- Page 1 PRO1 Jackshaft Assembly Replacement Fig. 1 1. Remove covers using the “PRO1 Cover Removal and Replacement” procedure. 2. Remove the jam nuts and beveled mall washers from the brake tension bolt on the front of the display support (A2444). (Fig. 1) 3.
- Page 2 Fig. 2 9. Using a 5/32” Allen wrench, remove the bolt and washer located in the middle of the each bearing retaining washer (A1972). (Fig. 2) 10. Remove the bearing retaining washers. (Fig. 2)
- Page 3 11. Using a ½” socket, remove the bolts and washers from the bearing housings (A1660) mounting the jackshaft assembly (A3588). (Fig. 2) 12. Remove the bearing housings from the end of the jackshaft. (Fig. 2) 13. Carefully remove the jackshaft assembly from the monocoque by unhooking the chains and belt and sliding the assembly out the direction of the black pulley (P1097).
Need help?
Do you have a question about the PRO1 and is the answer not in the manual?
Questions and answers