Advertisement
Quick Links
Advertisement

Related Manuals for Daikin KRCS01-7B


Summary of Contents for Daikin KRCS01-7B
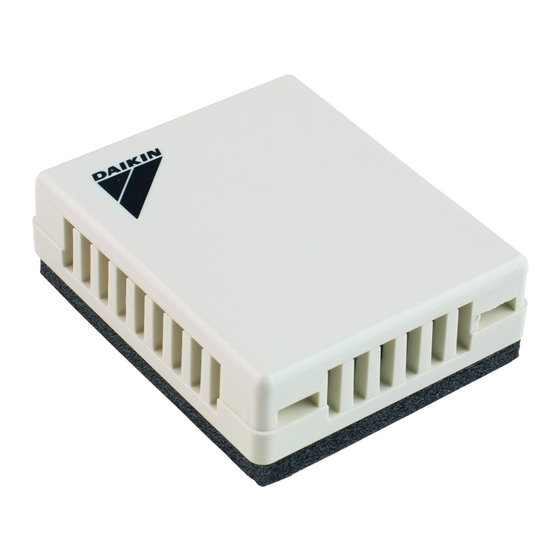
- Page 1 4P564107-1 Installation Manual Remote sensor KRCS01-7B...
- Page 3 Be sure to read this manual before installation and follow the instruction. Notes ■ Please check applicable kit model name by catalog etc.. ■ When installed on SkyAir Round-flow type models, the humidification by detection of humidity does not operate. Accessories Check the following accessories: Name...
- Page 4 Mounting Remove the cover of the sensor box. 1. Insert a flat blade screw driver (about 6mm width) into the sensor box concave part (2 locations). 2. Remove the cover pushing up the nail to the cover of the sensor box. Cautions: ■...
- Page 5 a Fasten the terminals with care to prevent the wires from touching each other b Clamp (knot) c Extension cable d Sheathed part e Sensor box Clamp hole • Screw the sensor box securely to the wall surface with screws M4X16 (2 places).
-
Page 6: Wiring Method
• Tap M4 screw holes in the metal 2-M4 plate (field supplies) as shown in the right drawing and mount the switch box on the metal plate. Holes to be tapped in the metal plate on site (unit: mm) (70) Cautions: ■... - Page 7 ■ Since the connector of the thermistor for detection of inlet air temperature differs depending on the indoor unit type, make sure to check the indoor unit wiring diagram and follow it correctly. ■ Lay and clamp the extension cable inside the indoor unit switch box just like the low voltage line (cord for remote controller).
- Page 8 2) Lay and clamp the extension cable inside the indoor unit switch box just like the existing thermistor. When doing this work, keep a certain distance between the high voltage wiring and the low voltage wiring to avoid error of sensor. Provide protection of the existing cable for thermistor without affecting other components.
- Page 10 4P564107-1 2018.12...
Need help?
Do you have a question about the KRCS01-7B and is the answer not in the manual?
Questions and answers