
Subscribe to Our Youtube Channel
Related Manuals for Shure SBRC


Summary of Contents for Shure SBRC
- Page 1 SBRC Battery Rack Charger User guide for SBRC battery rack charger. Version: 5 (2019-E)
-
Page 2: Table Of Contents
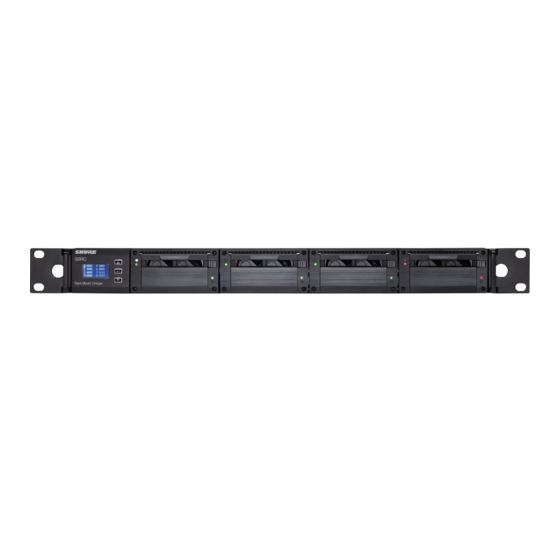
Shure Incorporated Table of Contents Batt. Temp. (Battery Temperature) SBRCBattery Rack Charger Network Status WARNING Utility Menu Note: IP Address Mode: Automatic SBRC Rack Mount Charger IP Address Mode: Manual Features GW Address Subnet Included Components MAC (MAC Address) Optional Accessories Brightness Optional Accessories Display Invert... -
Page 3: Sbrcbattery Rack Charger
EMC performance. • Use this battery charger only with the Shure charging modules and battery packs for which it is designed. Use with other than the specified modules and battery packs may increase the risk of fire or explosion. -
Page 4: Included Components
• Simple three-button interface control Included Components Part number varies by re gion. Contact your local IEC AC Power Cable (1) Shure representative for more information Shielded 3-foot Ethernet Cable (1) C803 Hardware Kit (1) 90XN1371 Mounting Screws for Charger Modules (8) -
Page 5: Batteries
Shure Incorporated Batteries This charger supports the following models of Shure lithium-ion rechargeable batteries: • AXT910 • AXT920 • AXT920SL • SB900 • SB900A • SB910 • SB920 • SB910M Charging Modules Caution! Remove AC power and batteries when installing charger modules. -
Page 6: Controls And Connectors
② Control Buttons For navigating the menu screen. Press and hold both arrow buttons to enter or exit the utility menu. ③ Charging Module Interchangeable modules for Shure lithium-ion batteries. ④ Charge Status LED Indicates battery charge status ⑤ Monitoring Selection LED This white LED shows which battery is selected in the monitoring menu. -
Page 7: Charge Status Led
Shure Incorporated Off = No network link On = Network link active Flashing = Network link active, flash rate corresponds to traffic volume. ⑪ Cooling Fan Vent Clean fan screen as needed to maintain airflow. Charge Status LED Each charger bay has an LED to indicate the status of the battery. -
Page 8: Inserting Batteries Into The Charging Bay
Shure Incorporated Press and hold the SET button for 1 second to activate the Hardware Identify feature in Wireless Workbench. Inserting Batteries into the Charging Bay Slide the battery into the charging bay until it locks into place. The charge LED illuminates and the charge cycle begins. -
Page 9: Monitoring Menu
Shure Incorporated Monitoring Menu Use the monitoring menu to access detailed information about each battery. From the home screen, use the arrow buttons to highlight the number of the battery you want to monitor. The white LED next to the selected battery illuminates when a selection has been made. -
Page 10: Network Status
Shure Incorporated Network Status IP address must be valid to enable networked control. • Active: Indicates connectivity with other devices on the network • Inactive: No connectivity with other devices on the network Utility Menu Press and hold both arrow buttons to enter and exit the utility menu, which contains network and display settings. -
Page 11: Subnet
Shure Incorporated When finished, use the arrow buttons to move the ► to select OK to save or Cancel to discard, and then press the SET button. Subnet Displays the current subnet setting. Press SET button to edit in IP menu. -
Page 12: Firmware
Shure Incorporated • Store at 3.8 V: Charges or discharges all batteries to bring them to a 3.8 volts, ideal for long term storage Firmware Displays the version of firmware installed on this device. Serial Number Displays the serial number. Device ID This eight-character name is displayed when this device is detected on other network devices or in WWB software. -
Page 13: Recovering A Battery From Deep Discharge
To take advantage of design improvements, new versions of the firmware can be uploaded and installed using the Firmware Update Manager tool available in Wireless Workbench software. Firmware is available for download from www.shure.com. Troubleshooting and Error Messages... -
Page 14: Energy Efficiency Mode
Shure Incorporated Warnings and Error Messages Troubleshooting Solution are clean and undamaged. If condition persists, replace the battery. Check the battery contacts and charger module contacts to Check Charger make sure they are clean and fully engaged. If condition per sists, try substituting a functional battery or charger module. -
Page 15: Certifications
Shure Incorporated Battery Charging Temperature Range 0°C (32°F) to 60°C (140°F) Storage Temperature Range -29°C (-20°F) to 74°C (165°F) Dimensions 44 mm x 483 mm x 366 mm (1.7 in. x 19.0 in. x 14.4 in.), H x W x D Weight 4.4 kg (9.8 lbs), without batteries or charging modules... -
Page 16: Information To The User
Consult the dealer or an experienced radio/TV technician for help. Changes or modifications not expressly approved by Shure Incorporated could void your authority to operate this equipment. Please consider the environment, electric products and packaging are part of regional recycling schemes and do not belong to regular household waste.
Need help?
Do you have a question about the SBRC and is the answer not in the manual?
Questions and answers