Table of Contents
Advertisement
Quick Links
Advertisement
Table of Contents

Subscribe to Our Youtube Channel
Related Manuals for Ovation Pioneer 100 ZOOM WW/CW


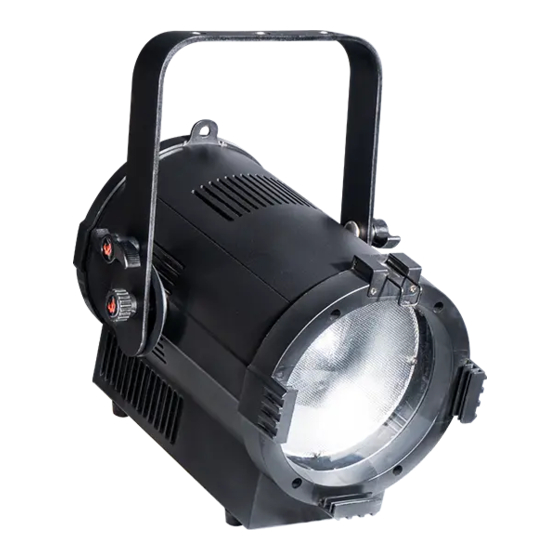
Summary of Contents for Ovation Pioneer 100 ZOOM WW/CW
- Page 1 PIONEER 100 ZOOM WW/CW 100W LED fresnel with zoom USER MANUAL...
-
Page 2: Table Of Contents
Table of contents Caution! ......................... 3 Introduction ......................3 Safety instructions ....................3 Overview........................ 3 Installation ......................4 Read ‘Safety information’ before installing the fixture..............Fastening the fixture to a flat surface ....................Mounting the fixture on a truss ......................Securing with a safety cable ....................... -
Page 3: Caution
Caution! Be careful with your operations. With a dangerous voltage you can suffer a dangerous electric shock when touching the wires! Avoid looking directly into the light source! Wear protective glasses and other PPE (personal protective equipment) when working on or near the fixture. -
Page 4: Installation
Installation Read ‘Safety information’ before installing the fixture. The fixture is designed for indoor use only and must be used in a dry location with adequate ventilation. Ensure that none of the fixture’s ventilation slots are blocked. Fasten the fixture to a secure structure or surface. Do not stand it on a surface or leave it where it can be moved or fall over. -
Page 5: Mounting The Fixture On A Truss
Mounting the fixture on a truss The fixture can be clamped to a truss or similar rigging structure in any orientation. When installing the fixture hanging vertically down, you can use an open-type clamp such as a G-clamp. When installing in any other orientation, you must use a half-coupler clamp that completely encircles the truss chord. -
Page 6: Power Connection
tor between Signal (–) and Signal (+) into a 3-pin XLR-plug and plug it in the DMX-output of the last fixture. Power connection Power Requirements The Pioneer 100 zoom luminaire operates on 100 to 240 volts AC (+/- 10%, auto-ranging). The luminaire contains an auto-ranging power supply. -
Page 7: Addressing
Addressing All fixtures should be given a DMX starting address when using a DMX signal, so that the correct fixture responds to the correct control signals. This digital starting address is the channel number from which the fixture starts to listen to the digital control information sent out from the DMX controller. The alloca- tion of this starting address is achieved by setting the correct number on the display located on the base of the device. -
Page 8: Id Address Selection
3 Channels Mode Function Function Control Strobe 000-255: strobe with speed increasing Zoom 000-255: zoom function 4 Channels Mode Function Function Control Dimmer 000-255: 0-100% dimmer Strobe 000-255: strobe with speed increasing Zoom 000-255: zoom function 000-005: Menu setting 006-055: Dimmer speed 0 (no delay) 056-105: Dimmer speed 1 Dimmer mode 106-155: Dimmer speed 2... -
Page 9: Fixture Cleaning
CH5 is used to select the target ID address. DMX value Function DMX value Function DMX value Function 000-009 ID1-ID66 ID23 ID46 010-019 ID24 ID47 020-029 ID25 ID48 030-039 ID26 ID49 040-049 ID27 ID50 050-059 ID28 ID51 060-069 ID29 ID52 070-079 ID30 ID53... -
Page 10: The Fixture Does Not Work, No Light
Check the connection of power and main fuse. Be sure the external fuse has not blown. • Measure the mains voltage on the main connector. Technical specifications Model Pioneer 100 zoom WW/CW Power supply: AC100-240V, 50/60Hz Light source: 100W COB LED...
Need help?
Do you have a question about the Pioneer 100 ZOOM WW/CW and is the answer not in the manual?
Questions and answers