Advertisement
Quick Links
Advertisement

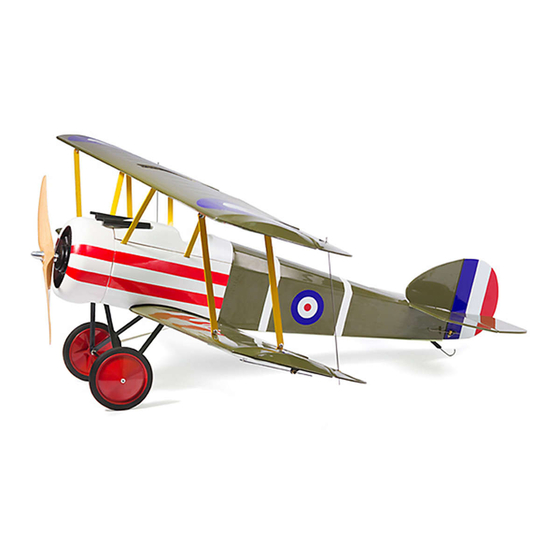
Summary of Contents for H-KING Sopwith Camel British WW1 Fighter
- Page 1 Instruction Manual...
-
Page 2: Safety Instructions
SAFETY INSTRUCTIONS 1. Please read this manual carefully and follow the instructions of the manual before you use this products. 2. Our airplane is not a toy, which is only suitable for experienced pilot. Or if you are a novice pilot, please operate under the guidance of an experienced pilot. - Page 3 SOPWITH CAMEL INSTRUCTION MANUAL Undercarriage assembly. Please note: Each pair of struts has different length.
- Page 4 Insert a 3 x 30 mm screw into the wheel hub and lock it with a nut bolt. Make sure the bolt is locked with Loctite glue but still need to leave a gap in order to let the wheel spin freely.
- Page 5 Install the strut on the wheel axle. Please be reminded that the shorter strut is seated against the bolt and then the longer strut sits on top. Use the supplied bolt to lock it in place as shown. Make another side by using the same method shown above.
- Page 6 Insert the rudder onto the stabilizer. Trim the covering for a good wood to wood bonding. Apply wood CA glue to the mounting tabs as shown. Use a straight edge to ensure the apply too much CA glue at one time as it causes whitening on the coverings.
- Page 7 You may install the empennage at this time. Apply small amount of slow curing CA glue to the fuselage. Also apply slow curing CA glue to the hinge on the rudder. So you need to insert the hinge onto the rudder and fuselage and also install the empennage onto the fuselage at this time.
- Page 8 Trail fit the lower wing onto the fuselage. Use the supplied nylon screws to secure the wing onto the fuselage.
- Page 9 You may install the undercarriage as shown in the picture below.
- Page 10 Please apply Loctite glue to all the screws and bolts. Also apply Loctite glue generously on the wheel axle.
- Page 11 Then, insert a piece of aluminium tube as shown in the picture below. Set aside until the glue dries. Completed the undercarriage installation.
- Page 12 Put the plane on a flat ground and check the alignment of the undercarriage. Adjust accordingly to ensure the wing is levelled to the ground. At the same time, you can also check the wheels if spin freely. Adjust the bolts on the axle accordingly. Wing strut installation.
- Page 13 Install the longer wing strut on the front which is close to the leading edge as shown. Install the shorter wing strut near the trailing edge as shown.
- Page 14 Install the inter-plane struts by using the supplied self taping screws as shown.
- Page 15 Insert the wing struts to the correspond slots on the top of the fuselage as shown.
- Page 16 Install the inter-plane struts by using the supplied self -taping screws. Install the inter-plane pushrod linkage onto the control horn as shown.
- Page 17 You may adjust the pushrod adjuster accordingly to trim both the upper and lower ailerons until they are parallel to each other. Apply Loctite glue to the grub screws on the pushrod adjusters after all the adjustments have been made. Before installing the rudder pushrod control linkage, ensure the rudder servo horn is perpendicular to the servo case.
- Page 18 Before installing the elevator pushrod control linkage, ensure the elevator servo horn is perpendicular to the servo case. Thread the pushrod to the pushrod adjuster and...
- Page 19 Cockpit detailing.
- Page 20 Install the supplied prop adapter onto the motor shaft. Put the scale prop onto the prop adapter and secure the prop with the prop nut supplied. Warning: For safety purpose, kindly take the propeller off when performing a radio setup. Completed.


Need help?
Do you have a question about the Sopwith Camel British WW1 Fighter and is the answer not in the manual?
Questions and answers