Advertisement
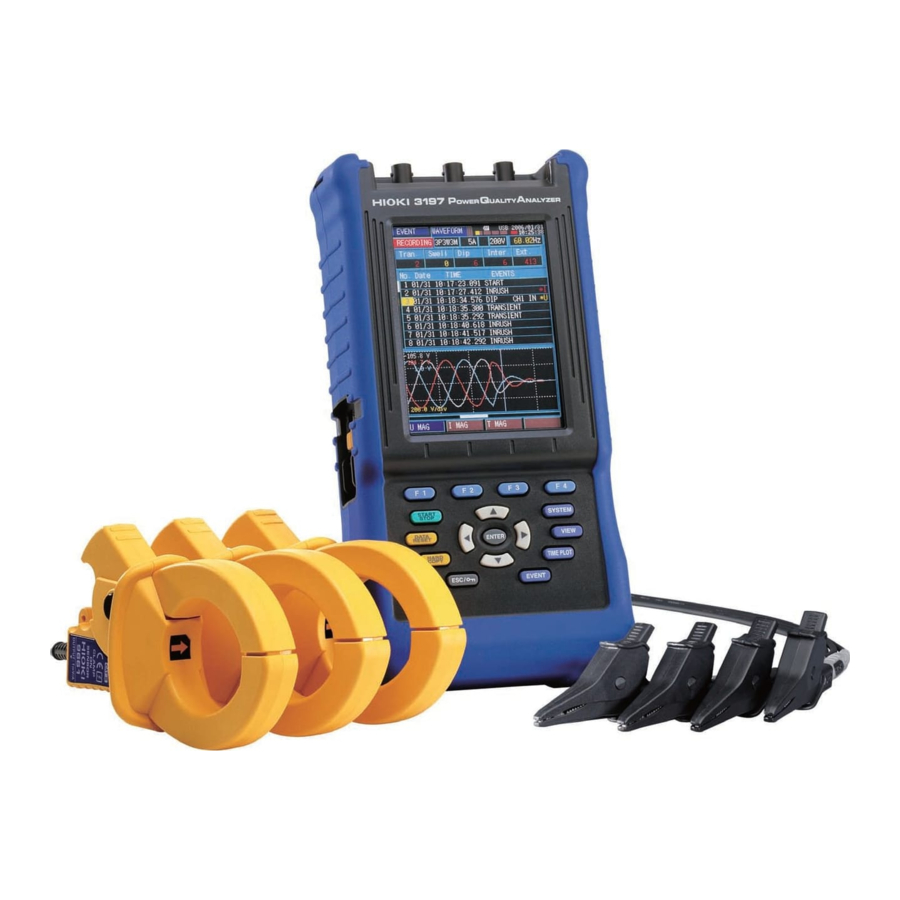
3197 Power Quality Analyzer Measurement Guide
This measurement guide gives a step-by-step explanation of operations from setup to data analysis. For detailed explanations, refer to the INSTRUCTION MANUAL.
Step 1. Prepar ation
1. Set the instrument near the measure-
ment location.
2. Connect the voltage cords.
Terminal
N
U1 U2 U3
Wiring
1P2W
1P3W
3P3W2M
3P3W3M
3P4W
3P4W2.5E
3. Connect the clamp sensors.
Terminal
I1
Wiring
1P2W
1P3W
3P3W2M
3P3W3M
3P4W
3P4W2.5E
Turn the plug clockwise
Align the notches
with the guide pins.
to lock.
4. Connect the AC adapter to the instru-
ment and turn the instrument's power
switch on.
1
3
4
2
Step 2. Setting Up
1. Select the appropriate wiring configura-
tion and clamp sensor model settings.
SYSTEM - [WIRING] screen
Wiring
Clamp sensor
2. Connect to the lines to be measured
and check the wiring.
SYSTEM - [MEASURE] screen
1. Connect to the lines to be measured while viewing the wir-
ing diagram.
Clamp
Voltage cords
sensor
2. Verify that the setting contents, vector diagram, and
measurement values are displayed correctly.
<Check>
• Values of current range and/or frequency are not
displayed in red.
• Vector display is identical with the "Correct Vector
Diagram".
• Voltage vectors (U1, U2, U3) and current vectors
(I1, I2, I3) are displayed.
• Displayed active power value (P1, P2, P3) is not
negative.
3. Execute advanced setup if required.
4. Execute QuickSet.
1. Press
to select [QuickSet].
2. Press
to execute QuickSet.
QuickSet settings
(set automatically)
Setting
Setting Item
Setting Item
Contents
Frequency
AUTO
Urms DIP
UReference
AUTO
Interruption
Interval
AUTO
U Transient
Urms SWELL
110%
Note) The above settings are set automatically as shown
above even if they have been changed in Advanced
Setup.
I2
I3
Accepts and applies selections and
changed settings.
Starts and stops recording
Returns to the setting state.
(Data processing)
Saves the screen image in internal
memory
Cancels selections. Hold for 3 sec-
onds to enable/disable Key Lock.
Correct
vector
diagram
Advanced setup
To change measurement method
SYSTEM - [MEASURE] screen
To customize event detection settings
SYSTEM - [REC&EVENT] screen
Setting
Items
Timer Evt Records events at specified time
Setting
intervals.
Contents
An event is recorded when the
Inrush
90%
specified value is exceeded.
An event is recorded when high fre-
10%
U Transient
quency impulse noise is imposed
on the mains voltage waveform.
ON
Urms
Any momentary deviation of rms
SWELL
voltage from the nominal line volt-
Urms DIP
age (UReference) is recorded as
an event.
Interruption
To record event manually:
Switching screens
Selecting display / function
Display differs depending on the screen type.
Key Lock Indicator
Power Supply Indicators
Display Contents
Internal Memory
Screen Type
Usage Indicator
Wiring
Internal
Configuration
Operating
Current Range
State
VT(PT)/CT Ratio Setting
Advanced setup
To verify/change system settings
SYSTEM - [SYSTEM] screen
To change recording method
SYSTEM - [REC&EVENT] screen
Setting
Description
Items
Specifies whether memory is to be
partitioned for recording.
Partition
[OFF]: Recording only one time.
[ON]: Recording multiple times
(up to four times)
Sets the recording interval
Interval
(AUTO: recommended)
Sets Demand (demand calculation
Demand
period)
Time Start Specified start and stop times for
timed recording
Start Time
Sets recording start time and
recording stop time by setting Time
Stop Time
+
Start to ON.
April 2006 Edition 1 Printed in Japan
3197A983-00 06-04H
Screen and Key Operation
The screen switches every time you press the SYSTEM, VIEW,
TIMEPLOT, or
EVENT
key.
Screen Type
SYSTEM
WIRING
MEASURE
VIEW
WAVEFORM
TIME PLOT
RMS
DIP/SWELL
EVENT
WAVEFORM
Help comment
Shows a description of the item at the cursor position on the SYSTEM
screen.
Step 3. Recording
Interface Usage
Recording start condition
Indicator
Event Recording
Status Indicator
Real-Time
Clock
To record only 1 time (Partition: [OFF])
Recording manually
Nominal Line
Voltage
Recording with specified start/stop time
(UReference)
Measured Line Frequency
(Measured Value)
Recording again (Erasing recorded data)
Erase internal data to execute measurement again.
Recording multiple times (up to four times)
Set Partition to [ON] in the SYSTEM - [REC&EVENT]
screen to save recorded data to internal memory up to
four times.
The above can be repeated for Memory No. 1 to 4.
Returns to [SET] when recorded data is saved to
Memory No. 4. (Press
Description
entire internal memory.)
Internal Memory Usage Indicator
1 2 3 4
Screen Contents
REC&EVENT
SYSTEM
VECTOR
HARMONICS
DMM
DEMAND
ENERGY
DETAIL
RMS WAVE
INRUSH
Settings
Move between
items to change
settings.
Open pull-down
menu.
Select from the
menu
Accept the
setting.
Cancel the
setting.
Make sure Internal Operating
State is
.
Start/stop recording at the set
start time/set stop time.
Memory
Recording starts at an
1 2 3 4
appropriate time for the
selected interval.
Save data
(switches to next Memory
No. for each recording)
Erase data
(data not saved)
during [SET] to erase
Partition: [OFF], when starting recording
Partition: [OFF], when about two-thirds of memory
used
Partition: [ON], second measurement, when
starting recording
Partition: [ON], second measurement, when
about two-thirds of memory used
Partition: [ON], recording in the fourth partition
(Memory No. 4)
Advertisement
Table of Contents

Related Manuals for Hioki 3197


Summary of Contents for Hioki 3197
- Page 1 April 2006 Edition 1 Printed in Japan 3197 Power Quality Analyzer Measurement Guide 3197A983-00 06-04H This measurement guide gives a step-by-step explanation of operations from setup to data analysis. For detailed explanations, refer to the INSTRUCTION MANUAL. Step 1. Prepar ation Screen and Key Operation 1.
- Page 2 Indicates that 46 events have been recorded detection alternately. Step 6. Viewing Recorded Data (Measurement Data, Screen Image) on a Computer Screen image (Install from the supplied CD.) 3197 Applications < Save screen image > Sample Message 3197 Computer Operate the instrument remotely.
Need help?
Do you have a question about the 3197 and is the answer not in the manual?
Questions and answers