
Related Manuals for wallas 270


Summary of Contents for wallas 270
- Page 1 fi Asennus-, käyttö- ja huolto-ohjeet Installation, operation and service instructions 490536B...
-
Page 2: Package Contents
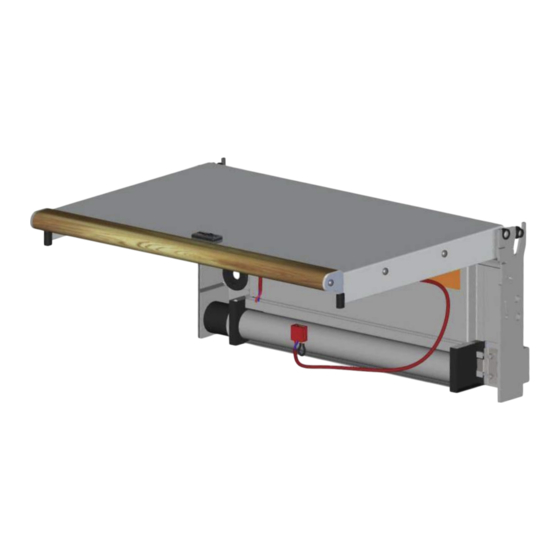
Remove unnecessary parts. Remove four screws (1). Remove the back plate (2). Save or discard items, these are not used with the 270 blower lid. Installation of 270 blower unit Unpack the blower unit. Place the blower lid on a soft flat surface as shown in the picture. Be careful not to scratch the surface. - Page 3 Place the 85DU onto the blower unit as shown in picture below. Install and tighten M4x12 screws (4 pcs) (supplied with blower unit). Connect the cable between 85DU and 270 Remove the connection cable from printed wire board (older version) or remove the shortcut piece from printed wire board.
- Page 4 Installation Step 1 Step 2 D10231B 490536B - 8 -...
- Page 5 442 mm (17 ”) Minimum size of the replacement air opening After the installation of Blower Lid 270 needed replacement amount air will rise. Minimum surface area for replacement air opening is 150 cm The stove requires a replacement air...
- Page 6 24 months from the day of sale on the following condi- tions. Warranty can be extended by a further 12 months by registering the product in the website of Wallas- Marin Oy (www.wallas.fi) within three (3) months of the unit being sold to the end customer.
Need help?
Do you have a question about the 270 and is the answer not in the manual?
Questions and answers