Table of Contents
Advertisement
Removing and replacing a CD/DVD drive ............... 2
Tools Needed .............................................................. 2
Removing the CD/DVD drive ......................................... 2
Installing a new CD/DVD drive ...................................... 5
Removing and replacing a hard disk drive ........... 10
Tools needed ............................................................. 10
Removing the hard disk drive ....................................... 10
Replacing the hard disk drive ....................................... 14
Upgrading or replacing memory ......................... 20
Tools Needed ............................................................ 20
Memory Compatibility................................................. 20
Removing the memory ................................................ 21
Installing a new memory card .................................... 24
Troubleshooting.......................................................... 27
Upgrading and Servicing Guide
Manuel de mise à niveau et d'entretien
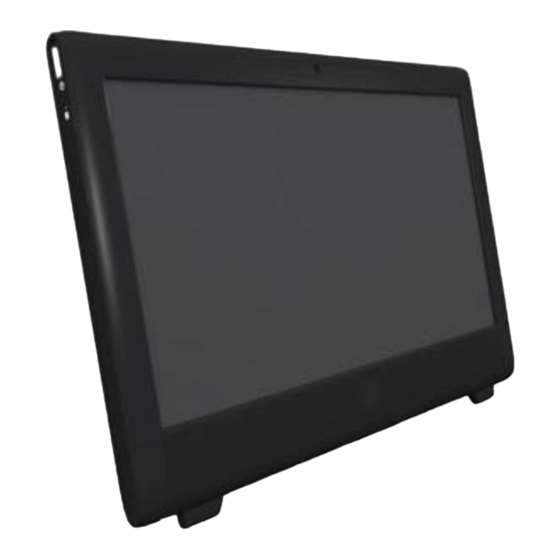
HP G1 All-in-One PC
Compaq Presario CQ1All-in-One PC
Computer features may vary by model
Les fonctions de l'ordinateur peuvent varier selon le modèle.
Outils nécessaires ......................................................... 2
Retrait du lecteur de CD/DVD ........................................ 2
Installation d'un nouveau lecteur de CD/DVD .................. 5
Retrait et remplacement d'un disque dur ..............10
Outils nécessaires ....................................................... 10
Retrait du disque dur................................................... 10
Installation d'un nouveau disque dur ............................. 14
Outils nécessaires ....................................................... 20
Compatibilité de la mémoire ........................................ 20
Retrait de la mémoire .................................................. 21
Installation d'un nouveau module mémoire..................... 24
Dépannage................................................................ 27
Advertisement
Table of Contents


Need help?
Do you have a question about the G1 and is the answer not in the manual?
Questions and answers