Advertisement
Quick Links
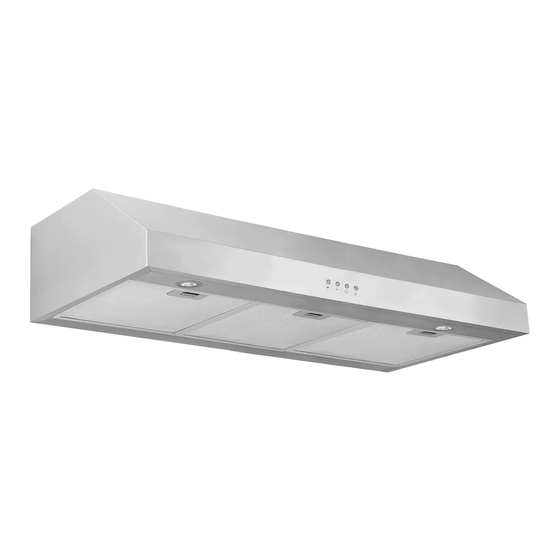
RANGE HOODS
USER INSTRUCTIONS
M
o
e d
: l
A
d
a v
n
a t
P
o r
III 30 & 36
IMPORTANT SAFETY INSTRUCTIONS
Carefully read the following important information regarding
installation safety and maintenance.
Keep these instructions for future reference.
06/03/2014 MA1214-1
Advertisement

Subscribe to Our Youtube Channel
Related Manuals for Ancona Advanta Pro III 30


Summary of Contents for Ancona Advanta Pro III 30
- Page 1 RANGE HOODS USER INSTRUCTIONS III 30 & 36 IMPORTANT SAFETY INSTRUCTIONS Carefully read the following important information regarding installation safety and maintenance. Keep these instructions for future reference. 06/03/2014 MA1214-1...
-
Page 5: General Installation Instructions
GENERAL INSTALLATION INSTRUCTIONS A: GENERAL B: ELECTRICAL CONNECTION Carefully unpack the hood but do not remove any This range hood must be grounded. If the dwelling protective film until after installation to avoid wiring is not 2-wire with a ground wire, a ground must accidental damage or scratching. -
Page 6: Venting Requirements
VENTING REQUIREMENTS IMPORTANT: • A minimum of 6” round or 3-1/4 x 10” rectangular duct (purchased separately) must be used to maintain maximum airflow efficiency. • Always use rigid type metal/aluminum ducts if available to maximize airflow when connecting to provided duct. - Page 7 A- Top venting using 6” round damper: If you require 6” round venting, keep the unit as provided in the packaging and install the round damper provided; Position the damper on top of the unit and set in place with screws provided (See Pic 1 a, b, c) Connect duct work to damper Use Duct Tape to ensure joint is sealed and air tight Pic 1...
- Page 8 Rear venting (horizontal) using rectangular damper Step 1: Prepare Range Hood Remove unit from packaging Position the unit on its back on a flat non abrasive surface - front facing you (See pic 3) Remove the 2 filters to allow access to the inside of the unit (See Pic 3) Cut tie wraps so wires are free to move and be relocated (See Pic 4) Pic 3 Pic 4...
- Page 9 Step 3: Relocate motor exhaust at the rear of unit Position the unit on its back on a flat non abrasive surface – perpendicular to your working surface (See Pic Place hand to hold motor in position and ensure weight of motor is well supported (See Pic 6) This will ensure screws don’t get bent or broken Remove 4 screws that hold motor in place on the top side of the hood Ensure the motor weight is well supported by your hand as the last screw in place may break under...
- Page 10 Step 4: Install top vent plate and rear damper Re-install the plate removed in step 2 to block top venting hole Put plate in position and put in 4 screws from step 2 (See Pic 10) Install rectangular air damper outlet on the rear vent location (See Pic 11) Connect duct work to damper Use Duct Tape to ensure joint is sealed and air tight Pic 10...
- Page 11 and 36” (900mm) width.
- Page 12 and 36” (900mm) width.
Need help?
Do you have a question about the Advanta Pro III 30 and is the answer not in the manual?
Questions and answers