Advertisement
Quick Links
KITCHEN & BATH
RANGE HOODS
USER INSTRUCTIONS
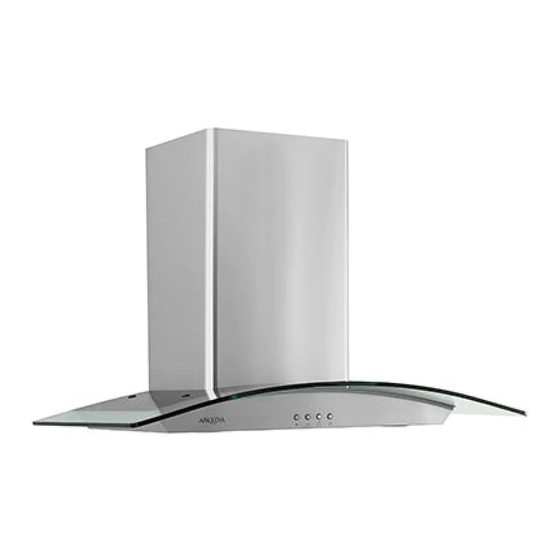
Model: Tornado II 30 & 36
IMPORTANT SAFETY INSTRUCTIONS
Carefully read the following important information regarding
Installation safety and maintenance.
Keep these instructions for future reference.
6/27/2012
Advertisement

Related Manuals for Ancona II 30


Summary of Contents for Ancona II 30
- Page 1 KITCHEN & BATH RANGE HOODS USER INSTRUCTIONS Model: Tornado II 30 & 36 IMPORTANT SAFETY INSTRUCTIONS Carefully read the following important information regarding Installation safety and maintenance. Keep these instructions for future reference. ...
- Page 2 The installation in this manual is intended for qualified installers, service technicians or persons • with similar qualified background. Installation and electrical wiring must be done by qualified professionals and in accordance with all applicable codes and standards, including fire-rated construction.
- Page 3 To reduce the risk of stove top grease fire: Keep all fans, baffle, spaces, filters, grease tunnel*, oil container* and grease-laden surfaces clean. • Grease should not be allowed to accumulate on fan, baffle, spaces, filter, grease tunnel*and oil container*.
- Page 4 ...
- Page 5 NOTE: Maximum ceiling clearance 107” at 30” hood mounting height To reach 9 feet above countertop / stove ceilings, hood needs to be installed at 32” above cooking surface 107”...
- Page 6 IMPORTANT: • A minimum of 6” round or 3-1/4 x 10” rectangular duct (purchased separately) must be used to maintain maximum airflow efficiency. • Always use rigid type metal/aluminum ducts if available to maximize airflow when connecting to provided duct.
- Page 7 • This range hood is factory set for venting through the roof or wall. • Vent work can terminate either through the roof or wall. To vent through a wall, a 90° elbow is needed. ...
- Page 8 IMPORTANT: Observe all governing codes and ordinances. It is the customer’s responsibility to contact a qualified electrical installer. If codes permit and a separate ground wire is used, it is recommended that a qualified electrician determine ...
- Page 9 Advanced Preparations: • Be familiar with the controls of the range hood by reading through Range Hood Operations, Page 15. • Place the range hood on a flat, stable surface. Connect the range hood to a designated standard outlet (120- ...
- Page 10 Installations (refer to Page 4 for parts): Step 1: Measuring • Measure the distance between stove top and the bottom of range hood. A distance of 24” to 30” is recommended with a minimum of 30” for gas stove tops. ...
- Page 12 Step 6: Mounting the hood on the wall • Hang the range hood on the range hood hooks on the lower mounting brackets.(See figure #4) • Screw the Range hood to the wall and chimney to the upper bracket (requires screws A) (See figure # 5 &...
- Page 13 Step 8: Installing baffle filters • To install baffle filters, refer to Figure # 9 for the following four steps: Angle baffle filters toward back of the hood Slide the handle toward the metal filter handle and push up ...
- Page 14 Flexible tube Upper chimney Lower chimney Upper hood-mounting bracket Lower hood-mounting bracket Glass Power cord Round duct(exhaust) Hood mounting bracket Housing Electrical box Capacitor ...
- Page 15 Increase Decrease Timer Light Speed Speed Control Panel Layout and Buttons Configurations: Electronic Controls with Time Delay • Lights: o Press the light key once, the backlight is on, and the lights are on. o Press it for a second time, the backlight is off and the lights are off.
- Page 16 1) If the range hood or halogen light does not Check if the range hood has been plugged • operate after installation: in, make sure that all power has been turned back ON, fused not blown and all ...
- Page 17 Operations: • Read and understand all instructions and warnings in this manual before operating the appliance. Save these instructions for future reference. • Always leave safety grills and filters in place. Without these components, operating blowers could catch on to hair, fingers and loose clothing.
- Page 19 Specifications Body Design Stainless Steel 430 Power Rating 120V / 60Hz (USA & Canada standard) General Input Power 370 W (330W + 2x20W) Motor Input Power 330 W Ampere 3.3 A Levels Of Speed Control...
- Page 20 bracket bracket UPPER AND LOWER CHIMNEY BRACKETS ...
- Page 21 Decorative chimney bracket...
- Page 22 Description Description Charcoal bracket Cover of rubber bracket Blower net motor Rubber bracket Blower of moter Description Description Electrical box base Screw (ST3*6) ...
-
Page 23: Limited Product Warranty
Subject to the limitations, exclusions and disclaimers hereof, AMS warrants exclusively to the original purchaser (the “Purchaser”) of this Ancona Range hood product (the “Product”) that it shall be free from defects in material or workmanship (the “Limited Product Warranty”). The duration of the Limited Product Warranty is 12 months from the date of original purchase (the “Warranty Period”). - Page 24 Description Description 1 Support au Charbon Support du couvercle de caoutchouc Net de l’insufflateur Moteur Support de caoutchouc Insufflateur du moteur ...
-
Page 25: Garantie Limitée
Sous réserve des exclusions, des exemptions et des limitations contenues à la présente, AMS garantit, exclusivement à l’acheteur initial (l’« Acheteur »), que le produit Ancona Hotte (le « Produit ») est exempt de défauts relatifs à ses matériaux ou à sa fabrication (la « Garantie limitée »). La Garantie limitée est d’une durée d’un an à...
Need help?
Do you have a question about the II 30 and is the answer not in the manual?
Questions and answers