GRAUPNER GR-12L HoTT Manual
6 channel 2.4 ghz hott receiver
Hide thumbs
Also See for GR-12L HoTT:
- Manual (24 pages) ,
- Quick start manual (8 pages) ,
- Manual (24 pages)

Related Manuals for GRAUPNER GR-12L HoTT


Summary of Contents for GRAUPNER GR-12L HoTT
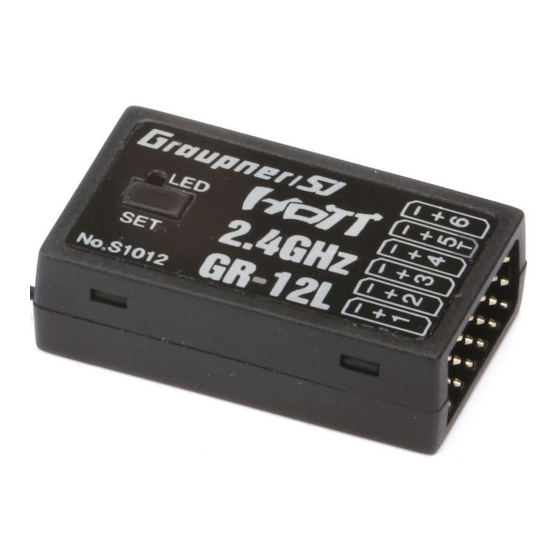
- Page 1 Manual GR-12L HoTT 6 channel 2.4 GHz HoTT receiver No. S1012...
-
Page 2: Table Of Contents
Service centre ...................4 Intended use ..................5 Target group ..................5 Package content ................5 Technical data ...................6 S1012 GR-12L HoTT ................6 Connection table ................6 Symbol description ................7 Safety notes ..................7 For your safety by handling the transmitter and the receiver ..8 For your safety by handling the batteries ........8... -
Page 3: Introduction
Introduction Intended use Thank you very much for purchasing a Graupner S1012 GR-12L The receiver only be used for the purpose specified by the manufac- receiver. turer for operation of remote control models without passengers. Any other type of use is impermissible and may damage the system Read this manual carefully to achieve the best results with your HoTT and cause significant property damage and/or personal injury. -
Page 4: Technical Data
• Only use the components and spare parts that we recommend. Always use matching, original Graupner plug-in connections of the same design and material. • Make sure that all of the plug-in connections are tight. When dis- connecting the plug-in connections, do not pull the cables. -
Page 5: For Your Safety By Handling The Transmitter And The Receiver
Note For your safety by handling the batteries For the GR-12L HoTT receiver, insert the connectors with the brown or black cable upwards. CAUTION • Protect the batteries from dust, dirt, moisture, heat and vibra- tions. Only use in dry locations. -
Page 6: Power Supply
4. Within this time lapse start the transmitter-side binding accord- ing to the instructions of the transmitter. 5. If the red LED of the GR-12L HoTT receiver goes out, the binding process has been completed successfully. Your transmitter/receiver combination is ready for operation. -
Page 7: Setting And Display Of The Receiver Settings
SELECT ANNOUNCE • SENSOR RX DATA receiver menus on the respective product page at www.graupner. ALARM SETTING Port 5 is suitable for the operation of telemetry sensors. de on the Internet. -
Page 8: Display "Mixer
With this RSSI signal and a flight control board with OSD, e.g. No. Display "CH REVERSE" 48377, the signal strength of the receiver can be displayed in video In this display, the direction of rotation of each of the servos con- CH REVERSE goggles or monitors. -
Page 9: Firmware Update
Do not use force, the plug should click into place easily. Connect the other end of the adapter lead to the socket of the receiver GR-12L HoTT labelled with "-+5T". The polarity of the plug-in system cannot be reversed. Do not apply force. The plug should be fully inserted. -
Page 10: Simplified Declaration Of Conformity
These operating instruction are exclusively for information purposes and are subject to change without prior notification. The current version can be found on the Internet at www.graupner.de on the relevant product page. In addition, the company Graupner/SJ has no responsibility or liability for any errors or inaccuracies that may appear in construction or operation manuals.
Need help?
Do you have a question about the GR-12L HoTT and is the answer not in the manual?
Questions and answers