Table of Contents
Advertisement
I N S T R U C T I O N M A N U A L
OAKWORKS
Celesta
ELECTRIC LIFT & TILT
MANUAL TOP
Celesta
ELECTRIC LIFT & TILT
MANUAL TOP
Lift Tables
®
Lift
®
PerformaLift
®
AVAILABLE WITH:
• RECTANGULAR FLAT TOP
• ROUND CORNER FLAT TOP
• BACKREST TOP
• FLEX TOP
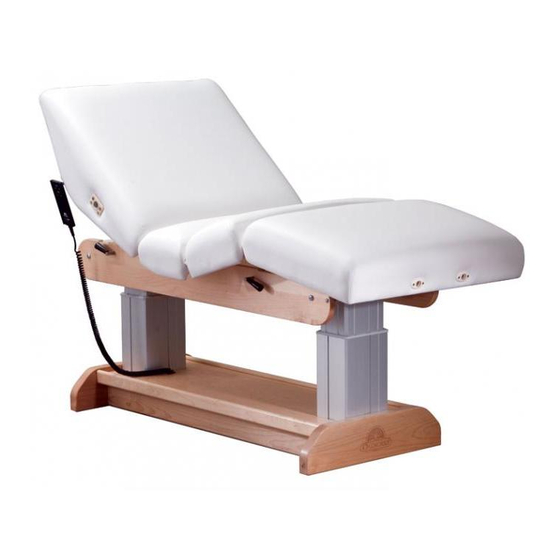
Celesta
ELECTRIC LIFT & TILT
ELECTRIC TOP
(SHOWN HERE)
Deluxe
®
Advertisement
Table of Contents


Need help?
Do you have a question about the Celesta Lift and is the answer not in the manual?
Questions and answers
How to install foot control