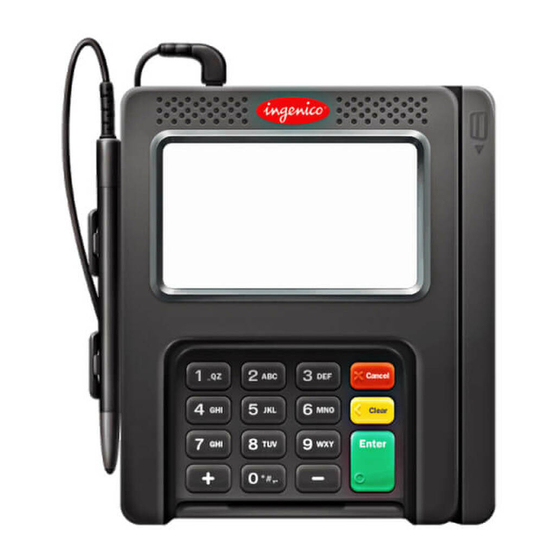
Ingenico iSC250 Installation Instructions
Pin pads
Hide thumbs
Also See for iSC250:
- Installation manual (2 pages) ,
- Troubleshooting manual (57 pages) ,
- Installation manual (2 pages)
Advertisement
Table of Contents
- 1 Setting up the PIN Pad in Keystroke POS
- 2 Setup Your Authorization Methods for Credit Cards (Kpcredit)
- 3 Setup Your Authorization Methods for Atm/Debit Cards (Kpdebit)
- 4 Setup each Payment Type to Use the Correct Authorization Method
- 5 How to Setup Signature Required Only if over a Certain $$$ Amount
- 6 How to Turn off the Ok Amount Requirement on the Isc250 Device.
- 7 Troubleshooting
- 8 How to Change the Device to Use USB or Serial Type of Cable
- Download this manual
Installation Instructions: Ingenico iSC250, iSC350, or iPP320 PIN Pads
Hardware:
Keystroke Software:
KeyPay Software:
Verify that the Interface Cable Matches the Communication Setting on the Device
-
Check to see if the interface cable is USB or a true Serial Cable
-
Power the device without plugging the cable into the computer
-
Restart the pin pad by pressing [-] and Yellow [Clear] simultaneously until the pin pad beeps. Wait for the RBA
Initialization screen to appear and note the text next to Host: look for USB-CDC or Serial
-
Verify that the Host setting matches the interface cable type. If not, review the section below on How to Change
the Communication Settings to make sure the cable & communication settings match
Setup for USB Cable (If using a RS232-Serial cable, skip this step)
Download the IngenicoISC250Drivers.zip file from the Keystroke Update Installer (All Programs, Keystroke POS,
Keystroke Update Installer, and then Drivers). Open the Compressed ZIP File and copy the DRIVERS\ folder to your
\KEYSTROK program directory. You will find the Installation Files in the \KEYSTROK\DRIVERS\INGENICO\IC250\ sub-
folder.
If using a true "SERIAL" cable, skip this step. Go to "Setting up the PIN Pad in Keystroke POS" below.
Install the USB to SERIAL "JUNGO DRIVER" by running IngenicoUSBDrivers_2.80_setup.exe as Administrator. By
default, this will install the driver to use COM6. You should choose to use the Force Port option. You can also review the
batch files (Install.bat for COM6 or Install7.bat for COM7). Note: On some newer Windows 10 OS, you cannot run the
batch file and must run the exe with the correct command lines.
If you need to change the COM port assignment after installation, go to Device Manager.
-
Find the device under Ports (COM & LPT). Go to the port properties by double clicking or right clicking on the
Ingenico iSC2xx Com Port & chose properties.
-
Change the desired port under BOTH the Port Settings tab & the Force COM port tab. You only need to change
the port at the bottom of that tab.
-
The PID & COM port columns are not specifically necessary but are filled in if the driver is installed without using
the batch file.
Setting up the PIN Pad in Keystroke POS
-
Plug the USB or Serial Cable into the computer, and then plug the power adapter in
-
In Keystroke, enter Configuration Manager, Hardware – PIN Pad, select Type = Ingenico iSC250/350
-
Port: USB Cable - Select COM6, BAUD=115200, Parity=N, Data Bits=8, Stop Bits=1, Options={blank}
Port: RS232 Serial Cable - Select COM1 (or the COM port the device is plugged into), BAUD=115200, Parity=N,
Data Bits=8, Stop Bits=1, Options=CS0
-
Use the Test PIN Pad option to test the device
Setting up the Signature Capture in Keystroke POS (iSC250 and iSC350 only)
-
In Keystroke, enter Configuration Manager, Hardware – Signature Capture, select Type = Ingenico iSC250/350
-
Port: USB Cable - Select COM6, BAUD=115200, Parity=N, Data Bits=8, Stop Bits=1, Options={blank}
Port: RS232 Serial Cable - Select COM1 (or the COM port the device is plugged into), BAUD=115200, Parity=N,
Data Bits=8, Stop Bits=1, Options=CS0
-
Display Signature on Screen is optional and is usually turned OFF after initial testing
-
Use the Test Device option to test the signature capture.
Setup your Authorization Methods for Credit Cards (KPCredit)
-
In Keystroke, Configuration Manager, Tables – Authorization Methods, select KPCredit
-
Verify the Type is set to Credit Card
-
Usually turn on CVV2 Verification and Manually Entered Only
-
Customers will be prompted to confirm amount regardless of OK Amount
-
Capture Signature should be checked for Credit Cards
-
Skip Approved Message is usually turned ON. Declines will always be displayed
4/29/2016
Ingenico iSC250, iSC350 or iPP320 PIN Pad device
Keystroke POS – v8.00.26 or later (03/01/16)
KeyPay – v8.00.26 or later (03/01/16)
Specialized Business Solutions
Page 1
Advertisement
Table of Contents

Related Manuals for Ingenico iSC250


Summary of Contents for Ingenico iSC250
- Page 1 Plug the USB or Serial Cable into the computer, and then plug the power adapter in In Keystroke, enter Configuration Manager, Hardware – PIN Pad, select Type = Ingenico iSC250/350 Port: USB Cable - Select COM6, BAUD=115200, Parity=N, Data Bits=8, Stop Bits=1, Options={blank}...
- Page 2 How to setup Signature Required only if OVER a certain $$$ amount The RBA Testing Tool will allow you to change many of the settings on the Ingenico device. You will need to install the RBA Testing Application from your \KEYSTROK\DRIVERS\INGENICO\ISC250\ folder.
- Page 3 These settings to turn what types are displayed on the device are controlled within the Keystroke POS program. In Configuration Manager, under Hardware and PIN PadsQ One you select the Device=Ingenico iSC250/350 you will see various options (See Screenshot Below) Turn On or Off the payment types by checking/unchecking the appropriate boxes.
-
Page 4: Troubleshooting
Merchant Setting Requires Encrypted Data: Happens if you manually type in a Credit Card when setup w/ Mercury to use an End-to-End (E2E) Encrypted account. Must swipe on the Ingenico ISC250 or type the CC# into the PIN Pad. Requires an End-to-End (E2E) Mercury merchant account: Requires the account be setup with BOTH End-to-End Encryption (E2E) AND Tokenization (MToken) Using a DB9-pin Serial Cable: Make sure the Options in Keystroke is set to CS0 (Charlie-Sam-Zero).
Need help?
Do you have a question about the iSC250 and is the answer not in the manual?
Questions and answers