Sign In
Upload
Download
Table of Contents
Contents
Add to my manuals
Delete from my manuals
Share
URL of this page:
HTML Link:
Bookmark this page
Add
Manual will be automatically added to "My Manuals"
Print this page
×
Bookmark added
×
Added to my manuals
Manuals
Brands
EF Manuals
Hob
HB BI 583 A
User manual
EF HB BI 583 A User Manual
Built-in induction hob
Hide thumbs
1
2
3
4
5
6
7
8
9
10
11
12
13
14
15
16
17
18
19
20
21
22
23
24
25
26
27
28
Table Of Contents
29
page
of
29
Go
/
29
Contents
Table of Contents
Troubleshooting
Bookmarks
Table of Contents
Safety Warning
Installation
Operation and Maintenance
Product Overview
Control Panel
Touch Control
Choosing the Right Cookware
Operation
To Start Cooking
Boost Function
Power Management
Safety Key-Lock
Residual Heat Warning
Overheating Protection
Overflow Protection
Auto Switch off
Timer Function
Using the Timer as a Minute Minder
Heat Settings
Care and Cleaning
Troubleshooting
Failure Display and Inspection
Technical Specification
Advice for the Installer
Product Dimensions
Selection of Installation Equipment
Electrical Connection
Advertisement
Quick Links
1
Operation and Maintenance
2
Control Panel
3
Touch Control
4
To Start Cooking
5
Operation
6
Safety Key-Lock
7
Troubleshooting
8
Failure Display and Inspection
Download this manual
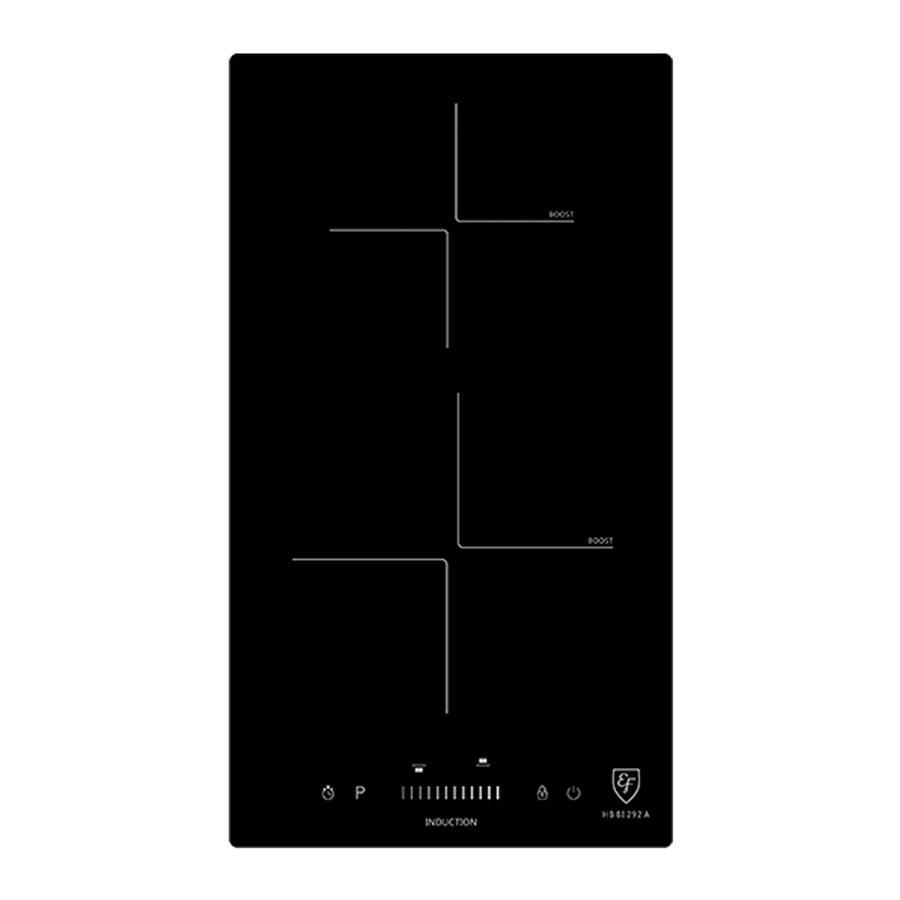
BUILT-IN INDUCTION HOB
Model:
HB BI 292 A
HB BI 583 A
HB BI 2730 A
HB IV 2734 A
THE BEAUTY OF SIMPLICITY
USER MANUAL
Table of
Contents
Previous
Page
Next
Page
1
2
3
4
5
Advertisement
Table of Contents
Need help?
Do you have a question about the HB BI 583 A and is the answer not in the manual?
Ask a question
Questions and answers
Related Manuals for EF HB BI 583 A
Hob EF HB BI 2721 A User Manual
Built-in induction hob (25 pages)
Hob EF HB BI 584 FA User Manual
(32 pages)
Hob EF HB BI 2722 G User Manual
Built-in induction hob (28 pages)
Hob EF HB BI 293 G User Manual
Built-in induction hob (25 pages)
Hob EF HB-AV230-A User Manual
(17 pages)
Hob EF HB-BI 582-A User Manual
(25 pages)
Hob EF HB-BI 291-T Operating Instructions Manual
(72 pages)
Hob EF EFH 9720 TN VGB User Manual
Battery ignition (16 pages)
Hob EF EFH 9731 HM VGB (PUB) User Manual
(19 pages)
Hob EF EFH 2760 TN VSB User Manual
Built-in gas hob (20 pages)
Hob EF HB-AV460-A User Manual
(18 pages)
Hob EF HB-AG290VGB-A User Manual
(24 pages)
Hob EF HB AG 360 VS A User Manual
(15 pages)
This manual is also suitable for:
Hb bi 292 a
Hb bi 2730 a
Hb iv 2734 a
Table of Contents
Print
Rename the bookmark
Delete bookmark?
Delete from my manuals?
Login
Sign In
OR
Sign in with Facebook
Sign in with Google
Upload manual
Upload from disk
Upload from URL


Need help?
Do you have a question about the HB BI 583 A and is the answer not in the manual?
Questions and answers