Table of Contents
Advertisement
Quick Links
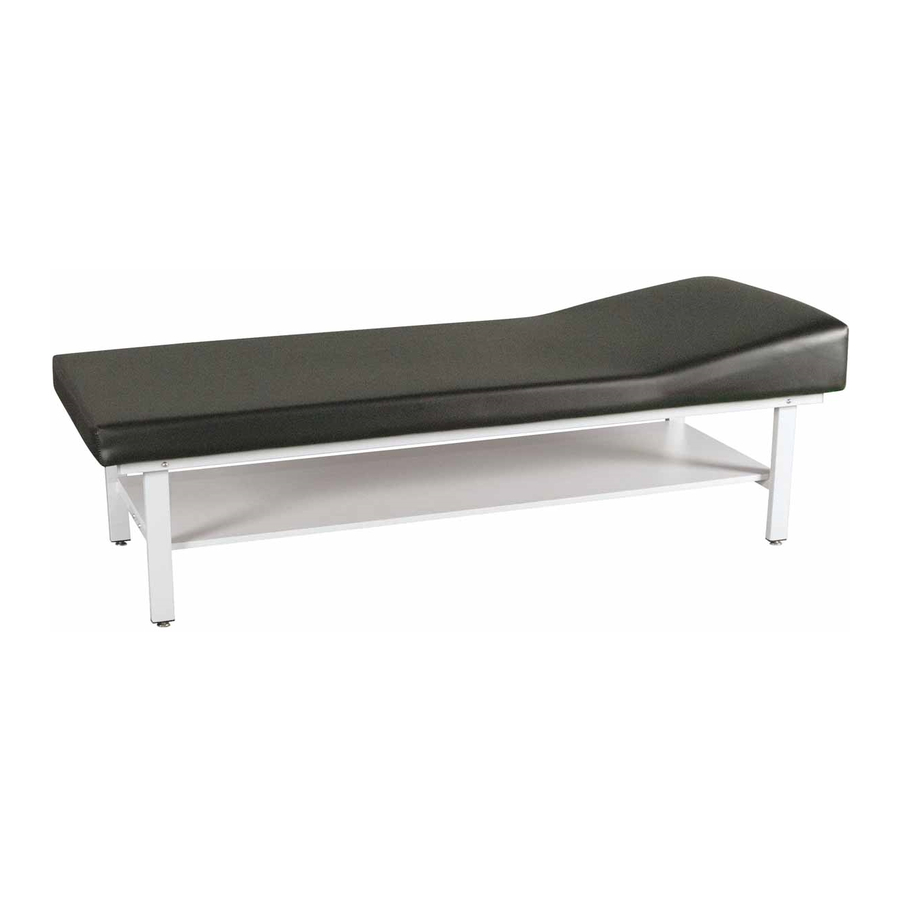
Recovery Couch
PLEASE READ AND FAMILIARIZE YOURSELF WITH ALL INSTRUCTIONS BEFORE USING THIS PRODUCT.
If you have trouble understanding these instructions contact your dealer or Winco customer support, (800) 237-3377
Winco assumes no responsibility for damage or injury caused by improper assembly,
READ AND FOLLOW ALL DIRECTIONS.
1.
2.
NEVER stand on table or INJURY MAY OCCUR.
3.
NEVER allow user to sleep unattended on table or INJURY MAY OCCUR.
4.
NEVER leave an unconscious user unattended on table or INJURY MAY OCCUR.
5.
DO NOT use table for transporting user in or with ANY type of vehicle or trailer. Winco tables have not been tested
or approved for use by an occupant in any type of vehicle or trailer.
NEVER leave an infant or child unattended on table or INJURY MAY OCCUR.
6.
DO NOT put hands, feet or clothing into any openings when changing positions on table. Attendant MUST confirm
7.
that users hands and feet are safe while changing table positions or SERIOUS INJURY MAY RESULT.
Periodically, recheck tightness of all nuts, bolts and screws.
8.
USE ONLY WINCO AUTHORIZED REPLACEMENT PARTS.
9.
10. NEVER EXCEED the recommended weight capacity of 400 lbs. (181.4 kg).
11. SAVE THESE INSTRUCTIONS for future reference and training.
Tools needed:
•
Phillips-head screwdriver
•
7/16" wrench (multiple size wrench included)
•
Scissors or box cutter
•
Cardboard shipping container (stays under table during assembly to protect upholstery)
•
- If using powered tools always start hardware together by hand first & wear safety goggles
PLEASE READ AND FAMILIARIZE YOURSELF WITH ALL INSTRUCTIONS BEFORE PROCEEDING WITH ASSEMBLY
1.
After checking your product for any shipping damage, table needs to be positioned upside-down on cardboard or
protective surface. Remove all packing material and hardware that was secured for shipping. Cut tape on corners of
box so that cardboard will lay flat while you assemble table.
2.
You will find two Welded Leg Assemblies, in-between and attached to the Table Frame Rails. Pivot up the (2)
Welded Leg Assemblies, (see sketch).
NOTE: The leg assemblies have braces that need to align with two threaded holes in the wood
of the Upholstered Top.
3.
Install (4) ¼-20 x 1-½" screws through (2) holes in each cross brace of the Welded Leg Assemblies, and into (2)
threaded holes (each end) in the wood of the Upholstered Top, as shown in sketch.
NOTE: Do not fully tighten at this time.
4. Place (4) ¼-20 x 1-½" carriage bolts into the (4) holes through the Lower Leg Brace of the Welded Leg Assemblies,
as shown. Heads of screws should face the ends of table, for better appearance.
5.
Align the Welded Brace Assembly (smoothest side up) with the (4) screws that you just installed on step 4, and
fasten with (4) ¼-20 nuts.
006070
8550
before attempting to use this product; otherwise injury may occur.
installation, use, or maintenance of these products.
8550 Weight Capacity = 400 lbs. (181.4 kg.)
Revision P Date 03-08-11
CUSTOMER INSTRUCTIONS
Page 1 of 4
JWC
Advertisement
Table of Contents

Related Manuals for Winco 8550


Summary of Contents for Winco 8550
- Page 1 NEVER leave an unconscious user unattended on table or INJURY MAY OCCUR. DO NOT use table for transporting user in or with ANY type of vehicle or trailer. Winco tables have not been tested or approved for use by an occupant in any type of vehicle or trailer.
- Page 2 Pierce another hole in the strap to give desired tension and re-insert screw. Wrinkles in Vinyl – Storage and shipping can cause wrinkles of the vinyl on your Winco table. This is normal. Please allow 1-2 weeks at room temperature (approx.
- Page 3 Page 3 of 4 Items factory installed on table: Qty. Sizing chart – part number Table Frame 222700 ¼-20 x 2½ screw 566519 ¼-20 lock nut 566204 Paper Holder Rod 222705 Paper Rod Strap (bracket) 501810 Upholstered Top CALL FOR P/N 1”...
- Page 4 Page 4 of 4 006070 Revision P Date 03-08-11...
Need help?
Do you have a question about the 8550 and is the answer not in the manual?
Questions and answers