Advertisement
Quick Links
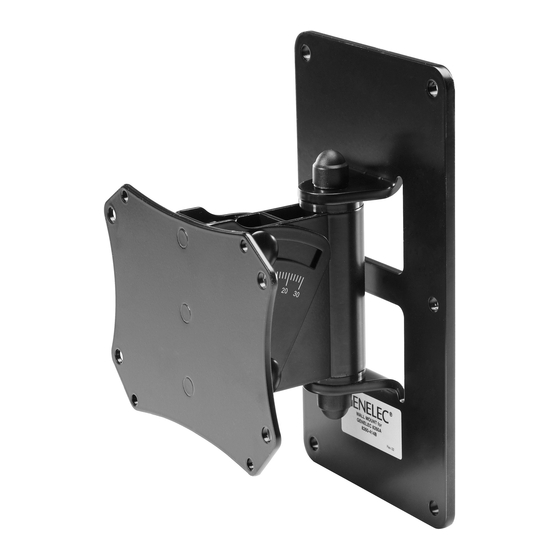
WALL MOUNT for GENELEC 8X5X - Series + 8260A - 8260-414B
instruction manual
1. separate swivel joint from wall bracket
1.b
Gather swivel joint from
wall bracket
1.a
Loosen lower
bolted assembly
2. wall bracket fastening
2.a
Adjust wall
plate vertically
concrete wall - e.g.: steel-anchor-bolt M 6 x 65 mm
-drill and blow out hole, place anchor, wall bracket and
washer, tighten hexnut
2.b
Anchor holes drilling (6x)
diameter
-6 mm steel-anchor-bolt
-8 mm universal frame fixing set
without sieve bushing for concrete wall - with sieve bushing for perforated bricks / optional with threaded bolt M6 or threaded bushing M6
Advantages: fixing without pressure, enables repeated mounting, capable for diverse wall materials
Advantages:
3. wall mount options
perforated bricks - e.g.: unsiversal frame fixing set 8 x 80 mm
-drill, countersink and blow out hole, place anchor and bracket, fix hexagon
head wood screw
C
injection-molded-anchor
(please notice instructions of anchor manufacturers).
easy handling,
adjustable direction and angle
GENELEC Oy
Olvitie 5, Fin-74100 Iisalmi, www.genelec.com
24478-015-55 Rev.01 03-80-354-00 4/15
Advertisement

Summary of Contents for Genelec 8260-414B
- Page 1 WALL MOUNT for GENELEC 8X5X - Series + 8260A - 8260-414B easy handling, adjustable direction and angle instruction manual 1. separate swivel joint from wall bracket 3. wall mount options concrete wall - e.g.: steel-anchor-bolt M 6 x 65 mm perforated bricks - e.g.: unsiversal frame fixing set 8 x 80 mm...
-
Page 2: Safety Instructions
WALL MOUNT for GENELEC 8X5X - Series + 8260A - 8260-414B easy handling, adjustable direction and angle instruction manual 4. installation Tightening torques Bolt the monitor Replace swivel joint (with mounted 8260A) Secure swivel joint to the 10 Nm to adaptor plate.


Need help?
Do you have a question about the 8260-414B and is the answer not in the manual?
Questions and answers