Sign In
Upload
Download
Table of Contents
Contents
Add to my manuals
Delete from my manuals
Share
URL of this page:
HTML Link:
Bookmark this page
Add
Manual will be automatically added to "My Manuals"
Print this page
×
Bookmark added
×
Added to my manuals
Manuals
Brands
Comelit Manuals
DVR
IP 100 SERIES
Manual
Comelit IP 100 SERIES Manual
Hide thumbs
1
Table Of Contents
2
3
4
5
6
7
8
9
10
11
12
13
14
15
16
17
18
19
20
21
22
23
24
25
26
27
28
29
30
31
32
33
34
35
36
37
38
39
40
41
42
43
44
45
46
47
48
page
of
48
Go
/
48
Contents
Table of Contents
Bookmarks
Table of Contents
Table of Contents
1 Menu Operation
Local Operation Guide
2 Start/ Shutdown System
Main Menu-Start (Power Off, Reboot, Login, Logout)
3 Preview
4 IP Channel Setting
Search IPC
Add IPC Automatically
Add IPC Manually
Channel Parameters Modification
Modify IPC Parameters
Delete IPC
System Configuration Setting
Device Parameters Setting
Channel Parameters Setting
Display Setting
Video Parameters
Schedule Record
Motion Detection
Video Lost
Tampering Alarm
Video Mask Setting
Network Parameters Setting
Network Setting
DNNS Setting
NTP Setting
Email Setting
Alarm&Exception
Alarm Input
Alarm Output
Exception
Account Setting
User Information Setting
User Online Checking
System Administration
Device Log
Stream Info
HDD Setting
System Update
Auto Reboot
Recovery Configuration
6 PTZ Control
7 Manual Record
8 Manual Snapshot
9 Video Playback
10 Screen Display Setting
11 Video Backup Setting
12 Alarm Setting
13 File Manage
14 Image Setting
15 Screen Aspect Ratio/Segmentation
Advertisement
Quick Links
1
Main Menu-Start (Power Off, Reboot, Login, Logout)
2
Menu Operation
3
Search Ipc
4
Recovery Configuration
5
Video Playback
Download this manual
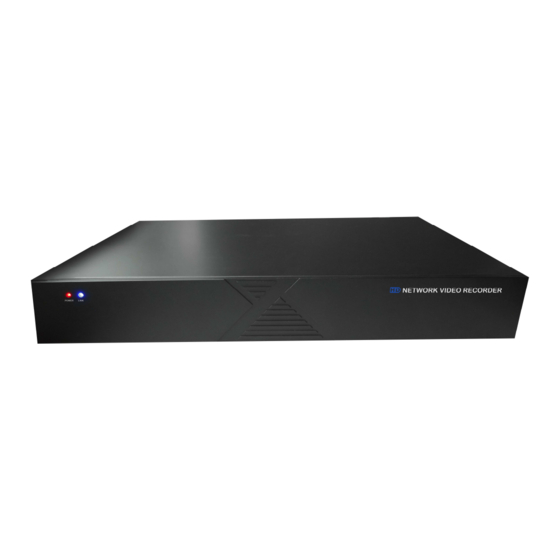
NVR IP 100 SERIES
Please read this manual thoroughly before use and keep it for future reference
1
Table of
Contents
Previous
Page
Next
Page
1
2
3
4
5
Advertisement
Table of Contents
Need help?
Do you have a question about the IP 100 SERIES and is the answer not in the manual?
Ask a question
Questions and answers
Related Manuals for Comelit IP 100 SERIES
DVR Comelit IPHYB008A Quick Reference Manual
8/16 channels hybrid digital video recorder (14 pages)
DVR Comelit IPNVR025A Manual
16-25-36 inputs h264 stand-alone network video recorder (21 pages)
DVR Comelit IPNVR109A Manual
(48 pages)
DVR Comelit NVR PROFESSIONAL Series Instruction Manual
(84 pages)
DVR Comelit PROFESSIONAL Series Instruction Manual
(84 pages)
DVR Comelit PROFESSIONAL Series Manual
(87 pages)
DVR Comelit HDVR836B Instructions Manual
(20 pages)
DVR Comelit 80153 Manual
4 inputs standalone duplex digital video recorder with display (32 pages)
DVR Comelit AHDVR040B Quick Manual
4-8-16-32 inputs stand-alone hybrid digital video recorder (48 pages)
DVR Comelit SDVR004A Manual
4-8-16 inputs h264 stand-alone digital video recorder (83 pages)
DVR Comelit AHDVR040 Series Quick Manual
4-8-16 hd/full-hd inputs h264 stand-alone hybrid digital video recorder (52 pages)
DVR Comelit 49808 Instruction Manual
8-16 inputs h.264 standalone digital video recorder (80 pages)
DVR Comelit AHDVR PROFESSIONAL Series Manual
(84 pages)
DVR Comelit AHDVR040 Series Quick Manual
4-8-16 hd/full-hd inputs h264 stand-alone ahd digital video recorder (60 pages)
DVR Comelit HDDVR004A User Manual
Hd-sdi stand-alone dvr, 4 / 8 / 16 channels (121 pages)
DVR Comelit 49807 User Manual
Four channel h264 digital video recorder (36 pages)
This manual is also suitable for:
Ipnvr109a
Ipnvr116a
Ipnvr116c
Ipnvr125a
Ipnvr116b
Table of Contents
Print
Rename the bookmark
Delete bookmark?
Delete from my manuals?
Login
Sign In
OR
Sign in with Facebook
Sign in with Google
Upload manual
Upload from disk
Upload from URL


Need help?
Do you have a question about the IP 100 SERIES and is the answer not in the manual?
Questions and answers