Planet IPX-330 Quick Installation Manual
Internet telephony pbx system, (30/100/200/500 sip users registrations)
Hide thumbs
Also See for IPX-330:
- Installation manual (20 pages) ,
- User manual (96 pages) ,
- User manual (143 pages)

Related Manuals for Planet IPX-330


Summary of Contents for Planet IPX-330
- Page 1 Internet Telephony PBX System (30/100/200/500 SIP Users Registrations) IPX-330/IPX-2100/IPX-2200/IPX-2500 Quick Installation Guide...
-
Page 2: Table Of Contents
1.2.2 Placement.................. 4 2. IPX-330 ..................... 5 2.1 Physical Introduction ................5 2.1.1 LED Definitions ................5 2.1.2 Physical Connection Topology of the IPX-330 ........ 6 3. IPX-2100 ....................7 3.1 Physical Introduction ................7 3.1.1 LED Definitions ................7 3.1.2 Physical Connection Topology of the IPX-2100 ......8 4. -
Page 3: Internet Telephony Pbx System
1. Internet Telephony PBX System 1.1. Package Contents Thank you for purchasing PLANET Internet Telephony PBX system. This Quick Installation Guide will introduce how to finish the basic setting of connecting the web management interface and the Internet. Open the box of the Internet Telephony PBX system and carefully unpack it. -
Page 4: Hardware Installation
1.2 Hardware Installation The following are instructions for setting up PLANET Internet Telephony PBX system. Refer to the illustration and follow the simple steps below to quickly install your Internet Telephony PBX system. 1.2.1 Safety Instructions The following are the safety instructions for Internet Telephony PBX system before installing. -
Page 5: Ipx-330
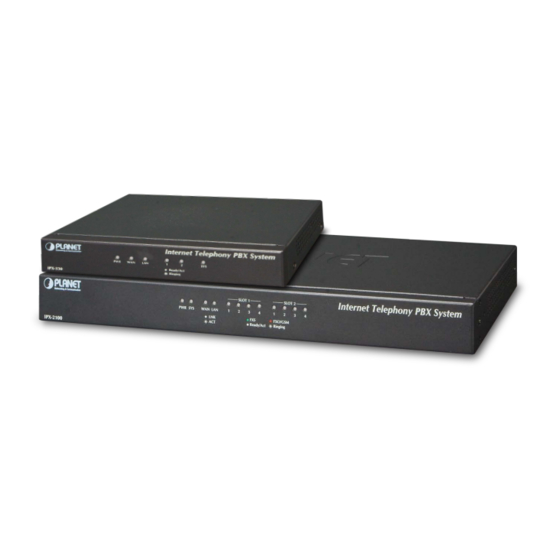
2. IPX-330 2.1 Physical Introduction Internet Telephony PBX System Ready/Act Ringing IPX-330 Front Panel of the IPX-330 12V DC Reset Console Rear Panel of the IPX-330 2.1.1 LED Definitions Front Panel LED Status Description Steady Green PBX power ON PBX power OFF... -
Page 6: Physical Connection Topology Of The Ipx-330
2.1.2 Physical Connection Topology of the IPX-330 Telephone wire 100BASE-TX UTP 12V DC Reset Console Internet 2 x FXO Router Switch PSTN Mobile Video Phone IP Phone IP Phone SIP Phone... -
Page 7: Ipx-2100
3. IPX-2100 3.1 Physical Introduction Internet Telephony PBX System SLOT 1 SLOT 2 PWR SYS FXO/GSM Ready/Act Ringing IPX-2100 Front Panel of the IPX-2100 12V DC SLOT 2 SLOT 1 Reset Power Console Rear Panel of the IPX-2100 1. Supporting 2 slots, user can buy expansion module like IPX-21FO (4 x FXO) or IPX-21GS (4 x GSM) for extending port service. -
Page 8: Physical Connection Topology Of The Ipx-2100
3.1.2 Physical Connection Topology of the IPX-2100 12V DC SLOT 2 SLOT 1 FXO Card Life Line Card Reset Power Console Router 4 x FXO 2 x FXS + 2 x FXO Internet Switch Mobile Video Phone IP Phone IP Phone Singal Line Telephone SIP Phone PSTN... -
Page 9: Ipx-2200 / Ipx-2500
4. IPX-2200 / IPX-2500 4.1 Physical Introduction Internet Telephony PBX System SLOT 1 SLOT 2 FXO/GSM Ringing IPX-2200 Front Panel of the IPX-2200 Internet Telephony PBX System SLOT 1 SLOT 2 FXO/GSM Ringing IPX-2500 Front Panel of the IPX-2500 100~240V AC HDMI SLOT 2 SLOT 1... -
Page 10: Physical Connection Topology Of The Ipx-2200 / Ipx-2500
4.1.2 Physical Connection Topology of the IPX-2200 / IPX-2500 100~240V AC HDMI FXO Card GSM Card SLOT 2 SLOT 1 Router 4 x FXO Internet Switch PSTN Mobile Video Phone IP Phone IP Phone SIP Phone Telephone wire 1000BASE-T UTP 100BASE-TX UTP... -
Page 11: Basic System Configuration
5. Basic System Configuration 5.1 New System Setup Wizard Step 1. Connect a PC directly with the IP PBX on WAN or LAN port. Default IP of WAN port is 172.16.0.1, and default IP of LAN port is 192.168.0.1. Please change the PC IP address to 172.16.0.xx if you have connected WAN, or 192.168.1.xx if you have connected LAN. -
Page 12: Web Admin Login
5.2 Web Admin Login After going through the quick installation wizard, the system will reboot for the new settings to take effect. Please wait for about 4 minutes for the Web page to refresh, and then you'll see the login screen like below. The admin user name and password are defined by during the installation wizard process. -
Page 13: Configuring The Network Setting
Status Page of the IP PBX 5.2.1 Configuring the Network Setting Step 1. Go to System Network Settings Network Button... - Page 14 Network Profiles Page Step 2. Edit your WAN port IP information. There are two types of Ethernet port connection and they are Static IP and DHCP. You can find a detailed setting process in the user manual. Selection of IP Connection Type...
-
Page 15: Changing Ip Address Or Forgotten Admin Password
5.2.2 Changing IP Address or forgotten Admin Password To reset the IP address to the default IP address “192.168.0.1” (LAN) or reset the login password to default value, press the reset button on the front panel for more than 6 seconds. After the device is rebooted, you can login the management Web interface within the same subnet of 192.168.0.x. -
Page 16: Further Configuration
You also can browse our online FAQ resource at PLANET Web site first to check if it could solve your issue. If you need more support information, please contact PLANET support team. PLANET online FAQ : http://www.planet.com.tw/en/support/faq.php...
Need help?
Do you have a question about the IPX-330 and is the answer not in the manual?
Questions and answers