Table of Contents
Advertisement
Quick Links
Download this manual
See also:
User Manual
Advertisement
Table of Contents

Related Manuals for Planet IPX-1900


Summary of Contents for Planet IPX-1900
- Page 2 Internet Telephony PBX system IPX-1900 Quick Installation Guide...
-
Page 3: Table Of Contents
Table of Content Document Objectives ..................3 Equipment Packaging & Overview ..............3 Installation Connect the IP PBX ................. 4 Physical Introduction ................... 4 Physical Installation ..................5 Basic Configuration ..................6 A. Web configuration access ..............6 B. IP PBX Quick Configuration .............. 6 Step 1. -
Page 4: Document Objectives
Document Objectives This guide provides physical installation, network configurations, and Internet access establishment information for the PLANET Internet Telephony PBX System. Equipment Packaging & Overview Package Contents IP PBX Unit Power adapter (12V) Quick Installation Guide User’s Manual CD RJ-45 cable... -
Page 5: Installation Connect The Ip Pbx
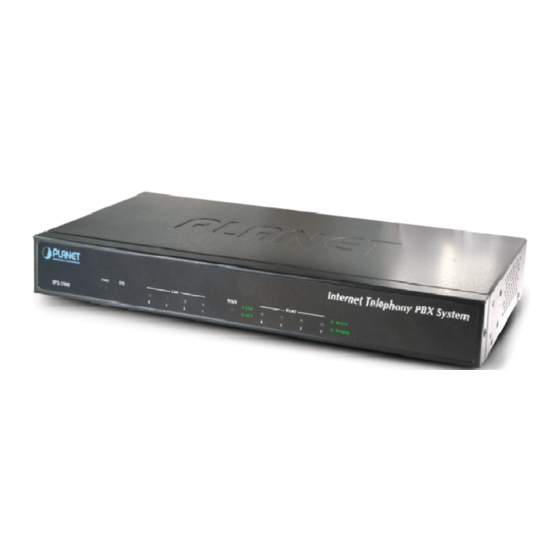
PBX network connection established Flashing Data traffic on cable network Waiting for network connection Port is busy FXO/FXS Port Flashing Ring indication. (FXS only) Port is not enabled. Table 1. Font Panel description of IP PBX Figure 2. Rear Panel of IPX-1900... -
Page 6: Physical Installation
FXO port was connected to the extension port of a (Modular IPX-19FO) PBX or directly connected to a PSTN line of carrier Note: IPX-19SL 2-Port PBX Life Line Module IPX-1900 (1FXO, 1FXS) Table 2. Rear Panel description of IP PBX Internet... -
Page 7: Basic Configuration
Step 2: Connecting LAN to a PC 1. Connect the Ethernet cable (with RJ-45 connector) to LAN port. 2. Connect the other end of the Ethernet cable to your PC’s installed network inter- face card (NIC). Step 3: Connecting WAN to Internet 1. -
Page 8: Step 1. Internet Setting
Step 1. Internet Setting Three modes are available for WAN setup I. Fixed – IP User: If you are a leased line user with a fixed IP address, fill out the following items with the information provided by your ISP. Figure 3. -
Page 9: Step 2. Nat Setup
III. ADSL Dial-Up User (PPPoE Enable): Some ISP’s provide DSL-based service and use PPPoE to establish communication link with end-users. If you are connected to the Internet through a DSL line, check with your ISP to see if they use PPPoE. -
Page 10: Step 3. Ip Pbx Setup
LAN IP Address: Private IP address for connecting to a local private network Subnet Mask: Subnet mask local private network (Default: 255.255.255.0). DHCP Server: Enable to open LAN port DHCP server. Assigned DHCP IP Address: DHCP server range from start IP to end IP. DHCP IP Lease Time: Client to ask DHCP server refresh time, range from 60 to 86400 seconds Step 3. -
Page 11: Quick Reference In Cd-Rom Guide
Quick reference in CD-ROM guide This guide is used to help you startup your IP PBX settings. It is also recommended to check the user manual CD-ROM for more details like the “IP PBX Setup”, “Trunk Management”, and how to set the device back to default value. - Page 12 This page is intentionally left blank...
- Page 13 This page is intentionally left blank...
Need help?
Do you have a question about the IPX-1900 and is the answer not in the manual?
Questions and answers