Advertisement
Installation Instructions
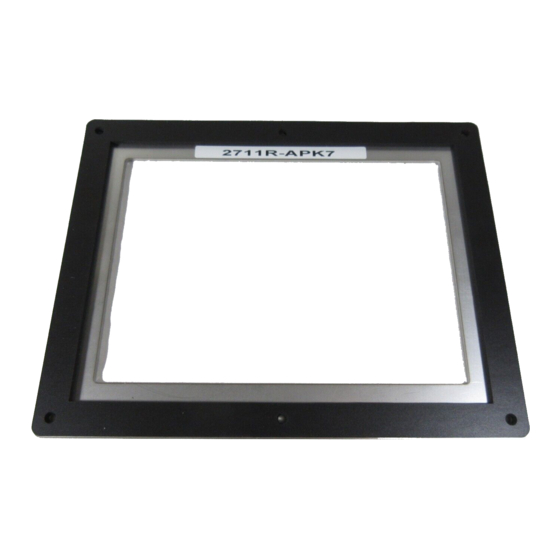
Adapter Plate Kit
for PanelView 800, 7-inch and 10-inch Terminals
Catalog Numbers 2711R-APK7, 2711R-APK10
Topic
About This Publication
This document provides instructions on how to mount a PanelView 800 terminal using an adapter plate into
an existing cutout. The PanelView 800 7-inch terminal mounts to the 2711R-APK7 cutout adapter and the
10-inch terminal mounts to the 2711R-APK10 cutout adapter.
Page
1
3
3
3
4
5
Advertisement
Table of Contents

Related Manuals for Allen-Bradley 2711R-APK10


Summary of Contents for Allen-Bradley 2711R-APK10
- Page 1 This document provides instructions on how to mount a PanelView 800 terminal using an adapter plate into an existing cutout. The PanelView 800 7-inch terminal mounts to the 2711R-APK7 cutout adapter and the 10-inch terminal mounts to the 2711R-APK10 cutout adapter.
-
Page 2: Important User Information
Adapter Plate Kit for PanelView 800, 7-inch and 10-inch Terminals Important User Information Solid-state equipment has operational characteristics differing from those of electromechanical equipment. Safety Guidelines for the Application, Installation and Maintenance of Solid State Controls (Publication SGI-1.1 available from your local Rockwell Automation sales office or online at http://www.rockwellautomation.com/literature/) describes some important differences between solid-state equipment and hard-wired electromechanical devices. -
Page 3: Package Contents
Regular mounting lever Thin mounting levers are only included with 2711R-APK7 and are for use with 2711R-T7T. IMPORTANT There are no mounting levers included with 2711R-APK10. Use the regular mounting levers that come with 2711R-T10T. Tools Required The following tools are required for installation: •... - Page 4 Adapter Plate Kit for PanelView 800, 7-inch and 10-inch Terminals Attach the Adapter Plate to the Panel 1. Align the studs on the cutout adapter plate with the existing stud holes on the front of the panel. 2. Place the adapter plate into the front of the panel cutout until the sealing gasket material is firmly pressed against the front of the panel.
- Page 5 Adapter Plate Kit for PanelView 800, 7-inch and 10-inch Terminals Attach the Terminal to the Adapter Plate 1. Insert the new terminal into the front of the enclosure until the terminal gasket is flush with the adapter plate. Mounting levers M3.5 H3.0 Rear of PanelView 800 terminal (7-inch terminal shown)
- Page 6 Adapter Plate Kit for PanelView 800, 7-inch and 10-inch Terminals 2. Insert all mounting levers into the mounting slots of the terminal. Slide each lever until the flat side of the lever touches the surface of the panel. Mounting slots Short, flat side of mounting lever Mounting levers IMPORTANT...
- Page 7 Adapter Plate Kit for PanelView 800, 7-inch and 10-inch Terminals 5. Use this table as a guide to insure an adequate gasket seal between the terminal and the panel. Terminal Markings for Lever Typical Panel Thickness Range Alignment Position Gauge 1.52…2.01 mm (0.060…0.079 in.) 2.03…2.64 mm (0.08…0.104 in.) 2.67…3.15 mm (0.105…0.124 in.)
-
Page 8: Rockwell Automation Support
Rockwell Automation Support Rockwell Automation provides technical information on the Web to assist you in using its products. At http://www.rockwellautomation.com/support/, you can find technical manuals, a knowledge base of FAQs, technical and application notes, sample code and links to software service packs, and a MySupport feature that you can customize to make the best use of these tools.
Need help?
Do you have a question about the 2711R-APK10 and is the answer not in the manual?
Questions and answers