Advertisement
Table of Contents
- 1 Important Information
- 2 Parts View
- 3 Install
- 4 Wiring Diagram Z6
- 5 Wiring Diagram Z6B
- 6 LCD Menu and Operation
- 7 Prepare to Print - Level the Hotbed
- 8 Prepare to Print - Load Filament
- 9 Print a Test 3D Object (Print from SD Card)
- 10 Slicing, Control and Printing from PC HOST
- 11 About ZONESTAR
- Download this manual
Advertisement
Table of Contents

Related Manuals for Zonestar Z6


Summary of Contents for Zonestar Z6
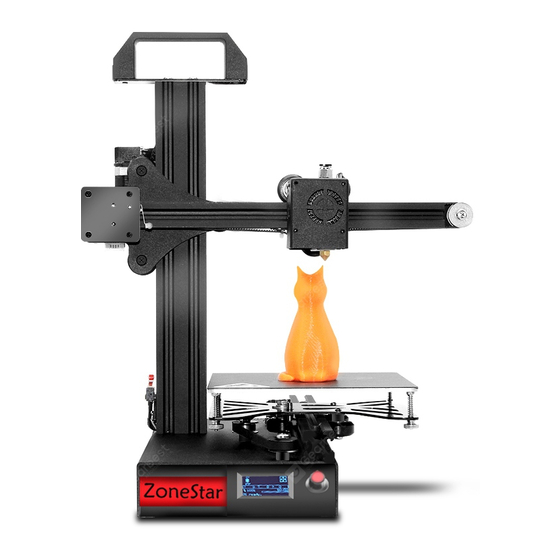
- Page 1 Model: Z6/Z6B User Manual...
- Page 2 !! ATTENTION !! Please strictly follow the standard operation when installation. Please put the printer away from the reach of kids. Must be guided by adults when children are installed or used. Take care when installation, to avoid electrical shock hazards. Caution: Hot! Hotend has high temperature even the printer stop working.
- Page 3 Parts Base Module Power adapter X-axis Module HM5x16 *2 Lead screw USB cable & Power cord Z-axis Module Tools Z-EndStop Gift and TF card...
- Page 4 Install Step 1 Step 2 Screw the Lead screw into the carrier of X- Insert the Z-axis Module into the carrier of X-axis Module axis module Z-axis Module X-axis Module Lead screw Step 3 Step 4 Install the coupling into the motor shaft and tighten the Fixed the Z-axis module to the base module by screws jbckscrews on the coupling jbckscrews *2...
- Page 5 Install Step 5 Step 6 Snap the Z-ENDSTOP into the aluminum profile and Insert the PTFE tube into the PTFE tube fitting tighten the screws. Eccentric column Z ENDSTOP Step 7 Use a spanner to rotate the three eccentric columns, so that the wheels can hugged the tracks closely and move smoothly.
- Page 6 Wiring Diagram Z6...
- Page 7 Wiring Diagram Z6B...
- Page 8 LCD Menu and Operation Knob operation: <Clockwise rotation>: Next Item / Value +. <Counterclockwise rotation>: Previous Item / Value -. <Push>: Enter / Execute. Hotbed setting temperature Hotbed current temperature FAN status Hotend setting temperature Hotend current temperature FAN Speed Current position of axis Printed time Printing progress...
- Page 9 Prepare to print - level the hotbed Clean nozzle: make sure there aren't any filament at the end of nozzle, if not, remove it by a diagonal pliers. Choose “Prepare”>> “Auto Home”>>, wait the hotend go to the orig position. Watch the nozzle and make sure the nozzle is higher than the bed, otherwise tighten the hand nuts under the bed to pull down the hotbed or loosen these nuts to move up the bed.
- Page 10 Prepare to print - Load Filament Preheat nozzle: Choose “Prepare”>> “Preheat PLA”, then nozzle and hotbed will be heated. Waiting nozzle temperature reached to setting. If there is filament in the hotend, do this step, otherwise skip this step. Choose “Prepare”>> “Move axis”>>”Extruder”>>”Move 1mm”>>”extruder: ****mm”, then Clockwise rotate the knob slowly, until you can see the filament flow from the nozzle.
- Page 11 Print a test 3D object (Print from SD card) Insert the SD card to the SD card socket on the control box, and then power on the control box. NOTE: the touchpad of Micro SDcard pointing up Choose “Print from SD”>> Choose “Test_gcode\Single Color\xyz_cube.gcode”, push the knob to start printing.
- Page 12 Slicing, control and printing from PC HOST Before building a 3d object by using this 3D printer, you need to use a software to convert the 3D models (stl, obj, etc., depending on the type of slicing software) into a machine-recognizable file - gcode file. This process is called “slicing”. Copy to SD and load to slicing 3D object file...
- Page 13 Since began to develop and manufacture 3D printers in 2013, we have successively introduced several series of products such as P802, P805, Z5, Z6, Z8, Z9, and Z10, which are popular with customers all over the world. Now, ZONESTAR has Gradually grew to be a leader in the category of DIY 3D printers.
Need help?
Do you have a question about the Z6 and is the answer not in the manual?
Questions and answers