Table of Contents
Advertisement
Quick Links
Part #
Description
510-723
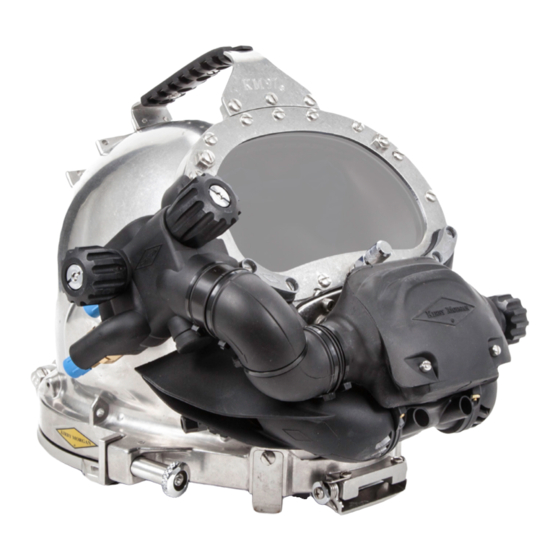
Regulator Shroud, 455
510-733
Access Cover
510-734
Side Block Shroud
510-736
Water Tube A
510-737
Water Tube B
520-039
Tie Wrap
Tools Required:
• Torque Wrench
• 11/ 1 6, 7/8 and 1 inch Open End Attachments
• 13/ 1 6, 7/8 and 1 inch Open Ended Wrench
• 1/4 inch Flat Blade Screwdriver
• Small Phillips Screwdriver
• Small Cutting Pliers
• Dow Corning
Molykote
®
Kirby Morgan Dive Systems, Inc.
www.KirbyMorgan.com email: kmdsi@KirbyMorgan.com
Part #525-761
KM 97 Water Shroud Kit
Installation Instructions
Qty.
1
1
1
1
1
6
111 Lubricant or Equivalent
®
© ⅯⅯⅩⅧ Kirby Morgan Dive Systems, Inc. All Rights Reserved
1430 Jason Way Santa Maria, California 93455
Phone: 805/928-7772
Part #
520-049
550-074
550-572
550-580
550-644
Rotating the clamps will allow more clearance when
installing the regulator shroud, making the installa-
tion easier.
Document # 180117001
Fax: 805/928-0342
Description
Tie Wrap
Bishop Pin
Adapter Sleeve
Adapter Sleeve, Long
Pin
Page 1 of 8
®
Qty.
4
2
1
1
1
Advertisement
Table of Contents

Related Manuals for Kirby Morgan KM 97


Summary of Contents for Kirby Morgan KM 97
- Page 1 • 1/4 inch Flat Blade Screwdriver • Small Phillips Screwdriver • Small Cutting Pliers • Dow Corning Molykote 111 Lubricant or Equivalent ® ® Page 1 of 8 © ⅯⅯⅩⅧ Kirby Morgan Dive Systems, Inc. All Rights Reserved Document # 180117001...
- Page 2 Fit the shroud onto the block while progressing towards the front of the block. Make certain the shroud is positioned properly. The fit should be snug and everything should align. Page 2 of 8 © ⅯⅯⅩⅧ Kirby Morgan Dive Systems, Inc. All Rights Reserved Document # 180117001...
- Page 3 10) Starting at the adjustment knob end of the regulator, slip the regulator shroud over the adjustment knob. Page 3 of 8 © ⅯⅯⅩⅧ Kirby Morgan Dive Systems, Inc. All Rights Reserved Document # 180117001...
- Page 4 14) Complete installation of bent tube assembly. Refer to “1.1.4 Reinstallation of the Bent Tube Assembly” on page BNT-2 from the KMDSI modular manual. Page 4 of 8 © ⅯⅯⅩⅧ Kirby Morgan Dive Systems, Inc. All Rights Reserved Document # 180117001...
- Page 5 16) Line up the detail features of water tubes A & B, with the mating details of both adapter sleeves. Water flow arrow is found on the A tube and should be positioned farthest away from the helmet (on the outside) Page 5 of 8 © ⅯⅯⅩⅧ Kirby Morgan Dive Systems, Inc. All Rights Reserved Document # 180117001...
- Page 6 Generally between one–two gallons per minute of water flow is plenty to heat the incoming gas or to keep the interior clean of debris without interfering with the regulator diaphragm. Page 6 of 8 © ⅯⅯⅩⅧ Kirby Morgan Dive Systems, Inc. All Rights Reserved Document # 180117001...
- Page 7 Kirby Morgan Dive Systems, Inc. ® 1430 Jason Way Santa Maria, California 93455 Phone: 805/928-7772 Fax: 805/928-0342 www.KirbyMorgan.com email: kmdsi@KirbyMorgan.com Page 7 of 8 © ⅯⅯⅩⅧ Kirby Morgan Dive Systems, Inc. All Rights Reserved Document # 180117001...
- Page 8 Kirby Morgan Dive Systems, Inc. 1430 Jason Way Santa Maria, CA 93455, USA Telephone (805) 928-7772, FAX (805) 928-0342 E-Mail: KMDSI@KirbyMorgan.com, Web Site:www.KirbyMorgan.com...
Need help?
Do you have a question about the KM 97 and is the answer not in the manual?
Questions and answers