Advertisement
AX-ADDCAM
INTERFACE FEATURES
• (4) Camera inputs
• Programmable 12V 5-amp switched output (configured through the Axxess Updater program)
• Reverse signal trigger generated via CAN bus communication of the vehicle
• Turn signal trigger generated via CAN bus communication of the vehicle
• (4) Programmable camera control wires (configured through the Axxess Updater program)
• Can also be manually controlled, and used along with an aftermarket radio
• VSS (Vehicle Speed Sense) input and output
• Micro "B" USB updatable
INTERFACE COMPONENTS
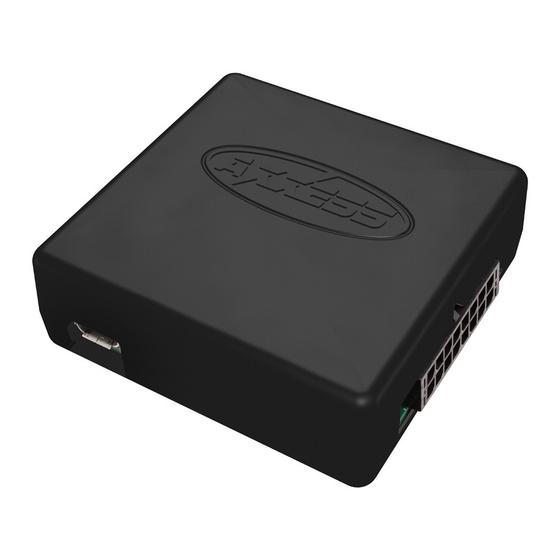
• AX-ADDCAM interface
• AX-ADDCAM harness
TOOLS REQUIRED
• Wire cutter • Crimp tool • Solder gun • Tape
• Connectors (example: butt-connectors, bell caps, etc.)
AxxessInterfaces.com
© COPYRIGHT 2018 METRA ELECTRONICS CORPORATION
AX-ADDCAM
I N S TA L L AT I O N I N S T R U C T I O N S
TABLE OF CONTENTS
Introduction............................................................2
Connections to be made .......................................2
Configuring the AX-ADDCAM ............................. 3-5
Installing the AX-ADDCAM .....................................5
Programming the AX-ADDCAM .............................6
Connector pin-out (20-pin) ..................................7
CAUTION!
All accessories, switches, climate
controls panels, and especially air bag indicator
lights must be connected before cycling the
ignition. Also, do not remove the factory radio
with the key in the on position, or while the
vehicle is running.
REV. 5/3/18 INSTAX-ADDCAM
Advertisement
Table of Contents

Related Manuals for Axxess AX-ADDCAM


Summary of Contents for Axxess AX-ADDCAM
- Page 1 Configuring the AX-ADDCAM ......3-5 • (4) Camera inputs Installing the AX-ADDCAM ........5 • Programmable 12V 5-amp switched output (configured through the Axxess Updater program) Programming the AX-ADDCAM ......6 • Reverse signal trigger generated via CAN bus communication of the vehicle Connector pin-out (20-pin) ........7...
-
Page 2: Introduction
“Plug & Play” harnesses for the AX-ADDCAM. These harnesses must be used along with the AX-ADDCAM. The AX-ADDCAM can also be used if the factory system does • Accessory Out: Will provide a 12-volt switched output when the interface detects a CAN bus not originally come equipped with a backup camera, adding up to (4) cameras in this instance. -
Page 3: Configuring The Ax-Addcam
“Configuration” will appear. • Open the Axxess Updater and wait until the word “Ready” is listed in the bottom left of the screen. • Under “Make” and “Model”, there will be an option labeled “Other (Generic)”. This option is for •... - Page 4 CONFIGURING THE AX-ADDCAM (CONT.) Video trigger legend • Disable (will turn off the input) • Control 2 (negative trigger activation) • Backup Camera (dedicated backup camera) • Control 3 (positive trigger activation) • Left Blinker (will be used for activation) •...
- Page 5 With the key in the off position: • Backup camera: Dedicated by default to Video Trigger 1. Will activate the backup camera • Connect the AX-ADDCAM harness into the interface, and then to the “Plug & Play” harness while the vehicle is in reverse.
-
Page 6: Programming The Ax-Addcam
• Cycle the key (or push-to-start button) off and wait until the domelight goes out, then • Turn the key (or push-to-start button) to the ignition position and wait until the L.E.D. inside the AX-ADDCAM wait 5-minutes. interface comes on. The radio will reboot and may show a diagnostic screen during this process •... -
Page 7: Connector Pin-Out (20-Pin)
CONNECTOR PIN-OUT (20-PIN) Wire view of harness 1. Yellow - Battery 11. Black - Ground 2. Blue/Green - VSS in 12. Green/Blue - VSS out 3. Gray/Blue - Control 1 trigger 13. Gray/Red - Control 2 trigger 4. Yellow - Camera output 14. Red - 12-volt out 5. - Page 8 AX-ADDCAM I N S TA L L AT I O N I N S T R U C T I O N S IMPORTANT If you are having difficulties with the installation of this product, please call our Tech Support line at 1-800-253-TECH. Before doing so, look over the instructions a second time, and make sure the installation was performed exactly as the instructions are stated.
Need help?
Do you have a question about the AX-ADDCAM and is the answer not in the manual?
Questions and answers