Advertisement
Quick Links
Advertisement

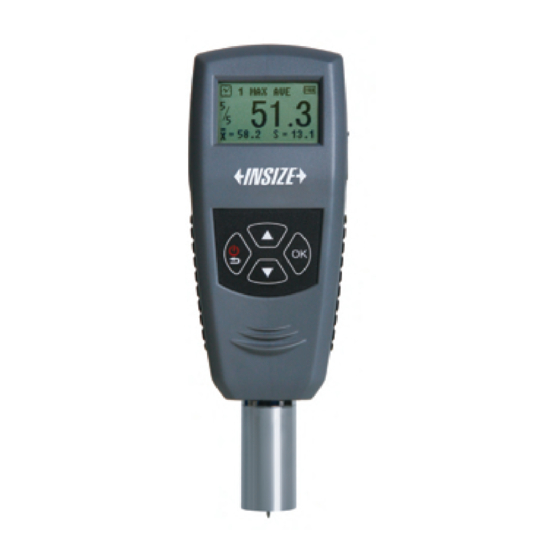
Summary of Contents for insize ISH-DSD
- Page 1 MN-ISH-DSD-E www.insize.com ISH-DSD DIGITAL SHORE DUROMETER OPERATION MANUAL...
- Page 3 Attention Only authorized charger is allowed to be applied to this, otherwise it will be damaged permanently. Any part of this can't be immersed in the water or be exposed to the rain, otherwise it will be damaged permanently. Origin package is need for long time storage. Temperature: -30°C~+80°C Relative Humidity: 5%~95% The battery should be charged fully before first using.
-
Page 4: Data Storage
The formula is as below: 2. Print report There are several print modes built-in the durometer. You can select by HD= - yourself. 0.025 3. Auto-print According to this formula as above, the types D Shore hardness is There are several print modes built-in the durometer. You can select by relative HD means it is types D Shore Hardness. -
Page 5: Specifications
Low-voltage alarming and recharge Specifications The durometer will be recharged by the packaged charger. The durometer will not be auto power on during recharging. The charging status will show on the measuring interface by hand power on. The moving of the battery level icon line indicate it is charging now. If the icon fill by all line, it means the charging process is finished. - Page 6 UP: Under the menu interface, the selection will be shifted up by ② Print Items setting pressing this button. Under parameters setting interface, the value Whether the date/time will be print can be set under this menu. will increase by pressing this button. DOWN: Under the menu interface, the selection will be shifted down by pressing this button.
- Page 7 ④ Delete the selected data The range of data to be deleted should be set up under this menu. The selected data will be deleted by pressing button “OK”. It will be aborted by pressing button “RETURN”. Fig 4-21 ⑤ Delete all data The prompt window will be pushed out under this menu.
- Page 8 1) Calibration ④ Alarm sound setting Pressing button “OK” to enter the menu, select “Calibration”, press If this function is set as on, the durometer will make a sound of alarm when the data is exceed the tolerance limit. button “OK”.
- Page 9 ① Measure mode Under the menu of measure mode, there are three kinds of mode: Average value mode, maximum value mode and maximum average value mode. Average value mode: During one sampling process, the durometer will record 20 values and calculate the average value of this 20 value automatically.
- Page 10 ⑤ Sample code setting When several samples is need to be measured, the samples can be coded (figure 4-12). The value of setting position will increase 1 by one pressing of button “UP”. The position shift to the next position by one pressing of button “DOWN”...


Need help?
Do you have a question about the ISH-DSD and is the answer not in the manual?
Questions and answers