Table of Contents
Advertisement
Quick Links
911352-00
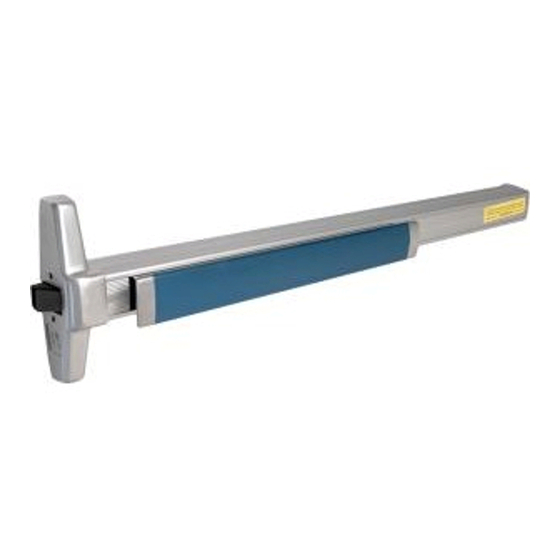
Chexit Device
CX Exit Device
(CX98/99 Rim shown)
The Von Duprin Chexit device is designed for accident hazard or fire exit applications. It meets both life
safety and security needs as well as all requirements of NFPA101
UBC "Special Egress-Control Devices."
The Von Duprin Chexit device sounds an alarm and keeps an exit door secured for 15 seconds following
an attempt to exit. The Chexit releases immediately upon a fire alarm condition.
Voltage .................................................... 24 VDC
Current (Chexit) ....................................... 0.4 A
Current (Electric mortise) ......................... 0.3 A
Current on arming ................................... 300-mS 16-A in-rush
External alarm dry contacts (NO and C) ... 24 VDC, 1 A rating
Normally closed inputs ............................ Fire alarm (FA; required)
!
WARNING
Do not exceed rated
specifications.
CX33A/35A
CX98/99
Chexit Module
GENERAL INFORMATION
ELECTRICAL SPECIFICATIONS
!
WARNING
The Chexit device must be
installed in accordance
with these instructions by
a qualified electrician.
Customer Service
1-877-671-7011
Installation Instructions - Electrical
Cable
®
for "Special Locking Arrangement" and
External inhibit (EI)
Door position switch (DPS)
!
WARNING
Wiring must be in
accordance with all local
codes and regulations.
www.allegion.com
PUSH UNTIL ALARM SOUNDS
DOOR CAN BE OPENED
IN 15 SECONDS
Door Sign
© Allegion 2014
Printed in U.S.A.
911352-00 Rev. 01/14-d
Advertisement
Table of Contents

Summary of Contents for Von Duprin CX33A
- Page 1 Door Sign (CX98/99 Rim shown) GENERAL INFORMATION The Von Duprin Chexit device is designed for accident hazard or fire exit applications. It meets both life ® safety and security needs as well as all requirements of NFPA101 for “Special Locking Arrangement” and UBC “Special Egress-Control Devices.”...
-
Page 2: Pre-Installation Checklist
PRE-INSTALLATION CHECKLIST Complete the items on the checklist below before installing the Chexit module. Each component listed should be prepared and installed according to the installation instructions supplied with it. Mechanical Preparation 1. Door and frame have been prepared for power transfer. 2. - Page 3 Optional/Required Used? If Not Used... Required PS914 Supplies power to Chexit Required 24 VDC power supply (Von Duprin PS914) Optional Optional Serves as locking device on E7500 Electric Mortise Lock (for CXE9975) (for CXE9975) CXE9975 mortise applications Building fire alarm...
-
Page 4: Typical Wiring
TYPICAL WIRING Rim/Vertical - Single Door Application 120/240VAC - 2 AMP PS914 power supply See tables 1, 2, and 3 on 3 x 14 GA page 3 for details 2 x 18 GA regarding components To fire PS914 alarm contact and wire requirements Power supply Power... - Page 5 TYPICAL WIRING (continued) Electric Mortise - Fail Secure Application 120/240VAC - 2AMP PS914 3 x 14 GA power supply 2 x 18 GA To fire PS914 alarm contact Power supply Power transfer Red (+24) 2 x 18 GA 2 x 18GA Junction Blue External...
-
Page 6: Installation
INSTALLATION Install key cylinder, if available NOTE: Turn off power supply before installing cables CAUTION Orient cylinder as shown With end cap and cover plate removed, drill 5/8” or unit will not operate diameter wire access hole in surface of door Red plastic plate Cylinder cam is turned (beveled edge up) -
Page 7: Operation
OPERATION The basic function of a Chexit is to sound an alarm and keep an exit door secured for 15 seconds following an attempt to exit. Test the operation of your Chexit by performing actions No. 1 through 6 in the summary below. - Page 8 OPTIONS Options are set by switches on the Chexit module. Before changing option settings, turn the Chexit off. Changes in option settings take effect when the Chexit is turned on. 8: Off 7: Off 6: Off 5: Off 4: Off 3: On 2: Off 1: On...


Need help?
Do you have a question about the CX33A and is the answer not in the manual?
Questions and answers