Table of Contents
Advertisement
Quick Links
Please read this manual thoroughly before use, and keep it handy for future reference.
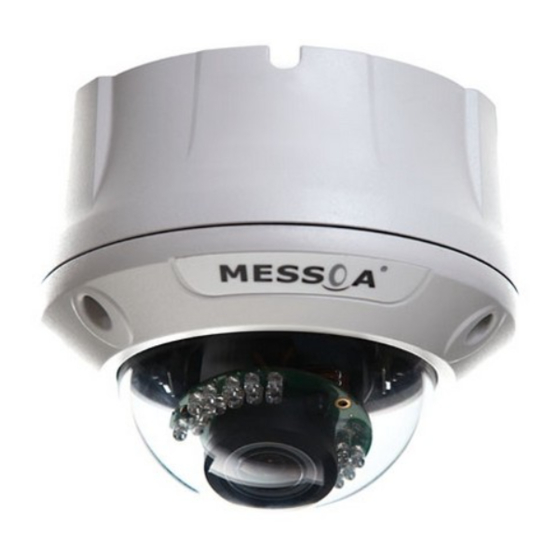
Megapixel Network IR Dome Camera
• SAFETY
1. This quick start guide is desigend for users who have adequate
knoweldage of network camera.
2. Do not touch the imaging surface of sensor. Use soft cloth moistened
with alcohol to clean the surface if it is touched accidentally.
3. Ensure the supply voltage is correct as specifi ed for the particular
variant of camera before operation.
4. Do not attempt to service this unit yourself unless you are authorised
to do so. Opening the camera may expose you to dangerous voltages
or other hazards. Refer all servicing to qualifi ed personnel only.
5. For more detail installation and operation, please refer to the full operating
instrucation on CD.
• PACKAGE CONTENTS
Camera *1
Self-tapping screws (4x31mm)*3
Self-tapping screws (4x45mm)*3
Cable adaptor * 1
Printed Quick Start Guide *1
• Concept of Network Camera
Hub/Switch
•PARTS' LOCATIONS AND FUNCTIONS
4
1
Power In (Red+/Black-)
2
5
RJ-45 Ethernet Connector
3
6
BNC
Screwdriver *1
Guide Pattern Sticker *1
Plastic anchor *3
BNC connector * 1
Document CD *1
1
2
3
4
5
6
7
7
GND (Gray)
Audio Out (Green)
Alarm In (Red)
Audio In (Red)
Alarm Reset (Brown)
Alarm Out (Orange)
RS485+ (Green)
RS485- (Yellow)
1. Power In (Red+/Black-): power connector, DC12V/AC24V.
2. RJ-45 Ethernet Connector: network connection. Support PoE
(Power over Ethernet).
3. BNC: video output
4. Audio Out (Green): audio output
5. Audio In (Red): audio input
6. Alarm Out (Orange): alarm signal output port.
7. RS485+(Green): alarm signal output port.
8. RS485- (Yellow): alarm signal output port.
9. GND: ground (electricity) in electrical circuits.
10. Alarm In (Red): alarm signal input port.
11. Alarm Reset (Brown): for resetting an external alarm device.
•Camera Installation
A. Mounting the camera- ceiling mount and wall mount
1.Mark hole positions: use the guide pattern sticker to mark hole positions
on the desired location. Drill 3 holes according the guide pattern and then
insert the plastic anchors into holes which you drill.
2.Install the camera: install the camera onto the ceiling/wall and fasten
securely using the screws provided.
Quick Start
Guide
ZEIM-4000360G 890 A.2
a
use the screws
to fasten the camera
securely
Advertisement
Table of Contents

Related Manuals for Messoa NDR890


Summary of Contents for Messoa NDR890
-
Page 1: Quick Start
Quick Start Guide ZEIM-4000360G 890 A.2 Please read this manual thoroughly before use, and keep it handy for future reference. Megapixel Network IR Dome Camera • SAFETY 1. Power In (Red+/Black-): power connector, DC12V/AC24V. 1. This quick start guide is desigend for users who have adequate 2. - Page 2 Megapixel Network IR Bullet Camera QUICK START GUIDE icon. If the camera operates on the Internet, click the “Internet” 3. Adjust the pan/tilt angle: rotate the main bracket adjust the pan icon. angle and rotate the pan adjustment to adjust the tilt angle. Then -Click “Level customize”.
Need help?
Do you have a question about the NDR890 and is the answer not in the manual?
Questions and answers