
Related Manuals for Victrola VTA-60


Summary of Contents for Victrola VTA-60
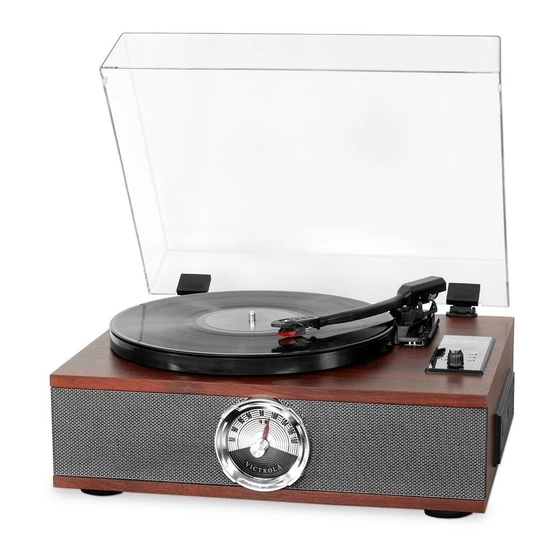
- Page 1 5-IN-1 TURNTABLE MODEL: VTA-60 Instruction Manual PLEASE READ THIS INSTRUCTION MANUAL CAREFULLY BEFORE USE AND KEEP IT FOR FUTURE REFERENCE.
-
Page 2: Important Safety Instructions
WARNING TO PREVENT FIRE OR SHOCK HAZARD, DO NOT USE THIS PLUG WITH AN EXTENSION CORD, RECEPTACLE OR OTHER OUTLET UNLESS THE BLADES CAN BE FULLY INSERTED TO PREVENT BLADE EXPOSURE. TO PREVENT FIRE OR SHOCK HAZARD, DO NOT EXPOSE THIS APPLIANCE TO RAIN OR MOISTURE. - Page 3 no object filled with liquids such as vases shall be placed on the apparatus. 16. Do not overload wall outlet. Use only power source as indicated. 17. Use replacement part as specified by the manufacturer. 18. Upon completion of any service or repairs to this product, ask the service technician to perform safety checks.
-
Page 4: California Prop 65 Warning
CALIFORNIA PROP 65 WARNING WARNING: This product can expose you to chemicals including lead which is known to the State of California to cause cancer. For more information go to www.P65Warnings.ca.gov. SAVE THESE INSTRUCTIONS COMPLIANCE WITH FCC REGULATIONS This device complies with Part 15 of the FCC Rules. Operation is subject to the following two conditions: (1) This device may not cause harmful interference, and (2) This device must accept any interference received, including interference... -
Page 5: Getting Started
! Do not touch the lens or poke at it. If you do, you may damage the lens and the player may not operate properly. ! Do not put anything in the safety slot. If you do, the laser diode will be ON when the CD door is still open. -
Page 6: Location Of Controls
LOCATION OF CONTROLS 01. Lift Lever 15. Power Led Indicator 02. Auto Stop On/Off Switch 16. Mode Button 03. Speed Selection Switch 17. Next Button 04. Needle Cartridge 18. Stop Button 05. Turntable Shaft 19. Volume Control Knob 06. Turntable Platter 20. -
Page 7: Turntable Operation
ASSEMBLY OF THE DUST COVER 1. Remove protective plastic film from the DUST COVER. 2. Align the DUST COVER (#28) to the DUST COVER HINGE (#20), on the back of the unit. Then, push down the dust cover gently to clip into the hinges. -
Page 8: Radio Operation
“bt”. The BLUETOOTH LED INDICATOR will flash in blue color. 2. Turn on your external Bluetooth device to pair with the unit. Go to your device’s Bluetooth Menu and select Bluetooth pairing name “VTA-60” to connect the unit. Once connected, the blue Led light will stop flashing. - Page 9 CD OPERATION NOTE: THIS UNIT NOT ONLY PLAYS COMMERCIAL COMPACT DISCS BUT ALSO SELF-COMPILED CD-RW DISCS. PLEASE READ THIS IMPORTANT INFORMATION: CD mechanisms used in devices like this are designed to fully read all commercial CDs. They will also read self-compiled CD-R/CD-RW discs but it may take up to 10 seconds for playback to start.
-
Page 10: Auxiliary Input
JACK at the rear of the unit and the other end of the cable into the Line-out Jack or Headphone Jack of your external audio device. 2. Turn on the VTA-60 and your external audio device. 3. Press the MODE BUTTON to Aux-in mode, the LED DISPLAY will indicate “AU”. -
Page 11: Specifications
To obtain service, the purchaser MUST present an original sales receipt / proof of purchase. Please contact us at www.victrola.com to request an RMA (Return Material Authorization) number to return products for service or replacement. Returns without an RMA number on the package will be refused and returned to sender. - Page 12 1 Channel Drive Port Washington, NY 11050 Toll free: 1-877-483-2497 Website for support: www.victrola.com/pages/technical-support There are no express warranties except as listed above. REPAIR OR REPLACEMENT AS PROVIDED UNDER THIS WARRANTY IS THE EXCLUSIVE REMEDY OF THE CUSTOMER, (IT) SHALL NOT BE LIABLE FOR...
Need help?
Do you have a question about the VTA-60 and is the answer not in the manual?
Questions and answers