Garmin Meteor Installation Instructions
Hide thumbs
Also See for Meteor:
- Installation instructions manual (22 pages) ,
- Installation instructions manual (12 pages)
Advertisement
Quick Links
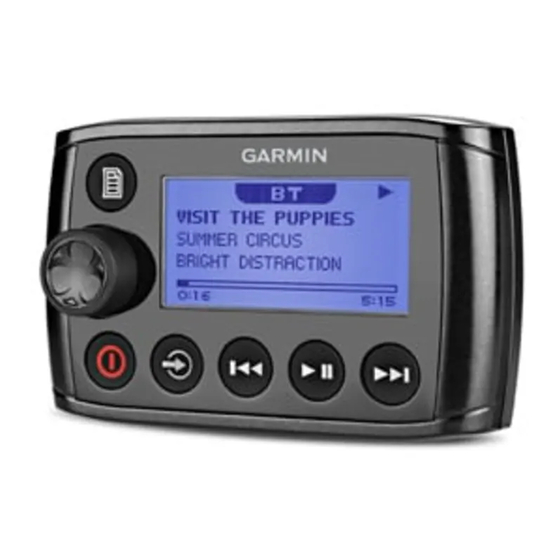
Meteor™ Remote Control
Installation Instructions
This remote control connects to a NMEA 2000
network to control connected
Garmin
Meteor devices.
®
Important Safety Information
WARNING
See the Important Safety and Product Information
guide in the product box for product warnings and
other important information.
CAUTION
Always wear safety goggles, ear protection, and a
dust mask when drilling, cutting, or sanding.
NOTICE
When drilling or cutting, always check what is on the
opposite side of the surface.
Registering Your Device
Help us better support you by completing our online
registration today.
• Go to my.garmin
• Keep the original sales receipt, or a photocopy,
in a safe place.
Tools Needed
• Phillips screwdriver
• Drill
3
• 2.5 mm (
/
in.) drill bit
32
• 50 mm (2 in.) hole saw
• Marine sealant (optional)
NMEA 2000 Connection
Considerations
This remote connects to a NMEA 2000 network on
your boat using the attached NMEA 2000 cable and
included connector. Through the NMEA 2000
network, you can control a connected Garmin
Meteor device. You can connect an unlimited
number of remote controls to the NMEA 2000
network to control a Meteor device, although you
must build a properly balanced NMEA 2000 network.
If you are unfamiliar with NMEA 2000, you should
read the "NMEA 2000 Network Fundamentals"
chapter of the Technical Reference for NMEA 2000
Products.
®
Item Description
Garmin Meteor device
Garmin device
Meteor remote control
12 Vdc power source with an ignition or in-line
switch
Meteor 300 NMEA 2000 drop cable
This can be extended to a maximum length of 2 m
(6 ft.) using a standard NMEA 2000 cable.
NMEA 2000 drop cable
Meteor remote control drop cable.
This can be extended to a maximum length of 2 m
(6 ft.) using a standard NMEA 2000 cable.
NMEA 2000 power cable
NMEA 2000 terminator or backbone cable
NMEA 2000 T-connector
Mounting Considerations
When selecting a mounting location, observe these
considerations.
• The device must be mounted in a location where
there is at least 75 mm (3 in.) of clearance
behind the mounting surface and you can access
the controls after it is mounted.
• If you want to mount the device outside the boat,
it must be mounted in a location well above the
waterline, where it is not submerged.
• If you want to mount the device outside the boat,
it should be mounted in a location where it will
not be damaged by a docks, pilings, or other
pieces of equipment.
Mounting the Remote Control
1
At the mounting location, use a 50 mm (2 in.)
hole saw to cut through the mounting surface.
2
Place the remote control in the cutout and mark
the pilot holes.
3
Remove the remote control from the cutout, and
using a 2.5 mm (
holes.
4
Apply marine sealant around the cutout
(optional).
5
Place the gasket on the back of the remote
control.
6
Feed the attached NMEA 2000 cable through the
cutout.
7
Place the remote control in the cutout.
8
Secure the remote control to the mounting
surface using the included screws.
9
Install the decorative bezel around the edges of
the remote control.
10
Route the NMEA 2000 cable away from sources
of interference and connect it to the NMEA 2000
network.
3
/
in.) drill bit, drill the pilot
32
Advertisement

Related Manuals for Garmin Meteor


Summary of Contents for Garmin Meteor
-
Page 1: Installation Instructions
Meteor device. You can connect an unlimited pieces of equipment. number of remote controls to the NMEA 2000 network to control a Meteor device, although you Mounting the Remote Control must build a properly balanced NMEA 2000 network. At the mounting location, use a 50 mm (2 in.) If you are unfamiliar with NMEA 2000, you should hole saw to cut through the mounting surface. -
Page 2: Additional Settings
• Hold to exit the menu. a connected meteor device. You can switch to • Select to switch from NMEA 2000 mode to NMEA 2000 mode to view information from remote control mode. -
Page 3: Specifications
General Settings When a compatible iPhone or iPod is connected to Select . the USB port of your Meteor device, you can play LCD: Sets the brightness and contrast. media and change options using the remote control. Power Save: Enables and disables the backlight >...
Need help?
Do you have a question about the Meteor and is the answer not in the manual?
Questions and answers