Advertisement
Quick Links
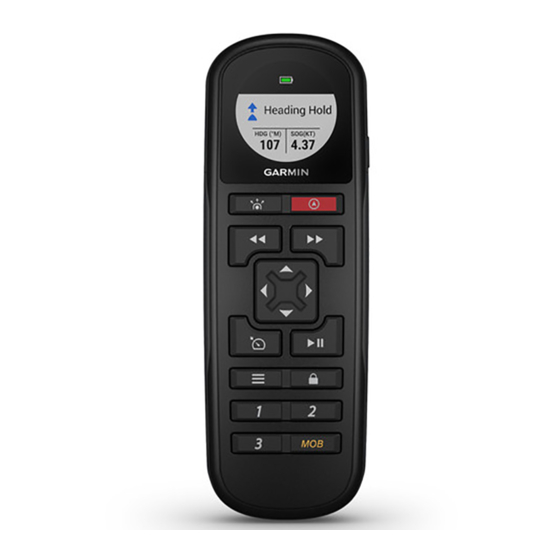
REACTOR
REMOTE CONTROL
INSTALLATION
INSTRUCTIONS
Important Safety Information
See the Important Safety and Product Information guide in the
product box for product warnings and other important
information.
You are responsible for the safe and prudent operation of your
vessel. The autopilot is a tool that enhances your capability to
operate your boat. It does not relieve you of the responsibility of
safely operating your boat. Avoid navigational hazards and
never leave the helm unattended.
Always be prepared to promptly regain manual control of your
boat.
Learn to operate the autopilot on calm and hazard-free open
water.
Use caution when operating the autopilot near hazards in the
water, such as docks, pilings, and other boats.
Getting Started
Installing Batteries
The remote control operates using two AA batteries (not
included). Use lithium batteries for best results.
1
Turn the D-ring counter-clockwise, and pull up to remove the
cover.
2
Insert two AA batteries, observing polarity.
3
Replace the battery cover, and turn the D-ring clockwise.
Attaching a Lanyard
1
Starting from the back of the remote control, insert the loop of
the lanyard
through the slot.
2
Thread the other end of the lanyard
pull it tight.
3
If necessary, place the lanyard around your neck or wrist to
tether it during use.
AUTOPILOT
™
WARNING
through the loop, and
Installing the Cradle
You can install the included cradle to hold the remote control
when not in use.
1
Using the cradle as a template, mark the pilot hole locations
on the mounting surface.
2
Set the cradle aside.
Do not drill through the cradle.
1
3
Using a 3 mm (
/
in.) drill bit, drill the pilot holes.
8
4
Using the included screws, secure the cradle to the mounting
surface.
Keys
Key
Description
Turns the remote control on and off when held
(
)
Gesture controls
Engage or standby
Hold, page
2)
Step steering
Navigates the menu
When not in the menu, press and for single-degree step
turns, or hold for rudder steering
When not in the menu, press
throttle changes, or hold for continuous throttle changes
(available only on select autopilot models)
Cruise control (available only on select autopilot models)
Idle or resume (available only on select autopilot models)
Opens the remote control menu
Locks or unlocks the keys
1 through 3 Action keys
(Activating Patterns or Actions Assigned to the
Action Keys, page
MOB
Man overboard
(Marking and Starting Navigation to a Man
Overboard Location, page
Pairing the Remote Control
Before you can use the remote control with your autopilot
system, you must pair the remote control with a helm control,
such as a GHC
™
20, or a compatible chartplotter connected to
the same NMEA 2000
®
network as the autopilot system.
Pairing the Remote Control with a Helm Control
1
On the helm control, select Menu > Setup > Remote >
Search for Remote.
Enabled appears on the screen.
2
On the remote control, select
The helm control beeps and shows a confirmation message.
3
Select Connect.
(Gesture Controls, page
2)
(Engaging and Disengaging Heading
and
for incremental
2)
3)
> Pair with GHC.
December 2018
190-02451-92_0A
Advertisement

Related Manuals for Garmin REACTOR


Summary of Contents for Garmin REACTOR
-
Page 1: Remote Control
Installing the Cradle You can install the included cradle to hold the remote control REACTOR AUTOPILOT ™ when not in use. Using the cradle as a template, mark the pilot hole locations REMOTE CONTROL on the mounting surface. Set the cradle aside. - Page 2 Pairing the Wireless Remote Control with a Chartplotter • If the pattern or action requires you to choose a direction, press or . On the chartplotter, select Settings > Communications > Wireless Devices > Wireless Remotes > Autopilot • If the pattern or action does not require you to choose a Remote.
-
Page 3: Specifications
30 min. For more information, go to www.garmin.com Location /waterrating. Select MOB © 2018 Garmin Ltd. or its subsidiaries The name and image of the MOB search pattern appear on the screen. Select or to select the direction and begin following the MOB pattern. - Page 4 support.garmin.com...
Need help?
Do you have a question about the REACTOR and is the answer not in the manual?
Questions and answers