USER MANUAL
FOR MODELS:
3PATWH10002
WITH ELECTRIC HEATER
3PATWH12002
WITH ELECTRIC HEATER
3PATWH14002
WITH ELECTRIC HEATER
3PATW14002
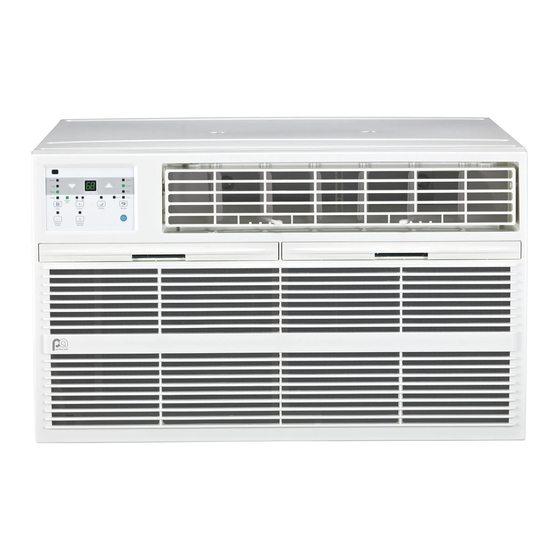
THRU-THE-WALL
AIR CONDITIONER
Before using your air conditioner, please
read this manual carefully and keep it for
future reference, along with your receipt.


Need help?
Do you have a question about the 3PATWH10002 and is the answer not in the manual?
Questions and answers