
Related Manuals for Hay CAN SOFA


Summary of Contents for Hay CAN SOFA
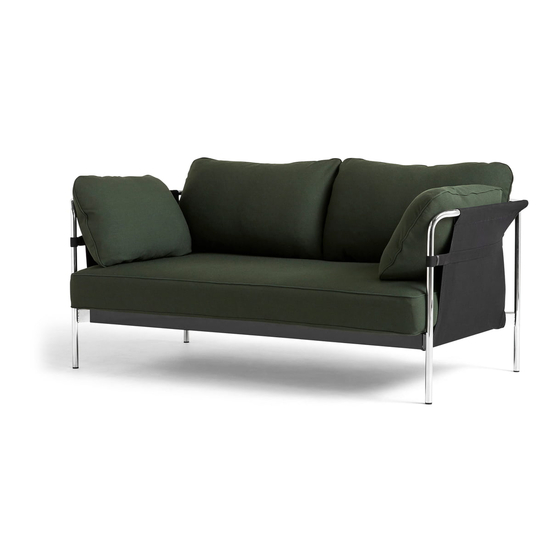
- Page 1 > I N ST R U C T I O N S M A N U A L < C A N S O FA B Y R O N A N & E R WA N B O U R O U L L E C...
- Page 2 > I N T R O D U C T I O N < In the Can sofa, Ronan and Erwan Bouroullec are seeking to go beyond the creation of a practical, elegant and comfortable design. The intention is to reinvigorate the whole idea of the sofa, from something inherently complicated, to something simple, relaxed and for everyone.
- Page 3 Remove soap residue only a light surface treatment to preserve the leather’s condition. HAY only uses top quality fabrics, but all • Avoid improper use such as sitting on the back or immediately using a clean, dry cloth.
- Page 4 > PA R TS 1 S E AT E R < Side pillow (G) x 2 Back pillow (H) x 1 Seat frame (A) x 1 Front leg (B) x 2 Back leg (C) x 2 Seat pillow (I) x 1 Anti slip mat (J) x 1 Arm rest Back rest...
- Page 5 > PA R TS 2 S E AT E R < Side pillow (G) x 2 Back pillow (H) x 2 Seat frame (A) x 1 Front leg (B) x 2 Back leg (C) x 2 Arm rest tube Back rest tube (D) x 2 (E) x 1 Seat pillow (I) x 1...
- Page 6 > PA R T S 3 S E AT E R < Side pillow (G) x 2 Back pillow (H) x 3 Seat frame (A) x 1 Seat pillow (I) x 1 Back rest tube (E) x 1 Anti slip mat (J) x 1 Front leg (B) x 2 Back leg (C) x 2 Arm rest...
- Page 7 Locate the backside of the seat frame (A), marked with a white sticker, and insert Pull the legs gently outwards. the back legs (C) into each back corner. Secure the back legs (C) to the seat frame (A) by slightly fastening one screw (K) in the hole closest to the centre of the sofa.
- Page 8 Insert the back rest tube (E) into the middle part of the canvas. Insert the back rest tube (E) into both back legs (C). Make sure the canvas is mounted with the cotton strap facing outwards. Twist E to hear a “click”. 2 and 3 seaters: Make sure the back rest tube (E) is facing the right way.
- Page 9 Insert the arm rest tube (D) into the canvas. Insert arm rest tube (D) into back leg (C). Make sure the canvas is kept on the inside of the back leg (C). Twist D to hear a “click”.
- Page 10 Gently secure front legs (B) and back legs (C) to the frame (A) by fastening screws (K) Insert front leg (B) gently into the frame (A) and armrest tube (D). in all four corners. Repeat step 6, 7 and 8 on the other side. It is important NOT to tighten the screws completely yet.
- Page 11 1 1. Secure front legs (B) and back legs (C) to the frame (A) from the bottom side Flip the frame forward to ease access to the bottom of the seat frame. Make sure to place by fastening screws (K) in all four corners. it on the box to avoid scratching the frame.
- Page 12 MOUNTING CANVAS MOUNTING CANVAS Slide the plastic profile onto the bottom of the seat frame. It is important to start in one end and Slide the plastic profile onto the bottom of the seat frame. It is important to start in one end and work your way to the opposite side.
- Page 13 Secure the front legs (B) and back legs (C) to the frame (A) by fastening the MOUNTING CANVAS screws (K) in all four corners. Place the cotton strap around the front leg and slide it through the leather ring. Adjust the canvas and then tighten it by pulling the cotton strap and fastening it to the Velcro.
- Page 14 Place the anti-slip mat (J) in the center of the frame. ADJUSTING CANVAS. Adjust the canvas on the frame. Start in one end and work your way to the opposite side. Make sure the canvas is not folded or misplaced anywhere. Place the seat pillow (I), back pillow (H) and side pillows (G) in the frame.
- Page 15 Over time, your sofa will need some attention to ensure that the cushions are plump and the seat cushion keeps its shape. Straighten out any creases and lumps in the seat cushion with your hands. Plump the cushions regularly.
- Page 17 Havnen 1 8700 Horsens Denmark +45 4282 0282 / hay@hay.dk ITEM NO. 706327 5 710441 209669...
Need help?
Do you have a question about the CAN SOFA and is the answer not in the manual?
Questions and answers