
Related Manuals for Hay CPH 30


Summary of Contents for Hay CPH 30
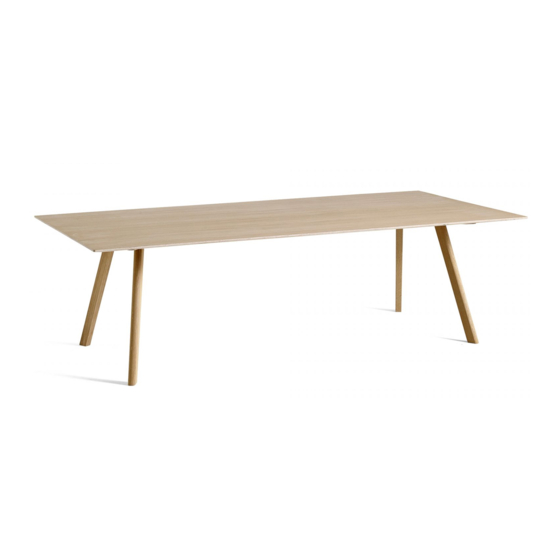
- Page 1 – INSTRUCTION MANUAL – COPENHAGUE TABLE 30 EXTENDABLE L160/310 X W80 X H74 L200/400 X W90 X H74 L250/450 X W90 X H74 DESIGN BY RONAN & ERWAN BOUROULLEC...
- Page 3 – PARTS – Tabletop x1 Table leg x1 Table leg x1 Allen key x1 Screw x16...
- Page 4 Protect the table top from scratches and other damage while assembling.
- Page 5 Place the legs on the tabletop as illustrated below. Table leg Table leg ATTENTION Note that the legs are not identical.
- Page 6 Tighten the screws using the Allen key...
- Page 7 Make sure that the mechanism is locked, before turning the table over. (2 people are recommended).
- Page 8 – EXTENDING THE TABLE WITH up to 2 leaves – Unlock the mechanism by pulling the handle. Extend the table by lifting it at one or both ends and pull it towards you.
- Page 9 Make sure to make enough space for 1 or 2 leaves. Place the table leaves at a slight angle, as illustrated below. Make sure that the pins are securely inserted into the holes.
- Page 10 Push both ends of the table to close the centre gap and then lock the mechanism.
- Page 11 – EXTRA PARTS TABLE – 160 X 80 CM – Table leaf (50 x 80 cm) Support leg - Required when MAXIMUM 3 using more than 2 table leaves – EXTRA PARTS TABLE – 200 X 90 CM & 250 X 90 CM – Table leaf (50 x 90 cm) Support leg - Required when MAXIMUM 4...
- Page 12 – E X TENDING THE TABLE WITH MORE THAN 2 LE AVES – Unlock the mechanism by pulling the handle. Extend the table by lifting it at one or both ends and pull it towards you.
- Page 13 Place the supporting leg into the central steel bracket. Slightly lift the mechanism if needed. ATTENTION Adjust the supporting leg glider if needed, to make sure the table top is level.
- Page 14 Place the table leaves at a slight angle as illustrated below. Make sure that the pins are securely inserted into the holes. Push both ends of the table to close the centre gap and then lock the mechanism.
- Page 15 Adjust the supporting leg angle if needed. Lock the mechanism underneath the tabletop.
- Page 16 – Care & Maintenance – Our Care & Maintenance offers guidance for optimal maintenance of your HAY product. It includes advice and instructions on cleaning and caring for specific materials to prolong the life of your furniture. Please find our Care & Maintenance...
- Page 20 Havnen 1 8700 Horsens Denmark +45 4282 0282 / hay@hay.com 01/02/2021...
Need help?
Do you have a question about the CPH 30 and is the answer not in the manual?
Questions and answers