
Related Manuals for Hay CPH 30


Summary of Contents for Hay CPH 30
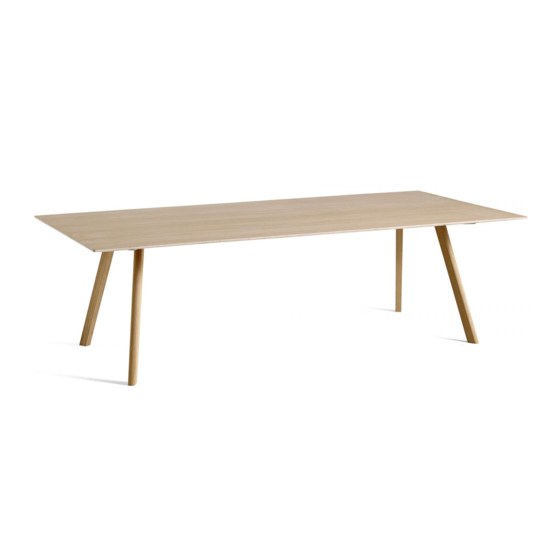
- Page 1 – INSTRUCTION MANUAL – CPH 30 L200 X W80 X H105 L200 X W90 X H74 L250 X W90 X H74 L300 X W90 X H74 DESIGN BY RONAN & ERWAN BOUROULLEC...
- Page 3 – PARTS – Leg x4 Screw x16 Screw Allen key L200xW80 x16 L200xW90 x16 L250xW90 x18 L300xW90 x18 Bracket x2 Crossbar x1 Table top x1...
- Page 4 Protect the table top from scratches and other damage while assembling.
- Page 5 Mount the crossbar to the table top G.. Place the brackets at both ends, and fasten with screws using the Allen key D. . Insert all the screws and only tighten them loosely. Do not tighten them completely until step 4. ...
- Page 6 Slide the legs in, underneath the brackets.
- Page 7 Secure the legs with the screws using the Allen key . Insert all the screws and only tighten them loosely. Do not tighten them completely until step 4. ATTENTION Be aware of the different lengths of the screws.
- Page 8 Tighten all the screws completely. Then turn the table over. (2 persons recommended). ATTENTION Tighten all the screws completely.
- Page 9 If the floor is uneven and the table is wobbly, you can turn the feet to adjust them up and down to stabilise the table.
- Page 10 – INSTRUCTION MANUAL – CPH 30 L250 X W120 X H74 L300 X W120 X H74...
- Page 11 – PARTS – Leg x4 Screw x16 Screw x36 Allen key Bracket x4 Crossbar x2 Crossbar x2 Table top x1...
- Page 12 Protect the table top from scratches and other damage while assembling.
- Page 13 Mount the crossbars to the table top H. and fasten with the screws using the Allen key D. . Insert all the screws and only tighten them loosely. Do not tighten them completely until step 5. ...
- Page 14 Mount the crossbars . Place the brackets in every corner, and fasten with the screws using the Allen key D. . Insert all the screws and only tighten them loosely. Do not tighten them completely until step 5. ...
- Page 15 Slide the legs in, underneath the brackets on the table top.
- Page 16 Secure the legs with the screws using the Allen key . Insert all the screws and only tighten them loosely. Do not tighten them completely until step 5. ATTENTION Be aware of the different lengths of the screws.
- Page 17 Tighten all the screws completely. Then turn the table over. (2 persons recommended). ATTENTION Tighten all the screws completely.
- Page 18 If the floor is uneven and the table is wobbly, you can turn the feet to adjust them up and down to stabilise the table.
- Page 19 Please find our Care & Maintenance guide by scanning the QR code You can find more relevant information on CPH 30 by scanning the QR code You can also find the same information here hay.dk/downloads...
- Page 24 Havnen 1 8700 Horsens Denmark +45 4282 0282 / hay@hay.com 05/03/2021...
Need help?
Do you have a question about the CPH 30 and is the answer not in the manual?
Questions and answers