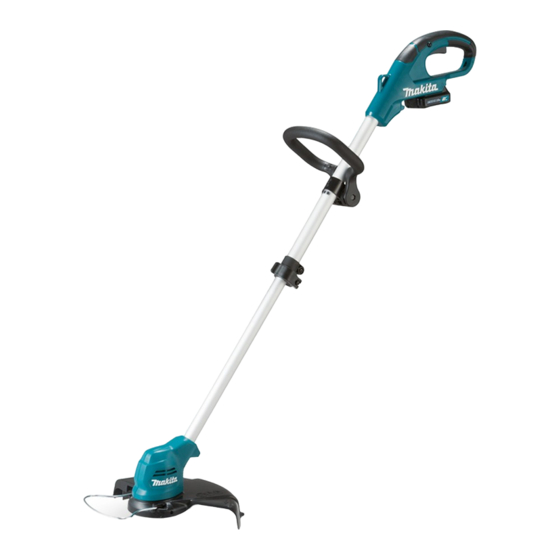
Makita UR100D Instruction Manual
Cordless grass trimmer
Hide thumbs
Also See for UR100D:
- User manual ,
- Instruction manual (125 pages) ,
- Instruction manual (116 pages)
Table of Contents
Advertisement
Quick Links
Download this manual
See also:
Instruction Manual
Advertisement
Table of Contents

Related Manuals for Makita UR100D


Summary of Contents for Makita UR100D
- Page 1 INSTRUCTION MANUAL Cordless Grass Trimmer UR100D Read before use.
-
Page 2: Specifications
SPECIFICATIONS Model: UR100D No load speed 10,000 min (without cutting tool) Overall length 835 - 1,185 mm (without cutting tool) Nylon cord diameter 1.65 mm Applicable cutting tool and Nylon cutting head 260 mm cutting diameter (P/N 198852-2 / 198853-0) -
Page 3: Save All Warnings And Instruc- Tions For Future Reference
Save all warnings and instruc- Symbols tions for future reference. The following show the symbols used for the equip- Be familiar with the controls and proper use of ment. Be sure that you understand their meaning before the equipment. use. Cutting elements continue to rotate after the Take particular care and attention. - Page 4 Under abusive conditions, liquid may be ejected from the battery; avoid contact. If contact contacts eyes, seek medical help. Liquid ejected from the battery may cause irritation or burns. possible special disposal instructions. Do not open or mutilate the battery(ies). Released electrolyte is corrosive and may cause damage to Do not charge battery in rain, or in wet locations.
- Page 5 Keep hands and feet away from the cutting When not in use store the equipment in a dry loca- means at all times and especially when switch- tion that is locked up or out of children's reach. ing on the motor. Use only the manufacturer's recommended Never cut above waist height.
-
Page 6: Parts Description
Only use genuine Makita batteries. Use of non-genuine Makita batteries, or batteries that have been altered, may result in the battery bursting also void the Makita warranty for the Makita tool and charger. battery life Charge the battery cartridge before completely discharged. -
Page 7: Functional Description
Battery protection system FUNCTIONAL DESCRIPTION The tool is equipped with a battery protection system. This system automatically cuts off power to the motor to extend battery life. The tool will automatically stop during operation if the WARNING: Always be sure that the tool is tool and/or battery are placed under one of the following switched off and the battery cartridge is removed conditions:... -
Page 8: Nylon Cutting Head
Recharge the without pressing the lock-off button. Ask your local in red. (Note 1) when the battery battery cartridge. Makita Service Center for repairs. power is almost used up. At this time, tool stops WARNING: Never disable the lock function or immediately. - Page 9 Plastic blade storage lever. 1. Plastic blade 2. Blade holder A plastic blade for replacement can be stored in the blade holder of the tool. When storing or taking out the 1. Lock lever blade, remove the battery cartridge. Adjusting the position of the handle the front grip when lowering your left hand.
- Page 10 For nylon cutting head: Installing the front grip Attach the wire guard to the holes on the front side of the protector. The nylon cord mark on the protector Attach the front grip to the front grip holder and secure indicates the hole to be used.
- Page 11 If it is worn out, the nylon cord cutter on the protector. Contact with the plastic blade may be thrown away from the plastic NOTICE: Be sure to use genuine Makita nylon NOTICE: Be sure to use genuine Makita plastic cutting head.
-
Page 12: Operation
Place the plastic blade head onto the spindle and tighten it by turning it clockwise. CAUTION: wrench inserted in the tool head. It may cause When not in use, store the hex wrench as shown in the 1. Plastic blade head Remove the hex wrench. -
Page 13: Using The Grass Trimmer As An Edger
Cutting the grass near tree, block, brick, or stone Hold and tilt the grass trimmer at a height where the spool or blade does not touch the ground. Cut the grass using the nylon cord tip or plastic blade like knocking the ground. -
Page 14: Cleaning The Tool
1. Wire guard NOTICE: Never use gasoline, benzine, thinner, alcohol or the like. Discoloration, deformation or cracks may result. To maintain product SAFETY and RELIABILITY, be performed by Makita Authorized or Factory Service Centers, always using Makita replacement parts. 14 ENGLISH... - Page 15 Replacing the plastic blade If the plastic blade is worn out, replace it with a new one. To install the plastic blade, align the direction of the blade with the mark on the plastic blade head, and then insert it all the way until it locks in place with a little click. To remove the plastic blade, perform the installation procedure in reverse.
- Page 16 Replace the nylon cord if the cord is not feeding any more. (1) Up to 8 m (2) 70 - 80 mm 16 ENGLISH...
-
Page 17: Troubleshooting
TROUBLESHOOTING do not attempt to dismantle the tool. Instead, ask Makita Authorized Service Centers, always using Makita replace- ment parts for repairs. State of abnormality Probable cause (malfunction) Remedy Motor does not run. Battery cartridge is not installed. Install the battery cartridge. - Page 20 Jan-Baptist Vinkstraat 2, Makita Europe N.V. 3070 Kortenberg, Belgium 3-11-8, Sumiyoshi-cho, Makita Corporation Anjo, Aichi 446-8502 Japan 885614-220 www.makita.com 20171128...
Need help?
Do you have a question about the UR100D and is the answer not in the manual?
Questions and answers